If you’re itching to get back into the garden while the world outside is still wrapped in frost, starting seeds indoors in late winter is the perfect way to satisfy that urge. Not only does it give you a head start on the growing season, but it also allows you to nurture stronger, healthier plants that are ready to thrive when spring finally arrives. Whether you’re a first-time gardener or a seasoned grower, this guide covers everything you need to know—from choosing the right seeds to transplanting robust seedlings outdoors.
Why Start Seeds Indoors?
Starting seeds indoors allows you to:
- Extend the growing season: Plants like tomatoes, peppers, and eggplants need long, warm growing periods. By starting early, you give them a head start before the last frost.
- Save money: A single packet of seeds can produce dozens of plants for the cost of one nursery start.
- Access unique varieties: Many heirloom and specialty plants are available only as seeds, not as store-bought seedlings.
- Control growing conditions: Indoors, you can manage temperature, moisture, and light to ensure optimal germination and early growth.
Step 1: Choose the Right Seeds
Late winter is the ideal time to start warm-season crops indoors. These are plants that require consistent warmth and cannot tolerate frost. Some good options include:
- Vegetables: Tomatoes, peppers, eggplants, broccoli, cabbage, kale, and leeks.
- Herbs: Basil, parsley, thyme, and oregano.
- Flowers: Marigolds, zinnias, petunias, and snapdragons.
Check each seed packet for the “start indoors” date. This is usually listed as a number of weeks before your last expected frost date (e.g., “start indoors 6–8 weeks before last frost”). You can find your local frost date by searching online for your region or checking with your local agricultural extension service.
Step 2: Gather Your Supplies
You don’t need an elaborate setup to start seeds indoors, but having the right materials will make the process easier and more successful. Here’s what you’ll need:
- Seed trays or containers: You can use commercial seed-starting trays, biodegradable pots, or even repurposed yogurt cups. Just make sure they have drainage holes.
- Seed-starting mix: Use a fine, sterile mix designed specifically for starting seeds. Avoid garden soil—it’s too heavy and may harbor pests or diseases.
- Light source: A sunny windowsill works for some plants, but grow lights provide more consistent results. Use full-spectrum fluorescent or LED grow lights.
- Heat source: A seedling heat mat can help maintain a steady soil temperature (usually 70–75°F), which encourages faster germination.
- Humidity dome or plastic wrap: Keeps moisture in until seeds sprout.
- Watering tool: A spray bottle or small watering can for gentle watering.
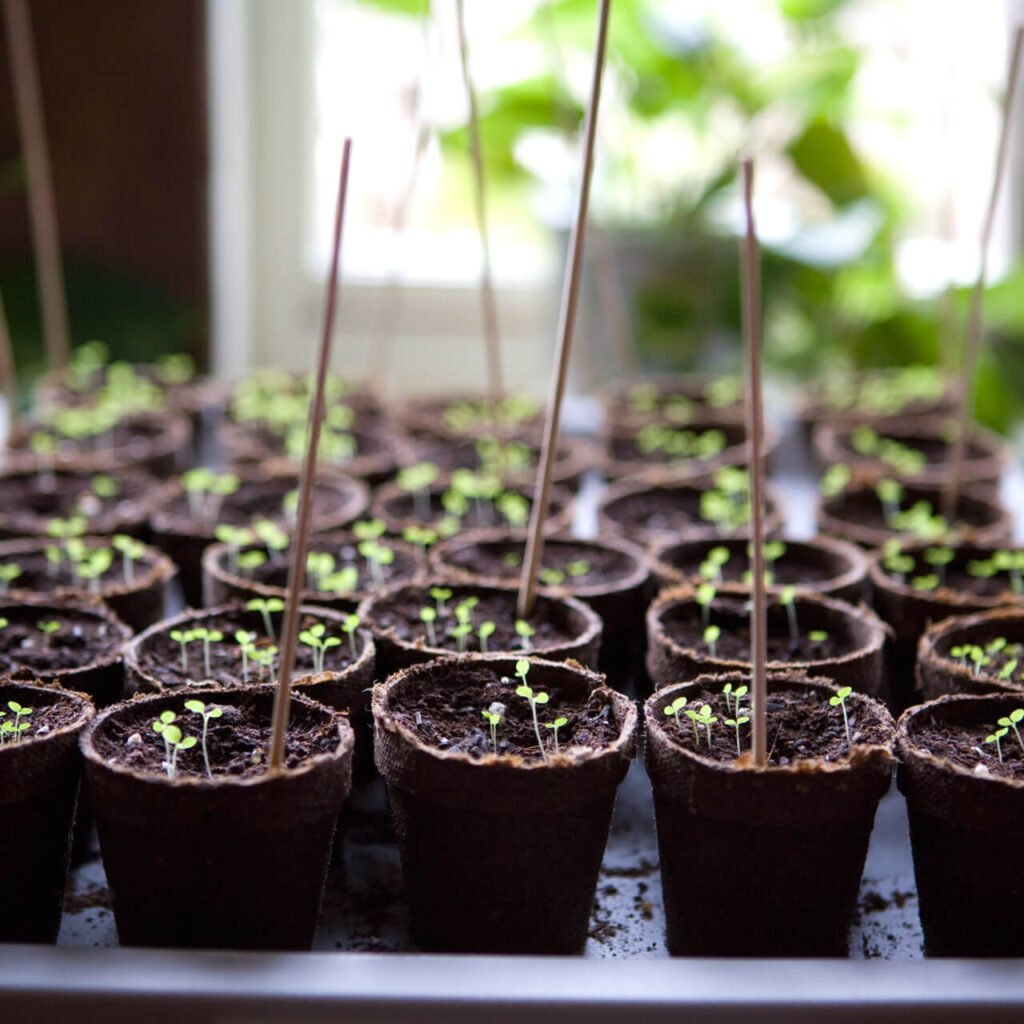
Step 3: Prepare Your Containers and Soil
Fill your seed trays or pots with the seed-starting mix, leaving about a half-inch of space at the top. Moisten the mix with warm water until it feels damp but not soggy. Level the surface gently without compacting the soil too tightly—seeds need air and moisture to germinate.
If reusing containers from last year, wash them thoroughly in warm, soapy water and rinse with a mild bleach solution (1 part bleach to 9 parts water) to eliminate lingering bacteria or fungi.
Step 4: Planting the Seeds
Each seed variety has its own preferred depth for planting—usually listed on the packet. As a general rule:
- Tiny seeds (like basil or lettuce) should be pressed gently onto the soil surface and barely covered.
- Larger seeds (like tomatoes or marigolds) should be buried about ¼ inch deep.
Plant two seeds per cell or pot to ensure at least one germinates. Once seedlings emerge, you can thin the weaker one.
After sowing, mist the surface lightly with water and cover the tray with a plastic dome or wrap to retain humidity.

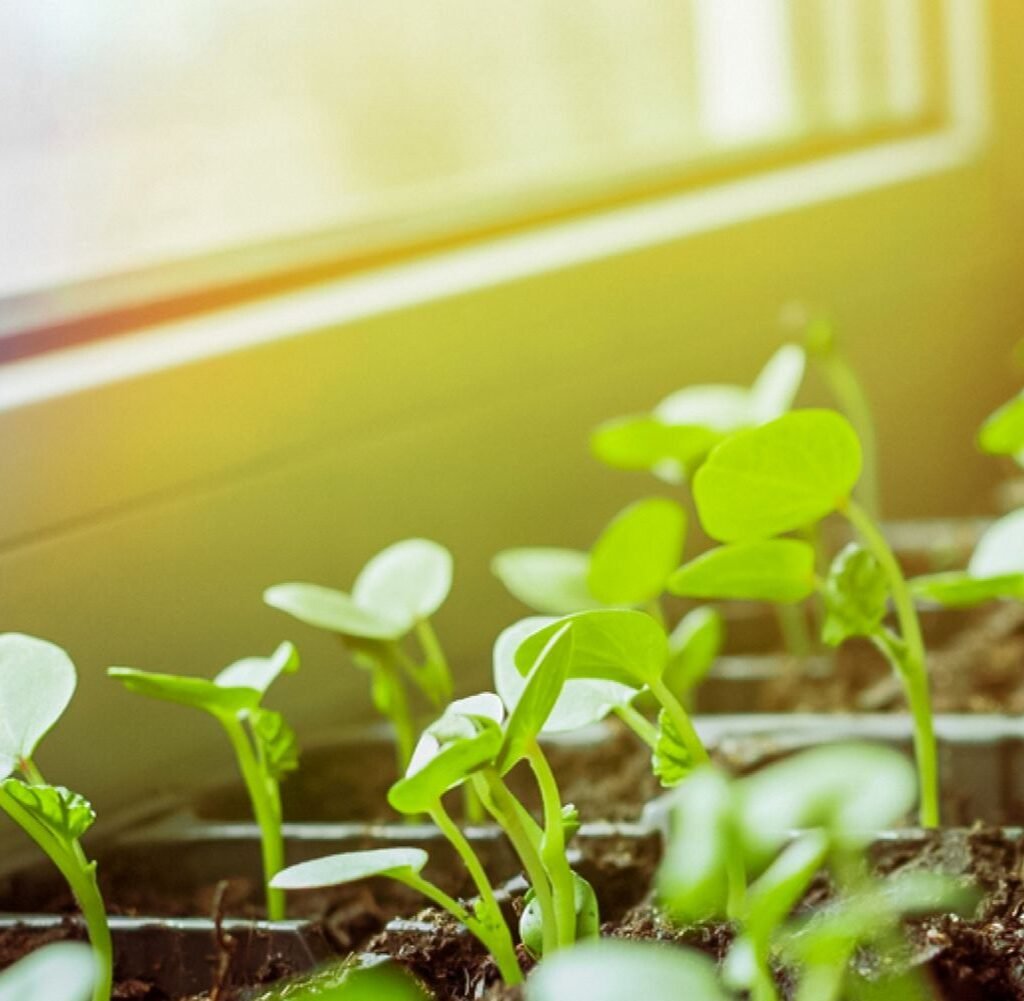
Step 5: Provide Light and Warmth
Most seeds need warmth—not light—to germinate. Place the trays on a heat mat or near a warm appliance until you see sprouts appear. Check daily, keeping the soil moist but not soaked.
Once the seedlings emerge, light becomes crucial. Move them to a bright, south-facing window or under grow lights. Position the lights 2–4 inches above the seedlings, and keep them on for 14–16 hours a day. Adjust the height as plants grow to avoid leggy stems caused by stretching toward light.
Ideal indoor conditions:
- Temperature: 65–75°F during the day, slightly cooler at night.
- Humidity: Moderate, with good airflow to prevent mold or damping off.
Step 6: Watering and Feeding
Watering is a delicate balance—too little and seedlings dry out, too much and roots suffocate. The soil should remain evenly moist, like a wrung-out sponge.
Use a bottom-watering method: place trays in a shallow pan of water for a few minutes so the soil absorbs moisture from below. This helps prevent fungal diseases.

Once seedlings develop their first set of “true leaves” (the second pair to appear), begin feeding them with a diluted liquid fertilizer (about one-quarter strength). Continue every 1–2 weeks until transplanting.
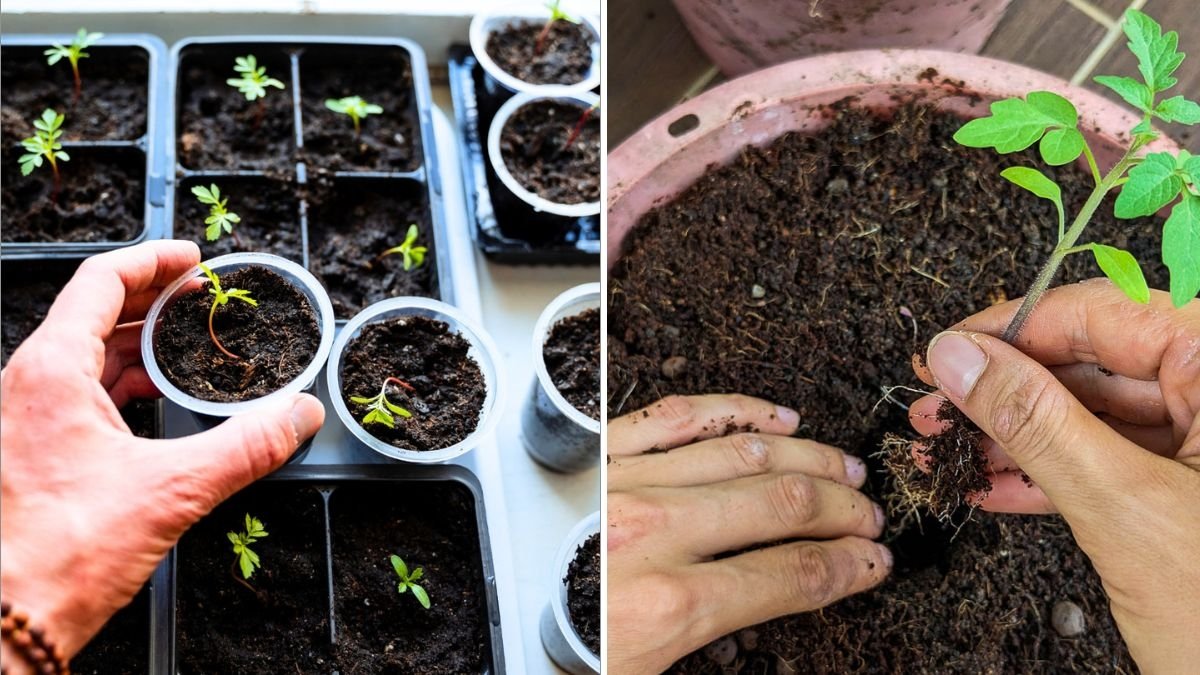
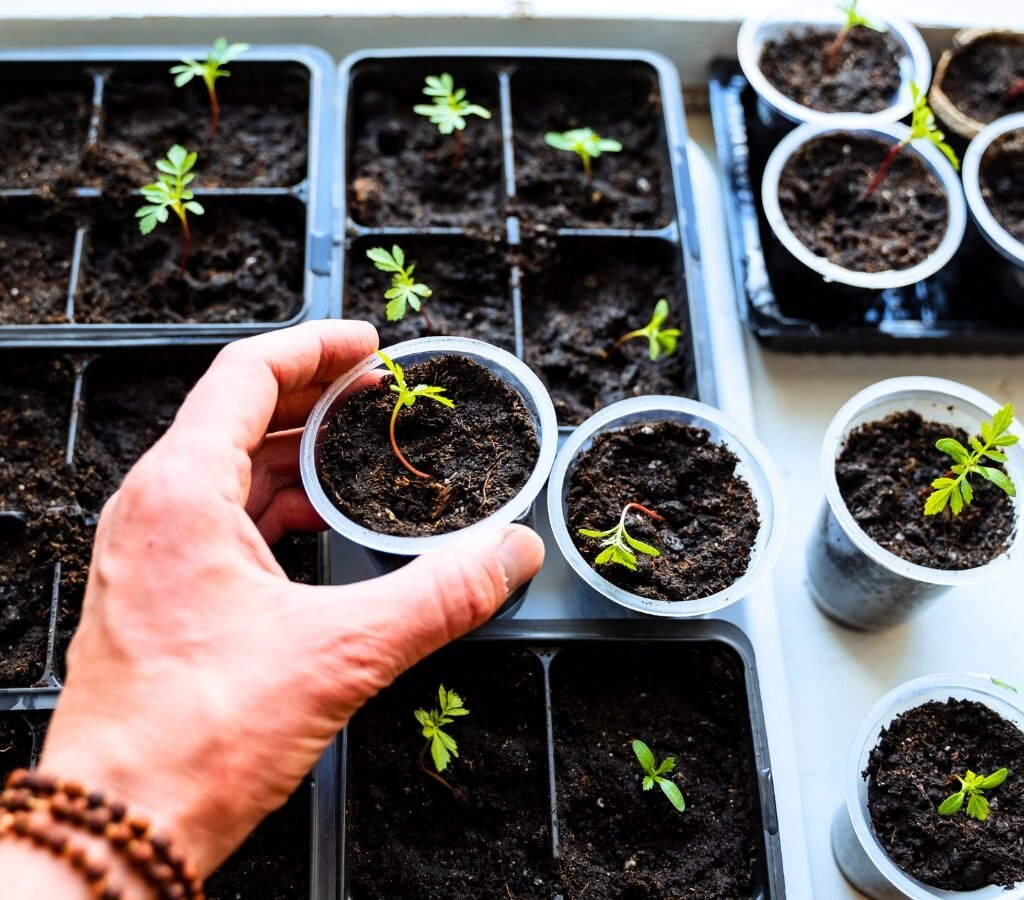
Step 7: Thinning and Transplanting Seedlings
When seedlings are about 2–3 inches tall, thin them to one per cell by snipping the smaller one at soil level. Don’t pull it out—it could disturb the remaining seedling’s roots.
As plants grow, they may outgrow their starting cells. When roots start poking through the drainage holes or the leaves overlap, it’s time to pot them up into larger containers using a lightweight potting mix. This gives roots more room and helps prevent stress before transplanting outdoors.
Step 8: Hardening Off Before Moving Outside
One of the most important (and often overlooked) steps is hardening off—gradually acclimating your indoor-grown seedlings to outdoor conditions.
Start about 7–10 days before transplanting:

- Move plants outside to a sheltered, shady spot for a few hours each day.
- Gradually increase their time outdoors and exposure to sunlight.
- Bring them inside at night if temperatures drop below 50°F.
- By the end of the week, they should be able to handle full sun and light wind.
Skipping this step can shock your plants, stunting their growth or even killing them.
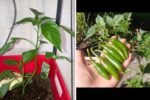
Step 9: Transplanting Into the Garden
Wait until the soil has warmed and all danger of frost has passed before planting outdoors. Prepare your garden bed with compost or well-rotted manure, and water the seedlings well before transplanting.
- Dig holes slightly larger than the seedling’s root ball.
- Gently remove plants from their pots, keeping the soil intact.
- Set them into the ground at the same depth (or slightly deeper for tomatoes).
- Water thoroughly after planting and add mulch to conserve moisture.
Your once-tiny seedlings are now ready to flourish in the open garden.
Troubleshooting Common Problems
- Leggy seedlings: Not enough light. Move closer to a window or lower grow lights.
- Mold or fungus: Too much moisture and poor airflow. Allow the surface to dry between waterings.
- Yellowing leaves: Overwatering or nutrient deficiency. Reduce watering and start mild feeding.
- Slow germination: Check temperature—cold soil can delay sprouting.
Final Thoughts
Starting seeds indoors in late winter bridges the gap between the quiet dormancy of winter and the vibrancy of spring. It’s a rewarding ritual that connects you to the rhythm of the seasons and gives your garden a head start. With a little patience, proper care, and the right setup, you’ll soon have a thriving collection of seedlings ready to burst into life as soon as the weather warms.
Whether you’re growing a few tomato plants for the patio or a full bed of colorful blooms, those tiny seeds you nurture now will be the foundation of a lush, productive garden all season long.
Leave A Comment