When winter approaches and temperatures begin to dip, most gardeners start thinking about protecting their plants from the cold. One of the simplest and most effective ways to shield your garden through the frosty months is mulching. Proper winter mulching doesn’t just keep plants warm—it stabilizes soil temperatures, preserves moisture, prevents erosion, and creates a healthier environment for spring regrowth.
However, there’s a right and wrong way to mulch for winter protection. Too little mulch leaves roots exposed to freezing winds, while too much can trap moisture and lead to rot. The key is knowing when, where, and how to apply mulch for maximum benefit. Let’s explore how to mulch properly in winter so your garden wakes up strong and ready when spring returns.
Why Mulching Matters in Winter
During winter, soil goes through repeated cycles of freezing and thawing. These fluctuations can cause frost heave, where plant roots are literally pushed upward out of the ground, exposing them to cold air and killing tender roots. A good layer of mulch acts as insulation, keeping soil temperatures more consistent and preventing this damage.
Benefits of winter mulching include:

- Temperature regulation: Prevents roots from freezing during cold snaps and overheating during unexpected warm spells.
- Moisture retention: Keeps soil from drying out due to cold winds and low humidity.
- Erosion control: Protects topsoil from being washed or blown away.
- Weed suppression: Limits the growth of winter weeds that compete for nutrients.
- Soil health improvement: As mulch breaks down, it adds organic matter, enriching the soil for spring.
Step 1: Choose the Right Mulch Material
Not all mulches are equal, especially when it comes to winter protection. You’ll want something that insulates well, allows air circulation, and breaks down gradually to feed the soil. Here are some excellent options:
1. Organic Mulches (Best for Insulation and Soil Health)
- Straw: Light and airy, straw traps air pockets that insulate plant roots. Avoid hay—it often contains weed seeds.
- Shredded leaves: One of the best and most readily available winter mulches. They decompose slowly and improve soil structure.
- Pine needles: Excellent for acid-loving plants like azaleas, blueberries, and rhododendrons. They don’t mat down easily, allowing airflow.
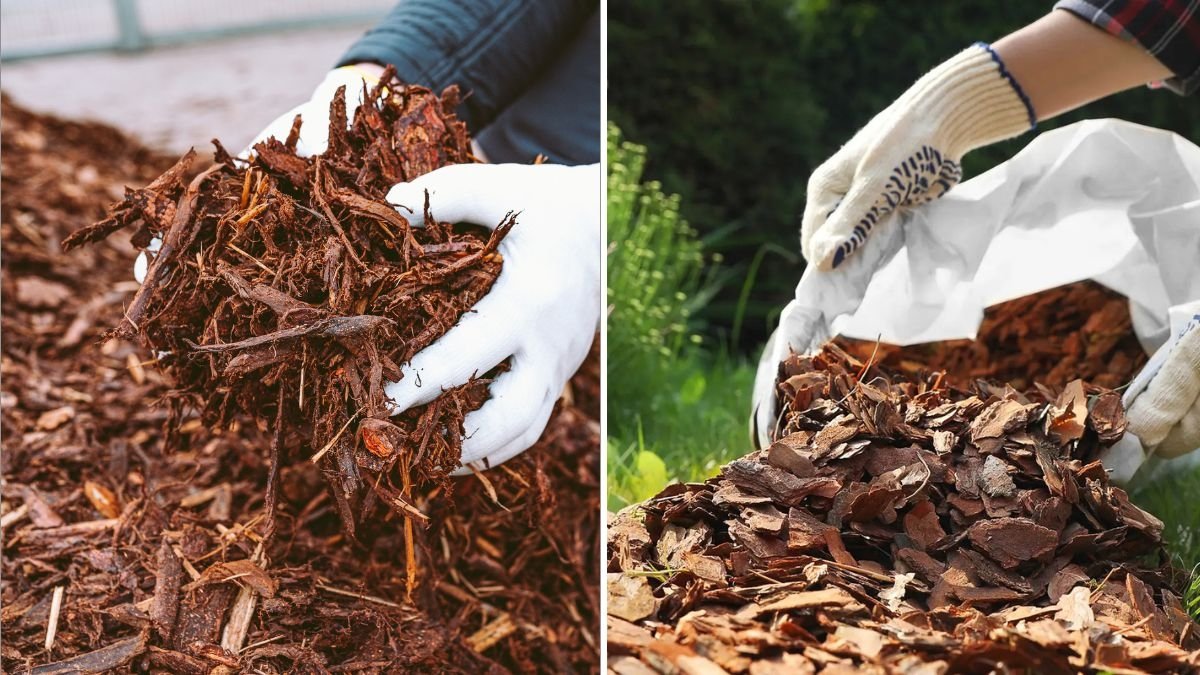
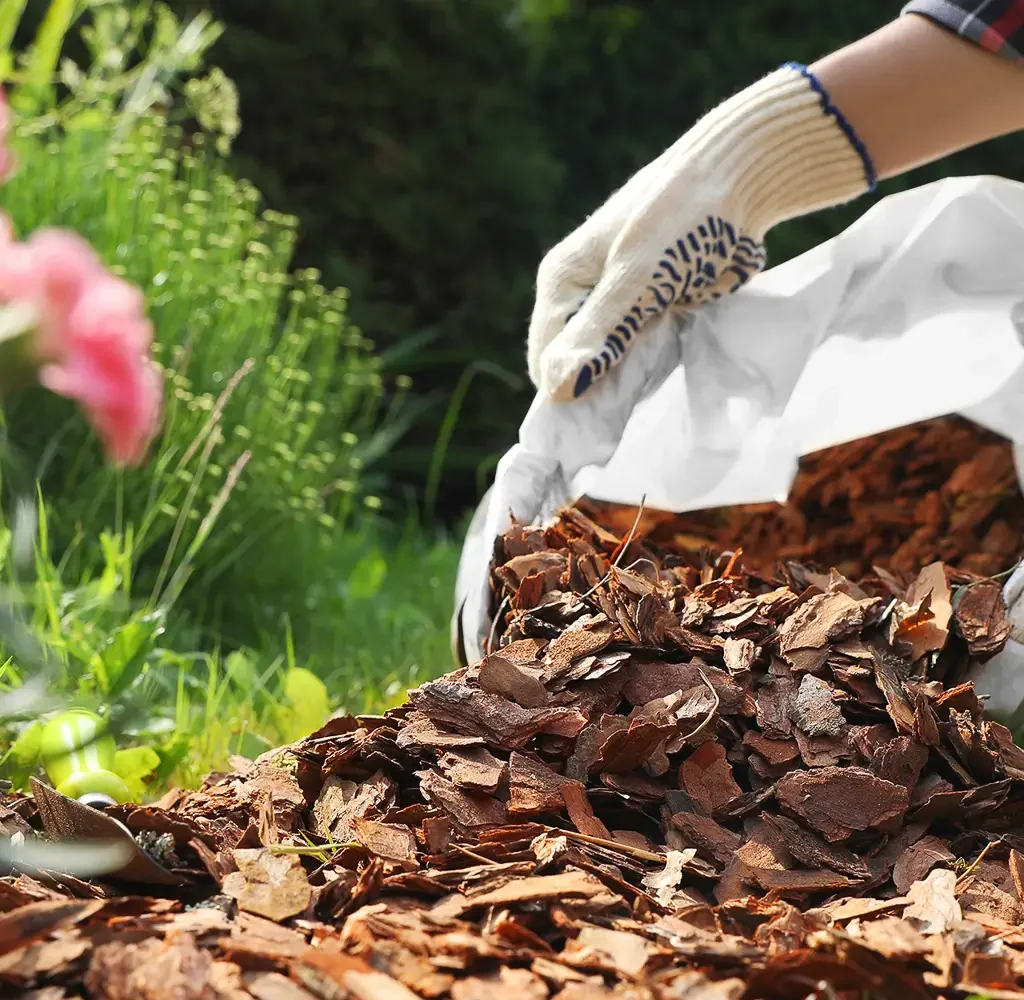
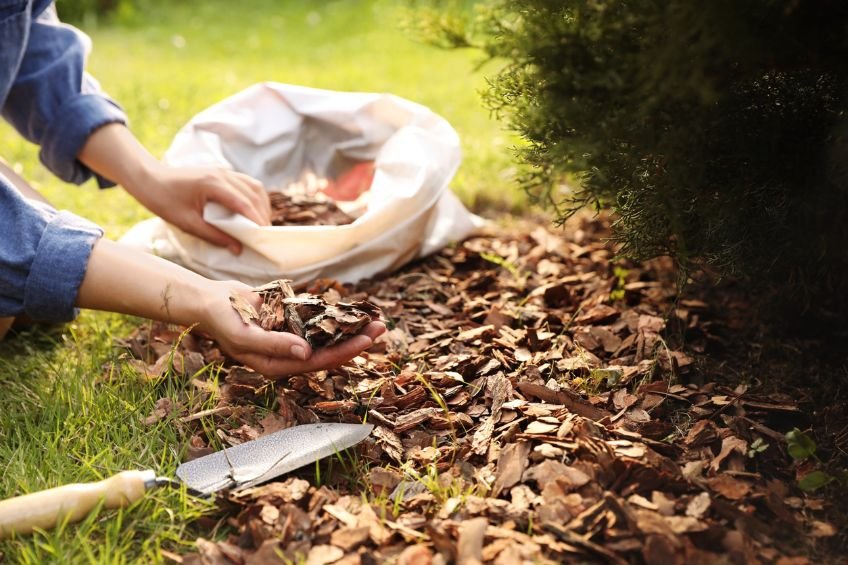
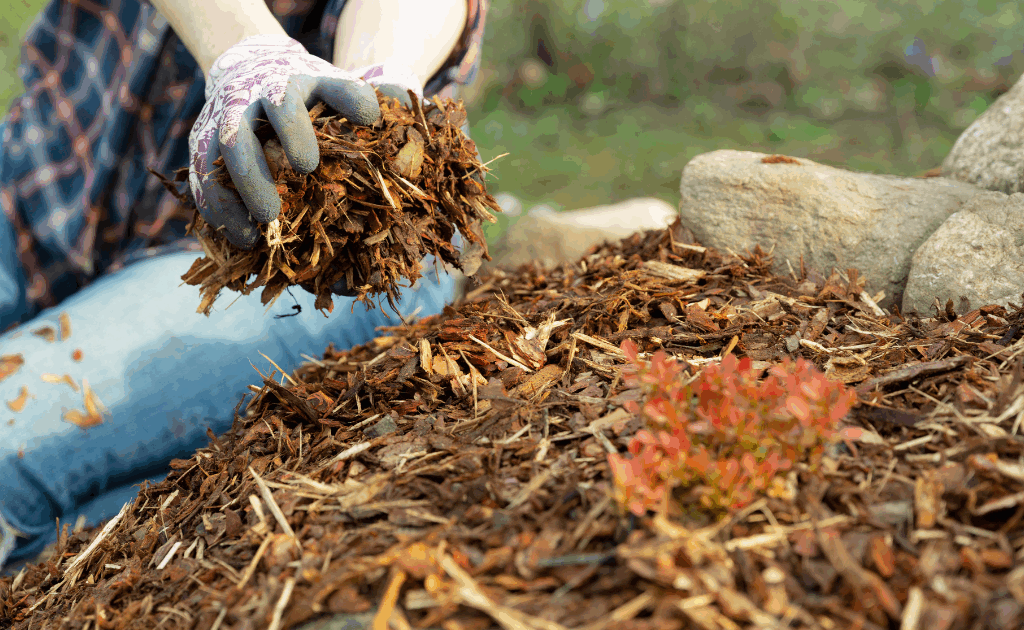
- Wood chips or bark: Perfect for trees and shrubs; they decompose slowly, offering long-term protection.
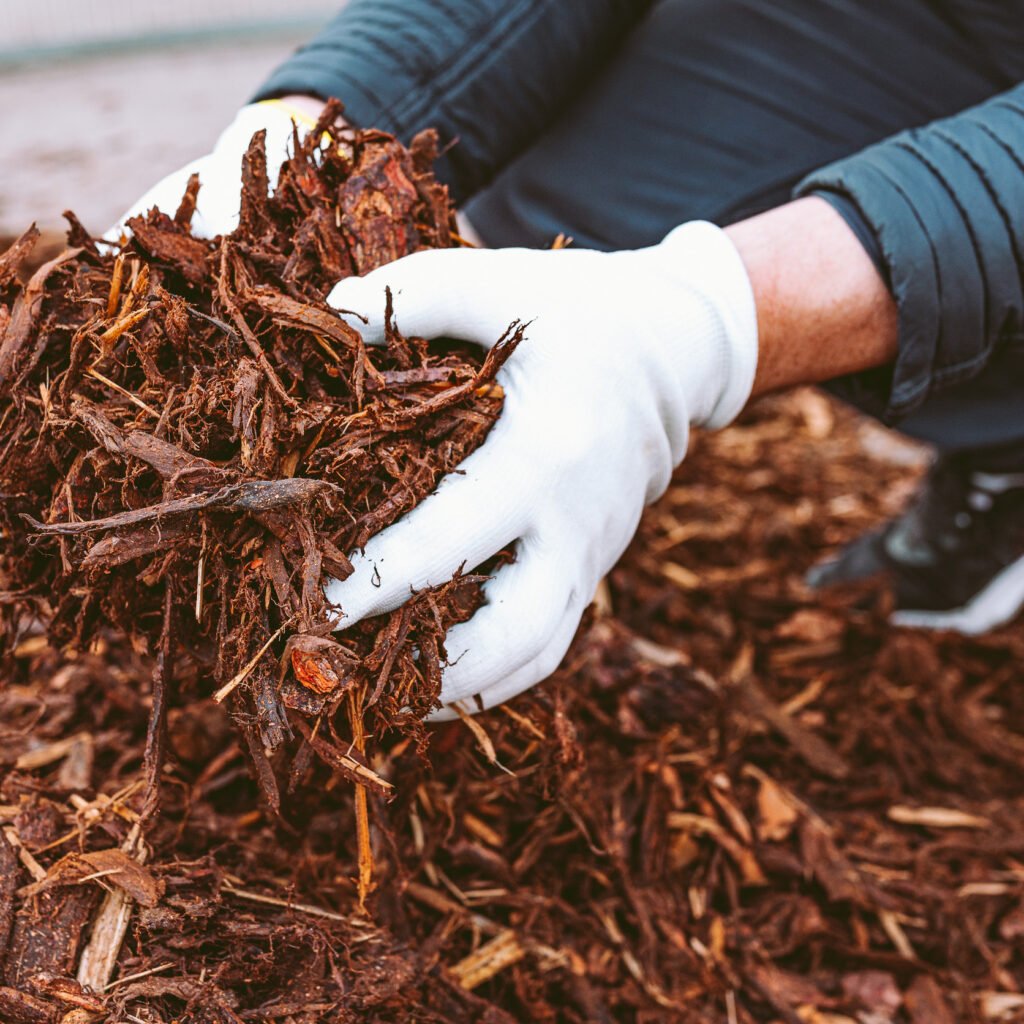
- Compost: Provides nutrients while protecting soil, though it’s best used under another mulch layer for insulation.
2. Inorganic Mulches (Useful for Specific Cases)
- Gravel or stones: Good for preventing erosion but not ideal for temperature insulation.
- Landscape fabric: Can suppress weeds but may trap too much moisture in winter.
Pro Tip: Organic mulches are generally the best choice for most gardens in winter—they protect now and feed the soil later.
Step 2: Know When to Apply Winter Mulch
Timing is crucial. Mulching too early can trap warm air in the soil, encouraging new growth that will be damaged by frost. Mulching too late, after the ground freezes solid, prevents insulation from doing its job.
Best timing:

- Apply winter mulch after the first hard frost, when the ground is cold but not yet frozen.
- In most regions, this means late November to early December.
This timing locks in soil moisture and creates a stable temperature barrier before harsh winter weather sets in.
Tip: If you’re in a milder climate, delay mulching until nighttime temperatures consistently drop below 40°F (4°C).
Step 3: Prepare Your Garden Before Mulching
Before laying down mulch, take a few preparatory steps to ensure your plants get maximum benefit:
- Clean up debris: Remove weeds, dead leaves, and diseased plant matter. This prevents pests and fungal spores from overwintering.
- Water thoroughly: Moist soil retains heat better than dry soil. Give your plants a deep watering a day or two before mulching.
- Cut back perennials: Trim dead stems to a few inches above ground to make mulching easier and reduce disease risk.
- Mark plant locations: Use small stakes to mark where plants are, so you don’t bury them too deeply later.
Step 4: Apply Mulch Properly
Now comes the most important part—the actual application. Proper depth and placement determine whether mulch protects or harms your plants.

For Perennials and Flower Beds:
- Apply mulch 2–4 inches thick around the base of plants.
- Keep mulch 1–2 inches away from crowns or stems to prevent rot.
- For extra-sensitive perennials (like delphiniums or chrysanthemums), mound mulch a little higher for added insulation.
For Trees and Shrubs:
- Spread mulch in a wide circle around the base, extending to the tree’s drip line (the outer edge of its canopy).
- Keep mulch at least 4–6 inches away from the trunk to prevent bark rot and rodent damage.
- Use a layer about 3–5 inches deep for adequate protection.
For Bulbs:
- After the ground has frozen, add 4–6 inches of loose mulch over bulb beds to prevent frost from heaving bulbs upward.
- Straw, shredded leaves, or evergreen boughs work best for bulbs.
For Vegetable Gardens:
- Spread 2–3 inches of compost over beds, then top with straw or shredded leaves.
- This combination nourishes the soil through winter while keeping it insulated from erosion and freezing.
Pro Tip: Don’t pile mulch into thick, compact layers—air needs to circulate, and overly dense mulch can suffocate roots or attract mold.
Step 5: Check and Maintain Mulch Throughout Winter
Winter weather can be unpredictable. Strong winds, heavy rain, or snow can displace mulch and expose roots. Check your mulch every few weeks and reapply or fluff it up as needed.
Maintenance tips:
- After heavy snow melts, gently rake mulch back into place if it has compacted.
- Avoid disturbing frozen soil. Wait for mild days to adjust mulch depth.
- Watch for pests, such as mice or voles, that may take shelter under thick mulch layers near tree trunks.
If pests are a problem, use coarse materials like pine bark or gravel near tree bases to deter nesting.

Step 6: Remove or Adjust Mulch in Early Spring
As temperatures rise, it’s important to gradually remove winter mulch to prevent plants from overheating or rotting.
- Begin removing mulch once daytime temperatures consistently stay above 45°F (7°C) and the danger of hard frost has passed.
- For perennials and bulbs, gently pull mulch away from crowns and shoots to let new growth emerge.
- For trees and shrubs, simply spread the mulch out thinner for continued weed suppression and moisture retention during the growing season.
Pro Tip: Don’t remove all mulch—keep a 1–2 inch layer year-round to conserve moisture and regulate temperature.
Common Winter Mulching Mistakes to Avoid
- Applying too early: Leads to premature growth that frost can kill.
- Piling mulch against stems or trunks: Encourages rot and pest infestations.
- Using dense materials like fresh grass clippings: These can mat down, blocking air and trapping moisture.
- Over-mulching: A layer thicker than 6 inches can suffocate roots and delay spring warming.
- Neglecting soil moisture: Dry soil under mulch can still damage roots, especially in windy or drought-prone areas.
Best Mulching Combinations for Winter Protection

- Flower beds: Compost (1 inch) + shredded leaves (2 inches).
- Shrubs and trees: Bark chips (3 inches) + pine needles (1 inch top layer).
- Vegetable beds: Compost (2 inches) + straw (2 inches).
- Bulb gardens: Straw (3 inches) + evergreen boughs for wind protection.
These combinations provide both insulation and nutrients, ensuring your garden soil stays fertile and protected through the cold months.
Final Thoughts
Winter mulching is more than just a seasonal chore—it’s an investment in your garden’s long-term health. When done properly, mulch acts like a cozy blanket, shielding plants from the cold while enriching the soil beneath.

By choosing the right materials, applying mulch at the right time, and maintaining it through winter, you’re setting the stage for strong, resilient growth when spring finally arrives. Come April, your plants will thank you with healthy roots, lush foliage, and vibrant blooms—all because you took the time to protect them when they needed it most.
So before the frost settles in for good, grab your rake, your favorite mulch, and give your garden the care it deserves. A little effort now will reward you with beauty and abundance in the seasons ahead.
Leave A Comment