If you’ve ever chopped up a bunch of celery for soup or salad and tossed the base into the trash or compost, you might be surprised to learn that you’ve been throwing away the beginnings of a whole new plant. Celery is one of the easiest vegetables to regrow from kitchen scraps, and watching those tender green shoots spring to life is both fascinating and rewarding.
Growing celery from scraps isn’t just a fun gardening experiment—it’s a sustainable way to stretch your groceries, reduce waste, and enjoy fresh, homegrown produce right from your windowsill or garden. Whether you have a backyard garden or just a sunny kitchen window, you can regrow celery with very little effort.
Here’s a complete step-by-step guide on how to grow celery from kitchen scraps, including what you’ll need, how to care for your growing plant, and expert tips for a healthy, flavorful harvest.
Why Regrow Celery from Scraps?
Regrowing celery from the base of the stalk is both eco-friendly and budget-friendly. You don’t need seeds, special tools, or fancy garden beds—just a little patience and attention.
Here are a few reasons gardeners love this method:
- Saves money: You can get a new celery plant from what you’d normally discard.
- Reduces food waste: It’s a great way to repurpose kitchen scraps.
- Perfect for small spaces: Even apartment dwellers can grow celery indoors.
- Fresh flavor anytime: You’ll have crisp, aromatic celery whenever you need it.
Best of all, this project is easy enough for beginners and even makes a great family activity to teach kids about plant life cycles.

What You’ll Need
To regrow celery from kitchen scraps, you’ll only need a few simple materials—most of which you probably already have:
- A fresh celery bunch (preferably organic)
- A sharp knife
- A shallow bowl or jar
- Clean water
- Sunny windowsill or a spot with bright, indirect light
- Pot or raised bed (for later transplanting)
- Potting soil or rich garden soil
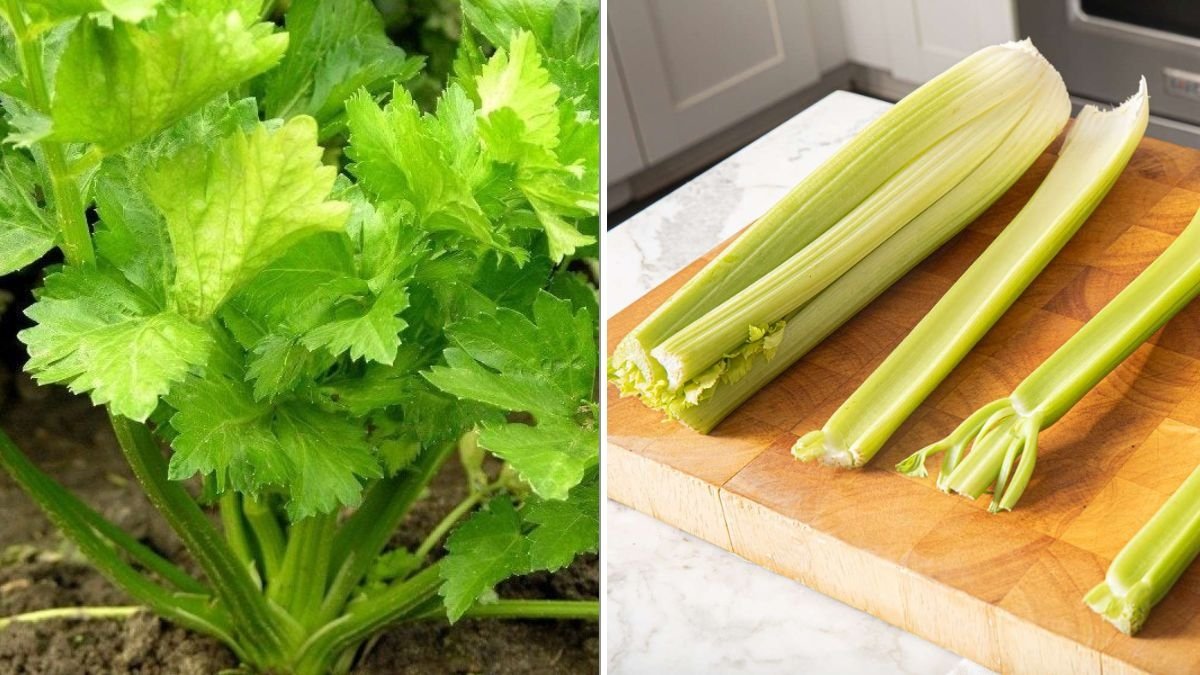
Step 1: Prepare the Celery Base

Start with a fresh, healthy bunch of celery. Trim off the stalks about 2 inches above the base, leaving the root end intact. This base is where new growth will emerge.
Rinse the base gently under cool water to remove any dirt or debris. Avoid using an old or wilted celery base—freshness makes a big difference in how well it regrows.
Pro Tip:
If you’re planning ahead, choose celery that still has a tight, firm base and shows no signs of mold or decay.
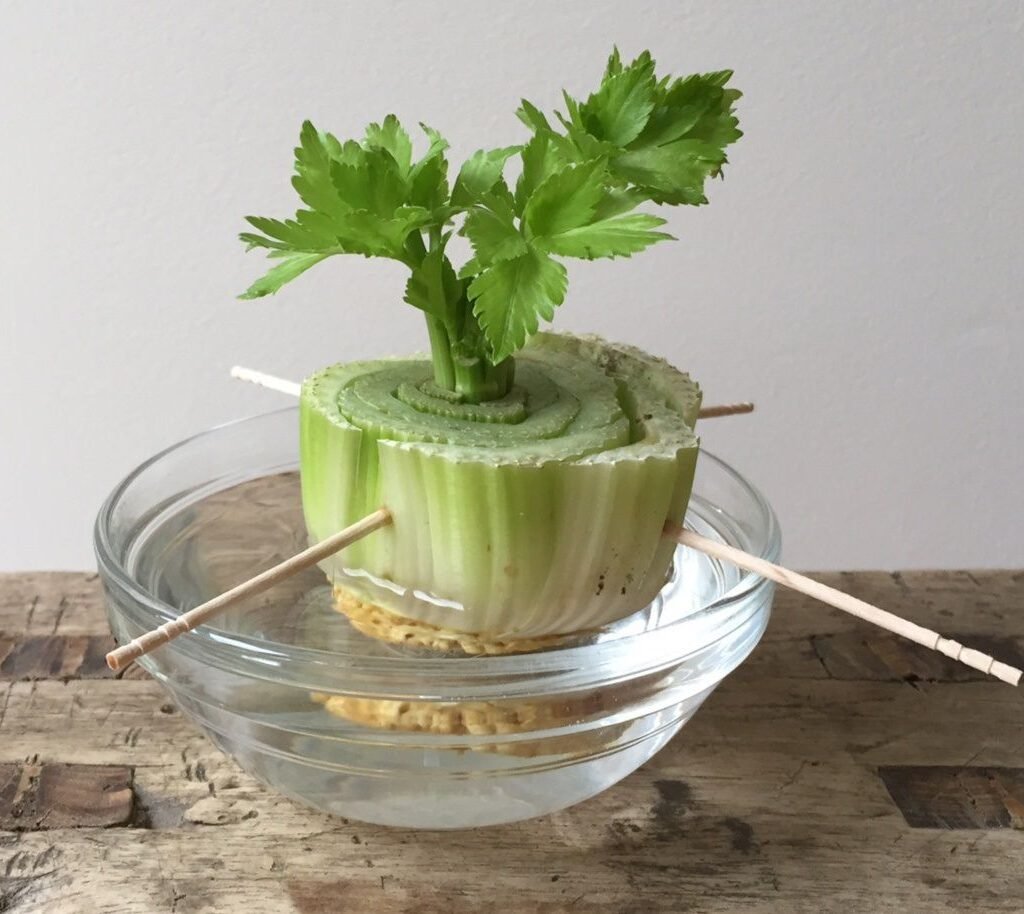
Step 2: Start Regrowing in Water
Place the celery base in a shallow bowl or glass jar, cut-side up. Add enough clean, room-temperature water to cover the bottom inch of the base.
Set the container in a sunny windowsill where it will get at least 6 hours of light daily. South-facing windows are ideal.

Within 3 to 5 days, you’ll notice new green shoots sprouting from the center and small roots beginning to form at the bottom.
Maintenance Tips:
- Change the water every 2 days to prevent mold and bacteria growth.
- Keep the base moist but not submerged entirely. Too much water can cause rot.
- Rotate the bowl occasionally so all sides receive light evenly.
After 7 to 10 days, your celery will have grown several inches of new leaves and a small network of roots—it’s now ready for soil.
Step 3: Transplant to Soil
Once the celery has visible roots and sturdy shoots, it’s time to move it to soil for long-term growth. You can transplant it into a pot, raised bed, or directly into your garden.
If planting in a pot:
- Choose a container that’s at least 8 inches deep with good drainage holes.
- Fill it with nutrient-rich potting mix, ideally a blend of compost, loamy soil, and a bit of perlite for aeration.
- Make a small hole in the center and plant the celery so the new growth sits just above the soil line.
- Gently pat down the soil and water thoroughly.
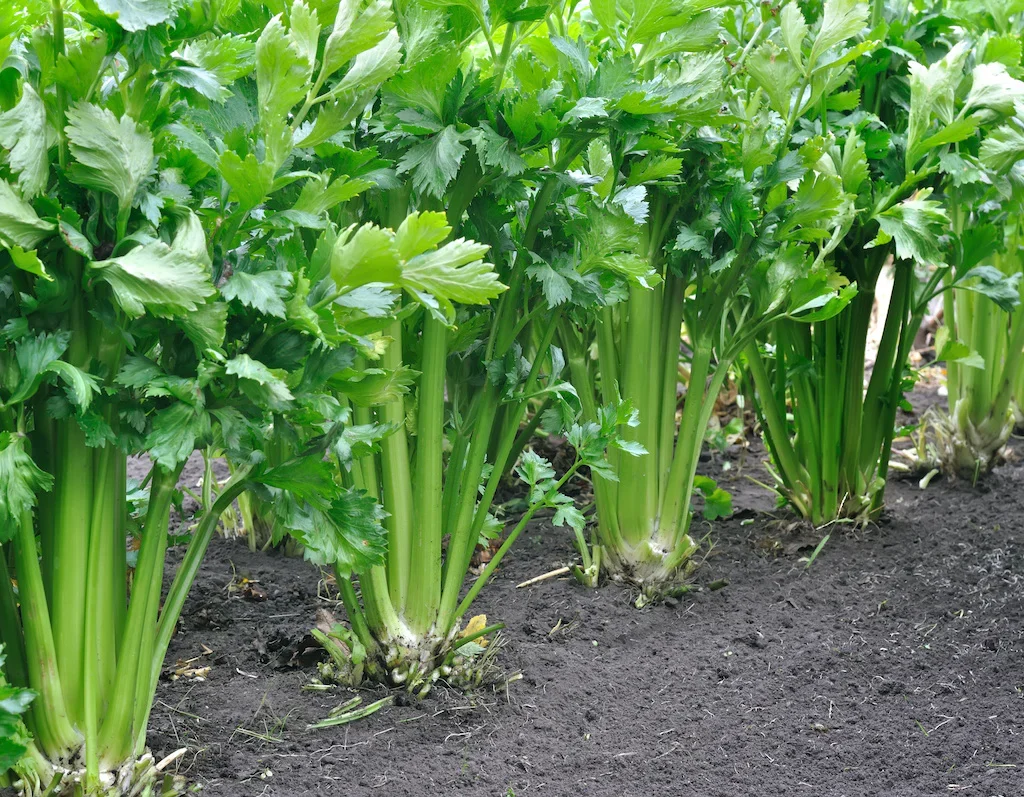
If planting in the garden:
- Select a location with full sun and well-drained, fertile soil.
- Amend the soil with compost to improve fertility and structure.
- Space celery plants about 8 to 10 inches apart in rows that are 12–18 inches apart.
Water well after planting to help the roots establish.
Step 4: Care and Maintenance
Celery is a moisture-loving plant, so the most important factor after transplanting is consistent watering. Dry soil can lead to tough, stringy stalks.

Watering:
Keep the soil evenly moist at all times—celery prefers soil that feels like a wrung-out sponge. In hot weather, you may need to water daily. Adding a layer of mulch (like straw or shredded leaves) around the base helps retain moisture and keep roots cool.
Sunlight:
Celery loves full sun but will tolerate partial shade, especially in warmer climates. Aim for 6–8 hours of light per day.
Feeding:
Every 2–3 weeks, feed your celery with a balanced organic fertilizer or compost tea to keep it growing vigorously.
Temperature:
Celery thrives in cooler conditions between 60°F–70°F (15°C–21°C). Extreme heat can cause bolting (premature flowering). If you live in a warm region, provide light afternoon shade during summer.
Step 5: Harvesting Your Celery
Celery takes time to mature—typically 3 to 4 months after transplanting. You can either harvest the whole plant or cut the outer stalks as needed for continuous growth.
To harvest individual stalks:
Cut the outer stalks near the soil line, leaving the inner ones to continue developing. This method gives you a longer harvest period.

To harvest the whole plant:
Cut the entire bunch just above the root base when stalks are about 8–12 inches tall and firm. You can then restart the process again using the new base!
Pro Tip:
For the best flavor and texture, water your celery well before harvesting—it helps the stalks stay crisp and mild.
Common Problems and How to Fix Them
Even though celery is easy to regrow, a few common issues can arise. Here’s how to troubleshoot them:
- Yellowing leaves: Usually a sign of too much direct sunlight or low nutrients. Move the plant to partial shade and add compost or fertilizer.
- Rotting base: This happens when the water level is too high during the initial regrowth stage. Keep only the bottom submerged.
- Slow growth: Celery is naturally slow-growing, but lack of nutrients or cold temperatures can slow it further. Use a balanced fertilizer and maintain warmth.
- Bitter taste: Caused by inconsistent watering or high heat. Keep the soil moist and provide light shade during hot spells.
Bonus: Growing Celery Indoors Year-Round
Don’t have outdoor space? No problem! Celery can grow indoors just as well as outdoors if you provide enough light.
- Use a deep pot (8–10 inches) with drainage holes.
- Place it near a sunny window or use LED grow lights for at least 10–12 hours daily.
- Maintain humidity with a spray bottle or humidity tray.
- Rotate the pot every few days to ensure even light exposure.
Indoor-grown celery tends to have slightly smaller stalks, but the flavor is every bit as fresh and aromatic.
Sustainability Bonus: Keep the Cycle Going
After harvesting your celery, you can repeat the process again and again. Each time you regrow from a new base, you’re reducing waste and saving money. You can even experiment with other vegetables that regrow from scraps—like green onions, lettuce, bok choy, and leeks—to create a mini “scrap garden.”

By keeping your celery alive and productive through regrowth cycles, you’re not only enjoying fresh produce but also practicing eco-friendly gardening that’s great for the planet.
Final Thoughts
Learning how to grow celery from kitchen scraps is a small step toward sustainable living, but it’s also a deeply satisfying one. Watching those pale green shoots transform into full, leafy stalks is a reminder that nature is generous when given just a little care.
All you need is a celery base, a bit of water, and patience—and you’ll soon have your own crisp, aromatic celery ready to chop into soups, salads, and stir-fries.
So next time you’re prepping dinner, don’t toss that celery base—give it a second life. With this simple method, you’ll turn kitchen waste into kitchen abundance, one stalk at a time.
Leave A Comment