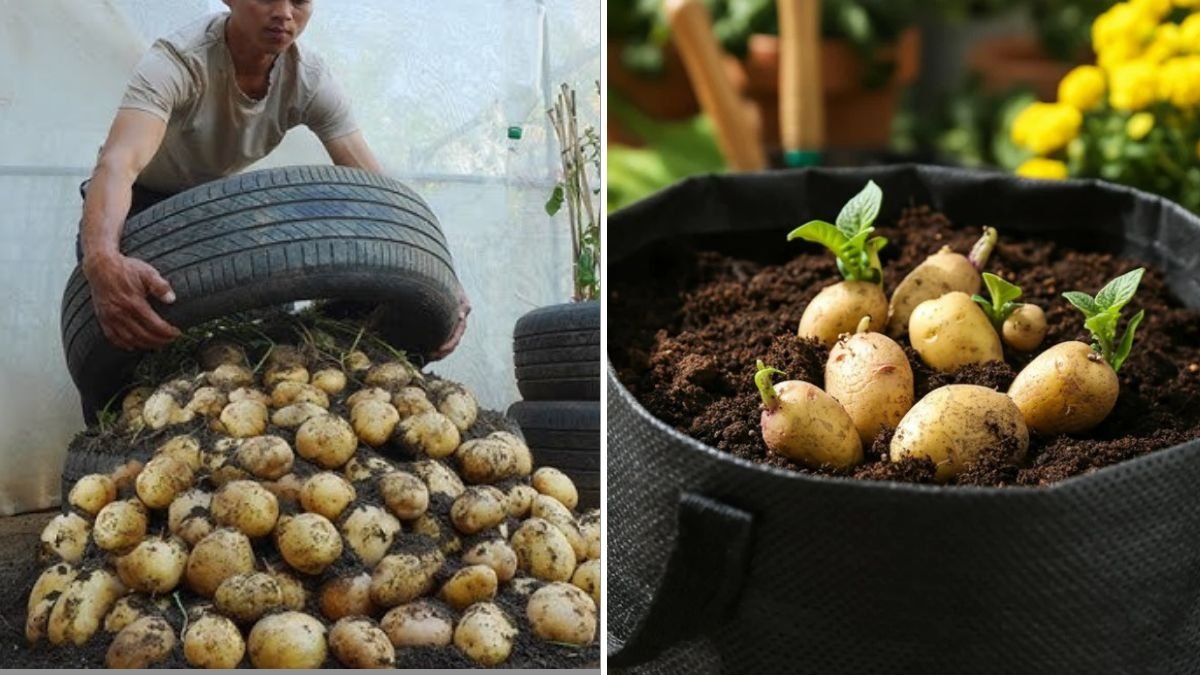
Imagine stepping into your balcony or backyard and harvesting fresh, homegrown potatoes any time of the year. No waiting for the right season, no need for large garden plots—just a few plastic containers, some soil, and a little know-how.
That’s the beauty of the method shared in the viral YouTube video “Using this method, You Can Grow Potatoes All Year Round. Growing Potatoes in Plastic Containers.” It’s changing how home gardeners approach potato cultivation.
Growing potatoes in containers is not only possible—it’s easy, space-efficient, and incredibly rewarding. This guide will walk you step-by-step through the process, from selecting the right containers to maintaining an endless cycle of potato harvests, ensuring you’ll never have to buy store-bought potatoes again.
Step 1: Why Choose Plastic Containers for Growing Potatoes?
Plastic containers offer several advantages that make them perfect for potato growing:
- Portability: You can move them to follow the sun or protect them from rain and frost.
- Temperature Control: Plastic retains warmth, which potatoes love, especially during cooler months.
- Space Efficiency: Ideal for small balconies, terraces, or even indoor setups.
- Reusable and Sustainable: Old buckets, tubs, or storage bins can be repurposed, reducing waste.
Choose sturdy plastic containers that are at least 12–18 inches deep and 14–20 inches wide. The deeper the container, the more space your potatoes have to form tubers underground.
Step 2: Preparing the Container for Optimal Growth
Proper preparation ensures that your potato plants thrive.
Follow these steps:
- Drill Drainage Holes: Potatoes hate soggy roots. Drill several small holes at the bottom for water drainage.
- Add a Base Layer: Place small stones or broken terracotta pieces at the bottom to improve aeration.
- Prepare the Soil Mix: The best mix for container-grown potatoes is light, loose, and rich in organic matter. Ideal soil mix:
- 50% garden soil or compost
- 25% coco peat or peat moss
- 25% perlite or sand for drainage
Mix in a handful of wood ash or bone meal—this boosts potassium and phosphorus, essential for healthy tubers.
Step 3: Choosing and Preparing Seed Potatoes
The “secret” behind continuous potato growth lies in using high-quality seed potatoes—these are small tubers specifically grown for planting, not eating.
- Buy certified disease-free seed potatoes from a reliable source.
- A week before planting, place them in a bright area (not direct sun) to encourage chitting—the formation of small sprouts.
- Once sprouts are about 1 inch long, they’re ready for planting.
You can also use sprouting potatoes from your kitchen, but remove any rotten or damaged parts before planting.
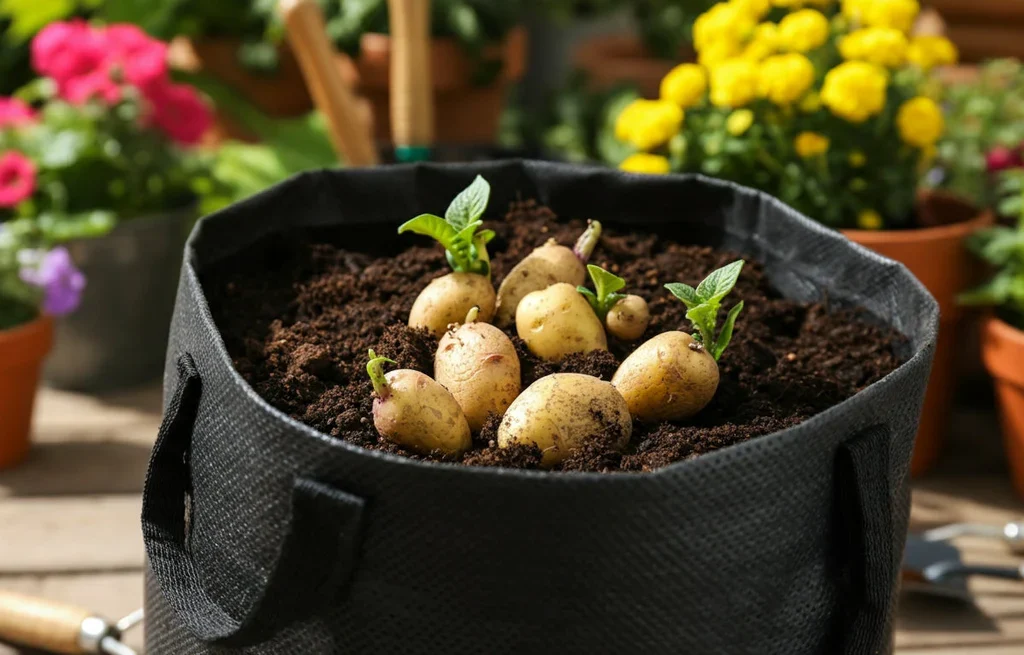
Step 4: Planting Potatoes the Right Way
Now comes the exciting part—getting your hands dirty!
- Fill the container with 4–6 inches of prepared soil mix.
- Place 2–3 seed potatoes, sprouts facing upward, spaced a few inches apart.
- Cover them with another 3–4 inches of soil.
- Water thoroughly but avoid overwatering.
As the plants grow, they’ll begin to form stems above the soil and tubers beneath it.
Step 5: The Secret Technique – “Hilling” for Bigger Harvests
One of the most important (and often overlooked) steps in container potato growing is hilling.
Hilling means gradually adding soil around the growing stems as the plants get taller. This encourages more tubers to form along the buried stems.

Here’s how to do it:
- When your potato plants grow about 6–8 inches tall, gently add more soil around them until only the top leaves are visible.
- Repeat this every 1–2 weeks until the soil reaches the top of the container.
By doing this, you maximize the number of potatoes that develop, turning a single container into a mini potato factory.
Step 6: Providing Light, Water, and Care
Potatoes are sun-hungry plants. To grow successfully all year:
- Sunlight: Give them at least 6 hours of direct sunlight daily.
- If growing indoors, use full-spectrum grow lights to replicate natural light.
- Watering: Keep the soil consistently moist but never waterlogged.
- Test by sticking your finger an inch into the soil—if it feels dry, water lightly.
- Temperature: Potatoes prefer temperatures between 15°C–25°C (59°F–77°F).
- In hot summers, move the containers to partial shade to prevent overheating.
To boost growth, feed the plants with a liquid compost tea or organic fertilizer every two weeks.
Step 7: Natural Pest and Disease Prevention
Even container-grown potatoes can face a few challenges. Here’s how to prevent them naturally:
- Aphids and Mites: Spray a mix of neem oil and mild soap water weekly.
- Fungal Issues: Ensure proper airflow and avoid watering the leaves.
- Soil Rot: Always use fresh or sterilized soil for new plantings.
Adding companion plants like basil, marigold, or garlic nearby also helps deter pests naturally.
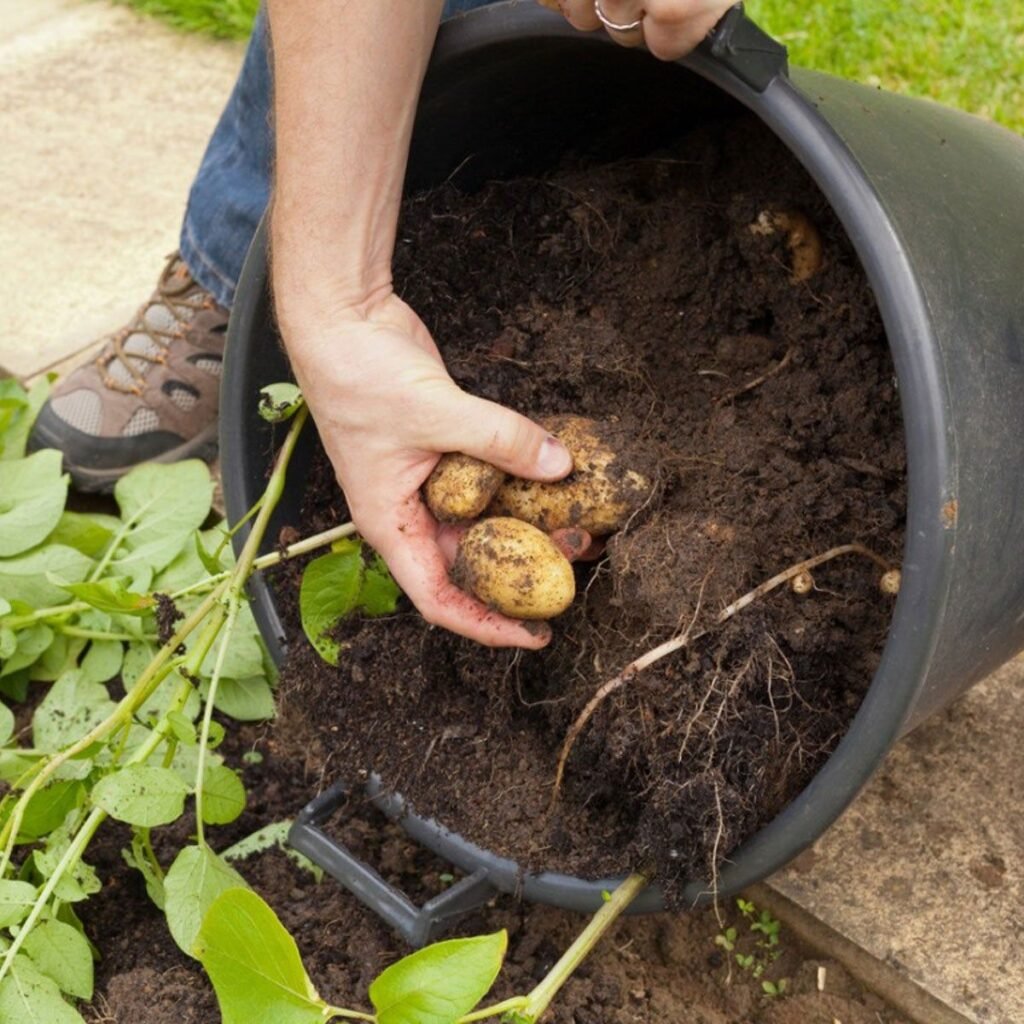
Step 8: Knowing When to Harvest
Timing your harvest is key to getting the best flavor and texture.

- When the potato plants begin to flower, you can start gently digging for new potatoes (small, tender ones).
- For full-sized potatoes, wait until the foliage turns yellow and starts to die back.
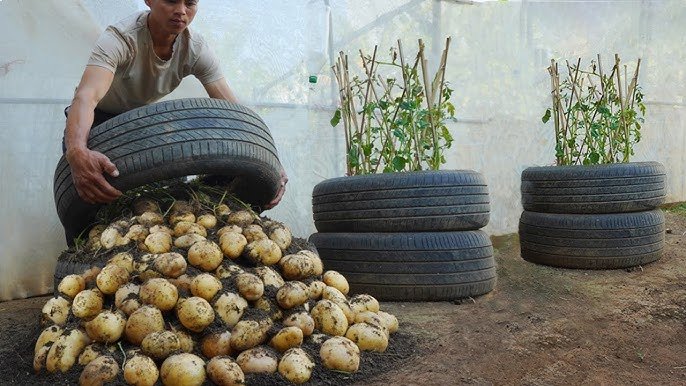
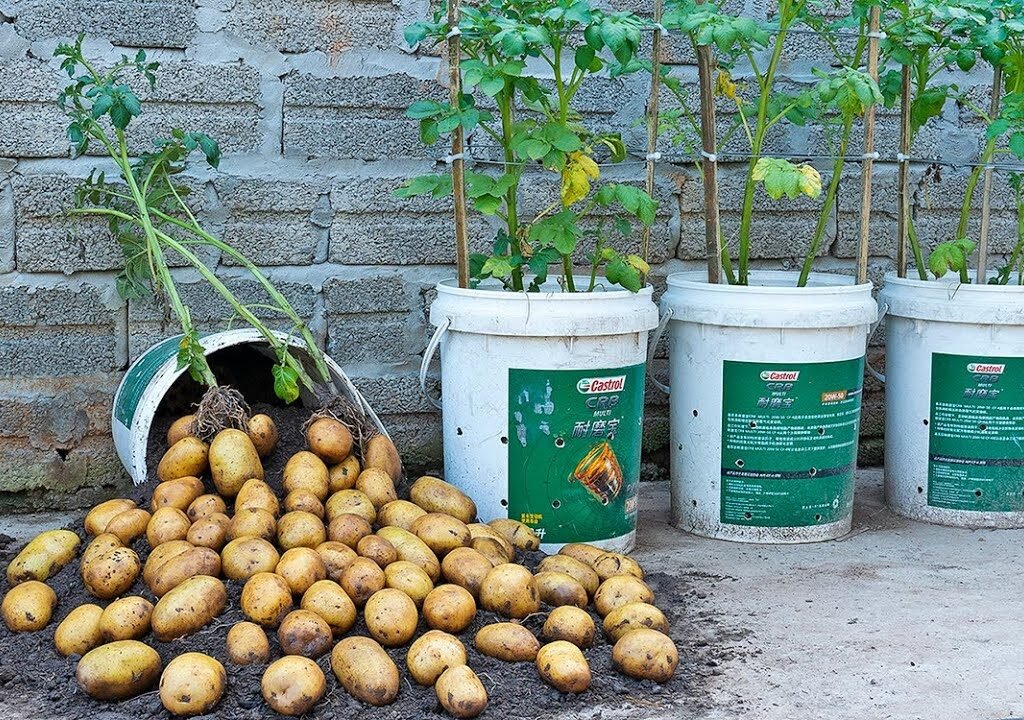
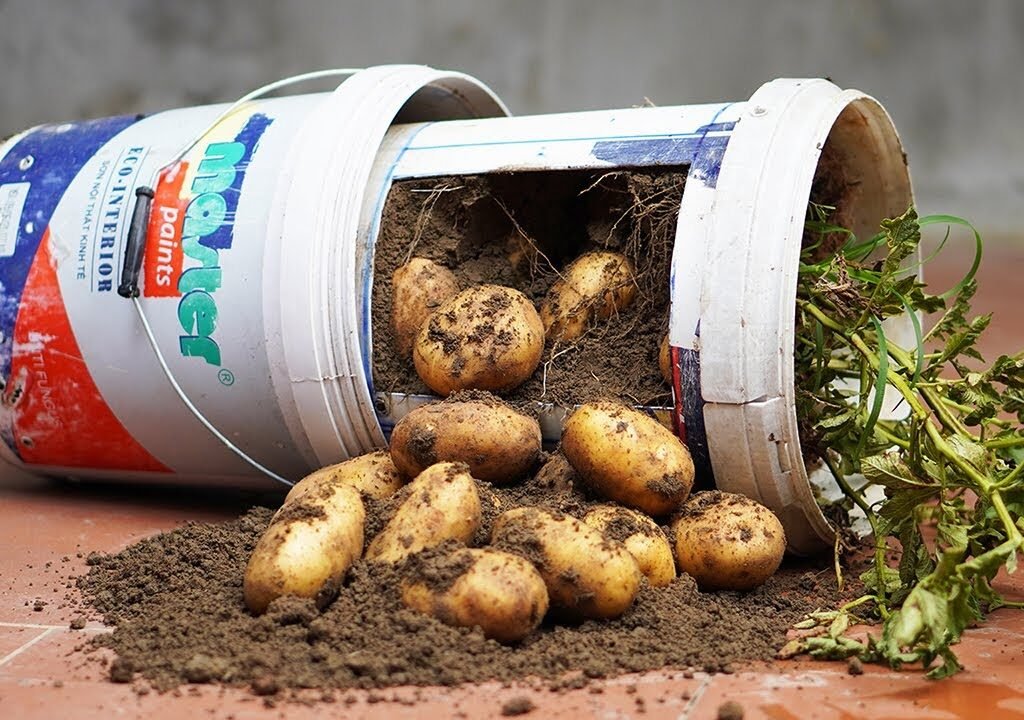
Simply tip the container over and sift through the soil to collect your golden treasures. Wash them gently, dry them in shade for a few hours, and store them in a cool, dark place.
Step 9: The Year-Round Cycle – Never Run Out of Potatoes
Here’s the real magic—continuous growing.
Instead of growing one big batch and waiting for the next season, you can stagger your plantings:
- Divide your containers into batches (e.g., 3–4 containers).
- Plant new seed potatoes every 4–6 weeks.
- As one batch matures, another will be in the growing stage.
This simple rotation ensures you always have fresh potatoes ready for harvest throughout the year.
For winter growing, move containers indoors near windows or under grow lights. In hot summers, keep them shaded during peak afternoon hours.
Step 10: Reusing Soil and Containers
After harvesting, don’t throw away the soil—recycle it wisely.
- Mix in fresh compost or organic manure to restore nutrients.
- Let the soil rest for a couple of weeks before planting the next batch.
- Wash containers thoroughly and disinfect with mild vinegar water to prevent disease buildup.
This sustainable approach keeps your garden eco-friendly and productive for years.

Step 11: Creative Container Ideas
You don’t have to stick to traditional pots—many everyday items can be transformed into potato planters. Here are some clever ideas:
- Old paint buckets or storage bins
- Laundry baskets lined with jute or plastic
- Reusable shopping bags or grow bags
- Cut-off water barrels
Just remember: ensure proper drainage holes and good airflow.
Step 12: Troubleshooting Common Potato Problems
Even experienced growers face a few hiccups. Here’s how to handle them:
- Yellowing Leaves: Could indicate overwatering or nutrient deficiency. Cut back on water and add compost tea.
- Small Potatoes: Often due to lack of sunlight or insufficient hilling.
- Rotten Tubers: Caused by poor drainage—improve soil aeration.
- No Flowers: Not a major issue; some varieties produce little to no blooms but still yield well.
Consistency is key—once your plants settle into a rhythm, they’ll reward you generously.
Step 13: Health and Taste Benefits of Homegrown Potatoes
Growing your own potatoes isn’t just about convenience—it’s about quality. Store-bought potatoes are often treated with chemical sprout inhibitors, while your homegrown ones are 100% natural.
Benefits include:
- Higher nutrient content, especially vitamin C and potassium.
- Better taste and texture, since you harvest them fresh.
- Freedom from pesticides and additives.
- Zero waste—use only what you need.
Plus, the satisfaction of cooking with potatoes you nurtured yourself is unmatched.
Conclusion: The Power of the Plastic Container Garden
Who knew that something as simple as a plastic container could unlock an endless potato harvest?
By mastering this method—choosing the right containers, managing light, and rotating plantings—you can grow delicious, fresh potatoes 365 days a year.
This isn’t just gardening; it’s a small act of self-sufficiency and sustainability. Whether you live in a city apartment or a countryside home, your next potato patch can start today—with nothing more than a bucket, some soil, and a little patience.
So, roll up your sleeves, grab a container, and begin your journey to never buying potatoes again. The secret’s out—and it’s simpler than you think.
Leave A Comment