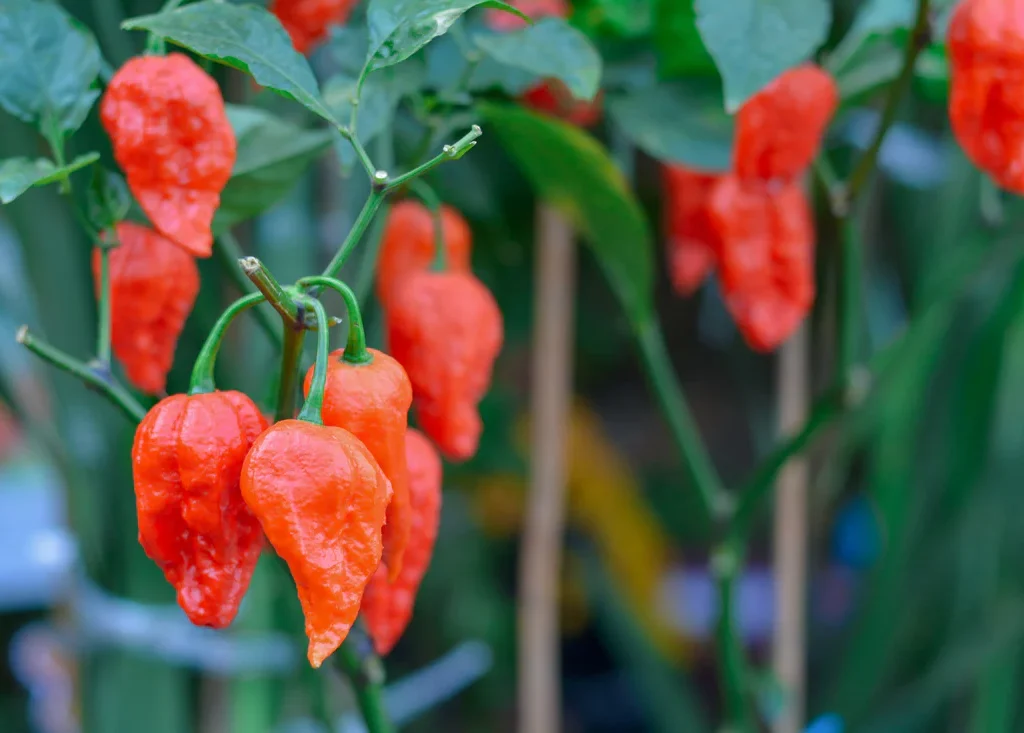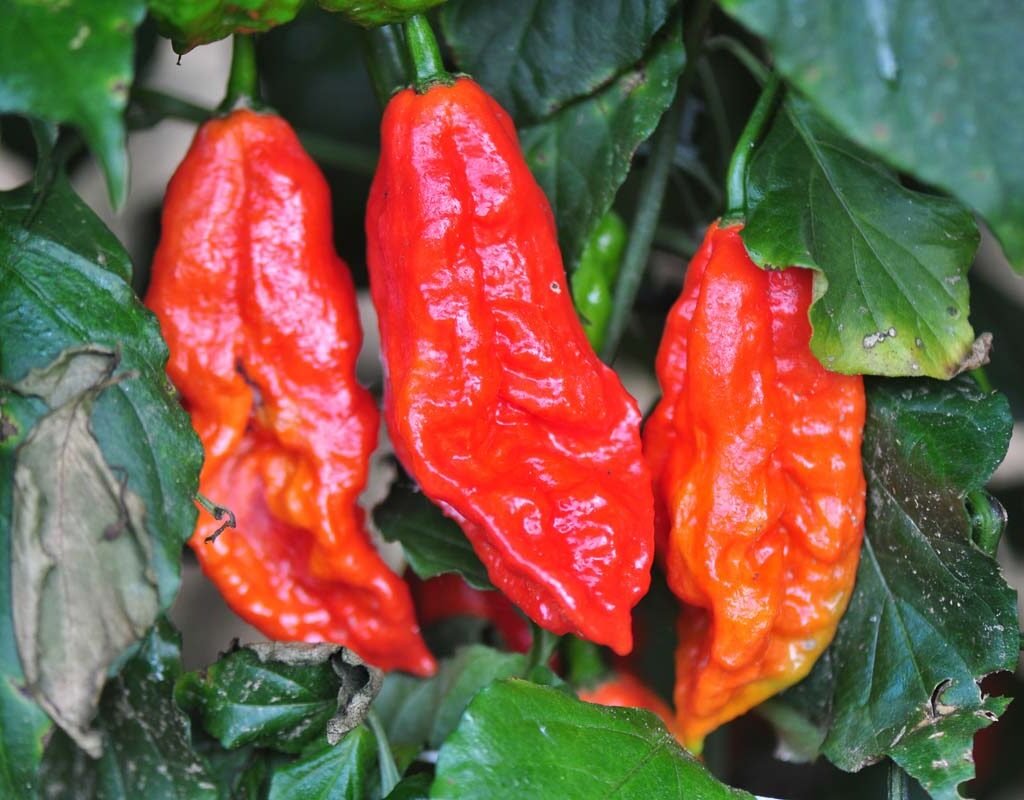
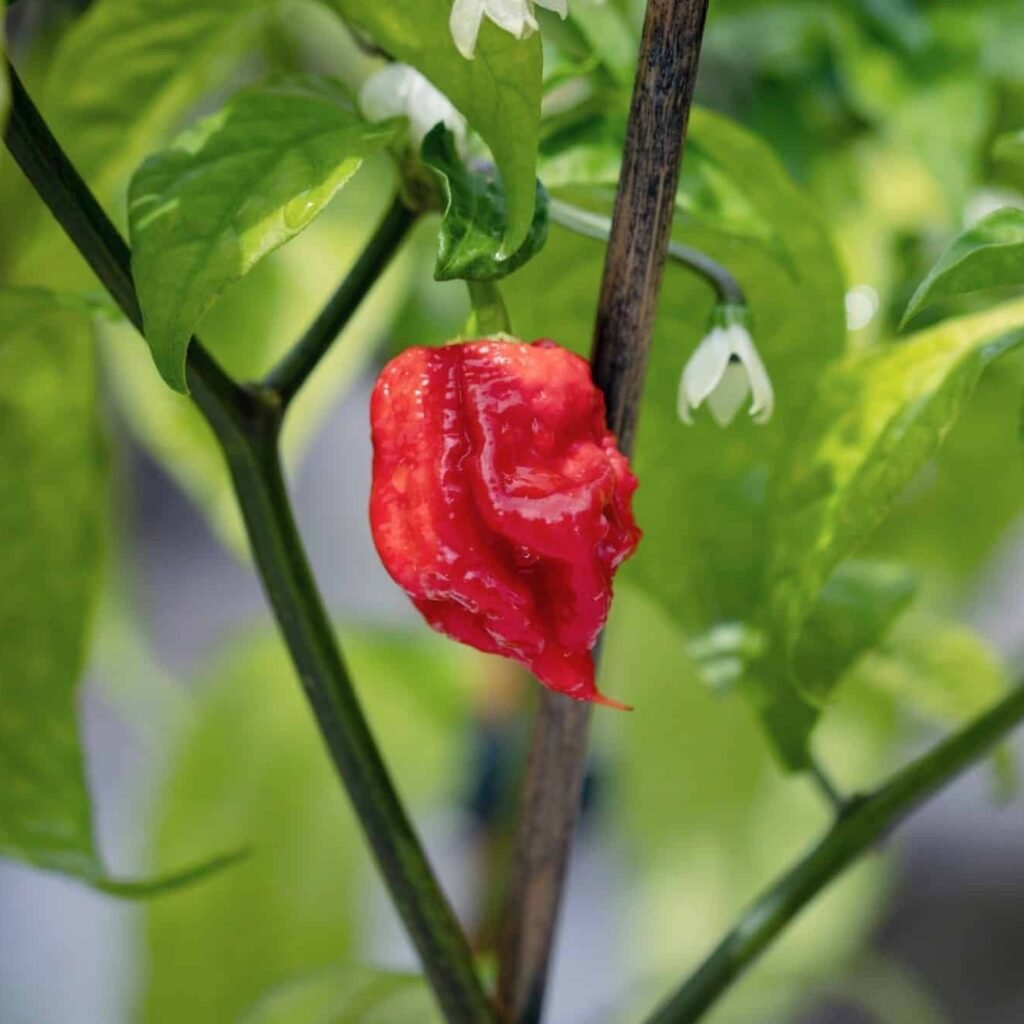
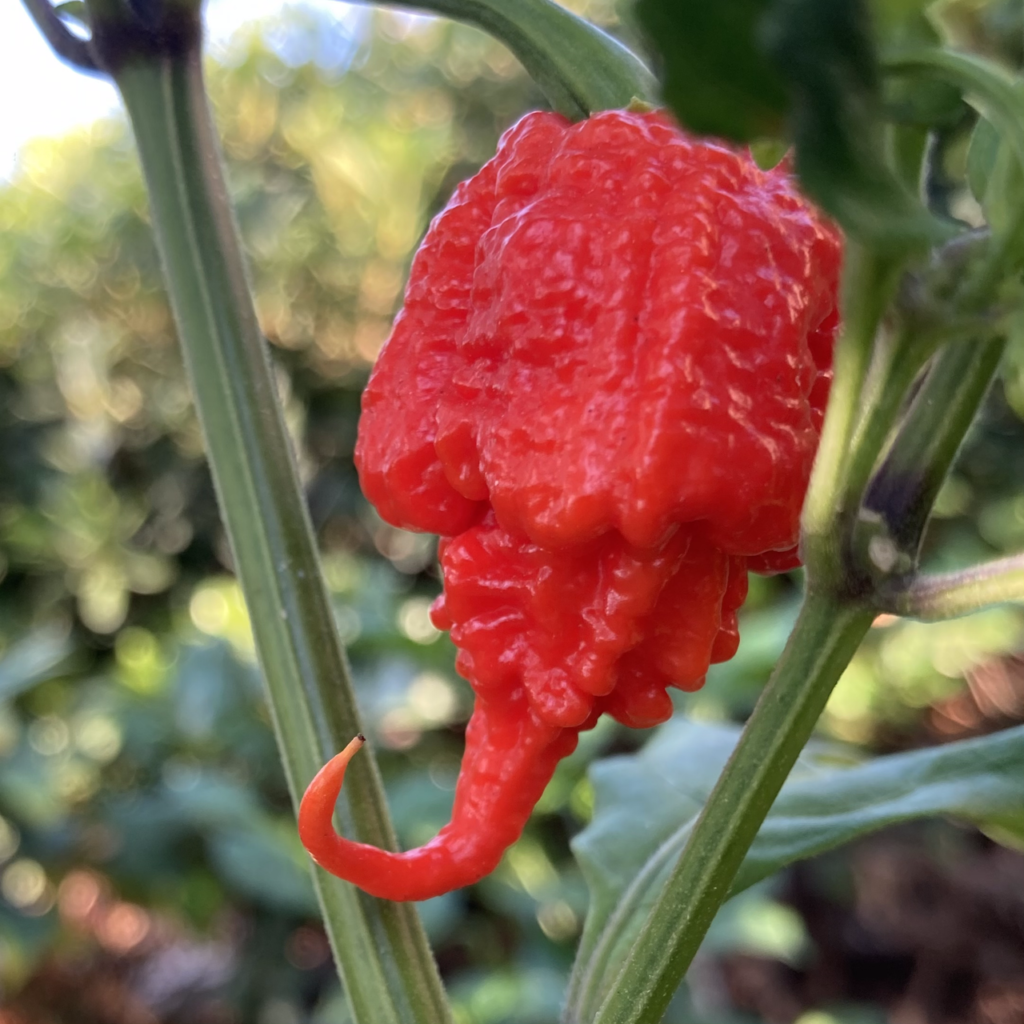
If you’ve ever wondered what it feels like to taste fire, the Carolina Reaper is your answer. Known as the world’s hottest pepper, this crimson-red chili has become a sensation among American spice enthusiasts, hot sauce makers, and gardeners. With a record-breaking heat level that averages over 1.6 million Scoville Heat Units (SHU)—and peaks at more than 2.2 million SHU—the Carolina Reaper isn’t just hot; it’s legendary.
Created in South Carolina, this pepper isn’t just about punishing heat. Beneath the burn lies a sweet, fruity, and smoky flavor that adds complexity to sauces, marinades, and gourmet dishes. In this guide, we’ll dive deep into everything you need to know about the Carolina Reaper—its origins, growing tips, cooking uses, health benefits, and how it became a fiery icon of American food culture.
The Origins of the Carolina Reaper
The Carolina Reaper was bred by Ed Currie, the founder of the PuckerButt Pepper Company in Fort Mill, South Carolina. By crossing a Pakistani Naga pepper with a Red Habanero, Currie created a chili that took the world by storm.
In 2013, the Guinness World Records officially crowned the Carolina Reaper as the hottest chili pepper on Earth, surpassing the Ghost Pepper and Trinidad Scorpion.
What makes this pepper special isn’t just its heat—it’s the balance of sweetness and fire, making it ideal for sauces, salsas, and spicy snacks.
How Hot Is the Carolina Reaper?
The Carolina Reaper sits at the top of the Scoville Heat Scale, which measures chili pepper spiciness. On average, it rates between 1,641,183 and 2,200,000 SHU—meaning it’s more than 200 times hotter than a jalapeño and about 10 times hotter than a habanero.
| Pepper Variety | Scoville Heat Units (SHU) |
|---|---|
| Jalapeño | 2,500 – 8,000 |
| Cayenne | 30,000 – 50,000 |
| Habanero | 100,000 – 350,000 |
| Ghost Pepper (Bhut Jolokia) | 855,000 – 1,041,427 |
| Carolina Reaper | 1,641,183 – 2,200,000 |
The first bite of a Carolina Reaper starts with a hint of fruity sweetness, followed quickly by an explosive heat that can last for up to 20 minutes. The pepper’s burn comes from capsaicin, a compound that triggers pain receptors on the tongue and in the mouth.
It’s not for the faint-hearted—but for spice lovers, it’s a thrill like no other.
Carolina Reaper Flavor Profile
Despite its reputation as a “weaponized chili,” the Carolina Reaper offers a rich, complex flavor when used correctly. Its sweet, fruity notes—often described as resembling cherry or cinnamon—make it a favorite among professional chefs and hot sauce creators.
When paired with tangy or creamy ingredients, the Carolina Reaper’s heat becomes surprisingly balanced, creating a flavor explosion that’s both fiery and delicious.
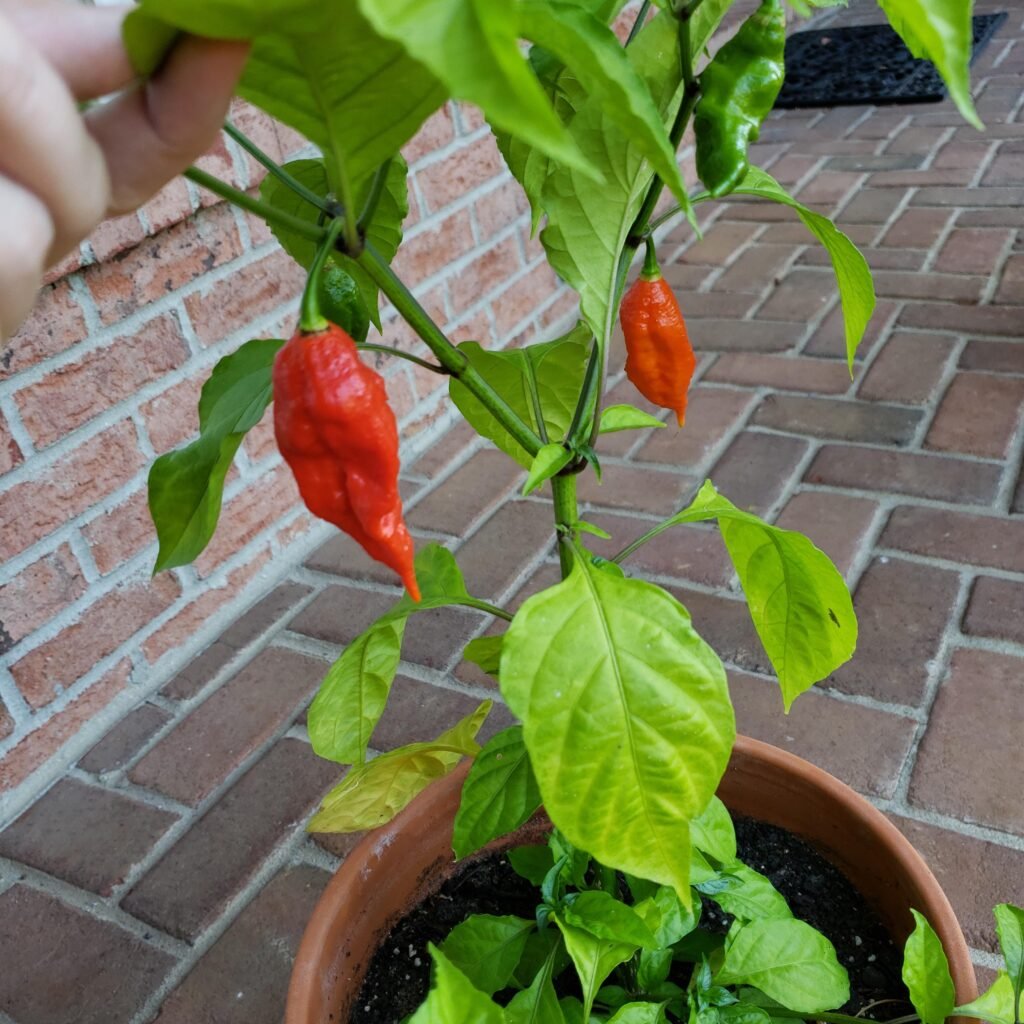
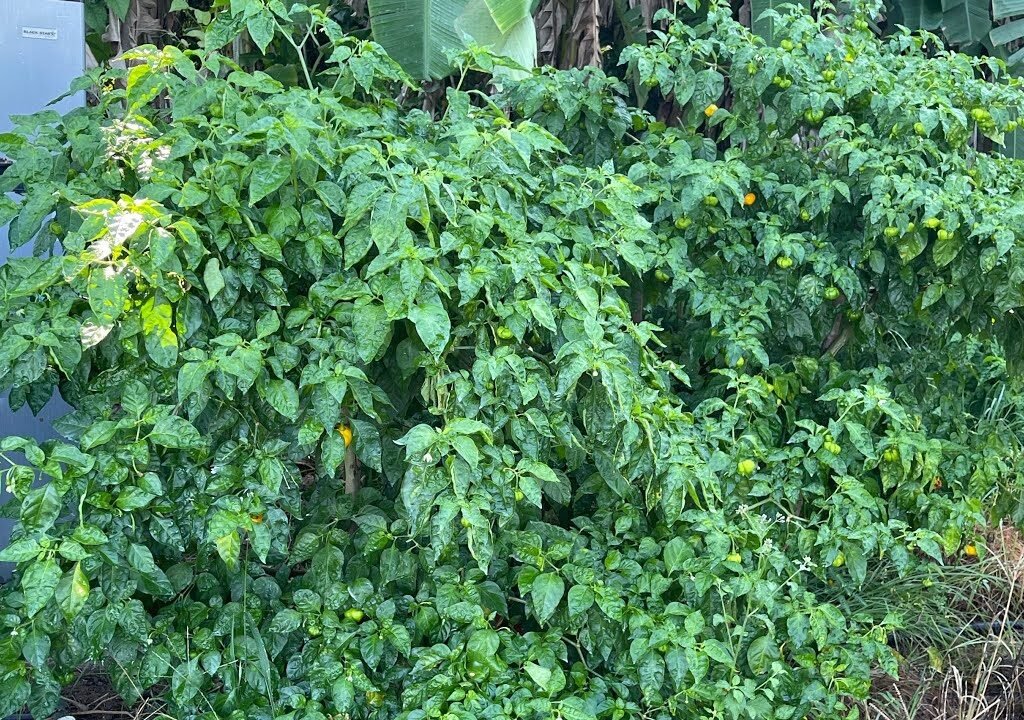
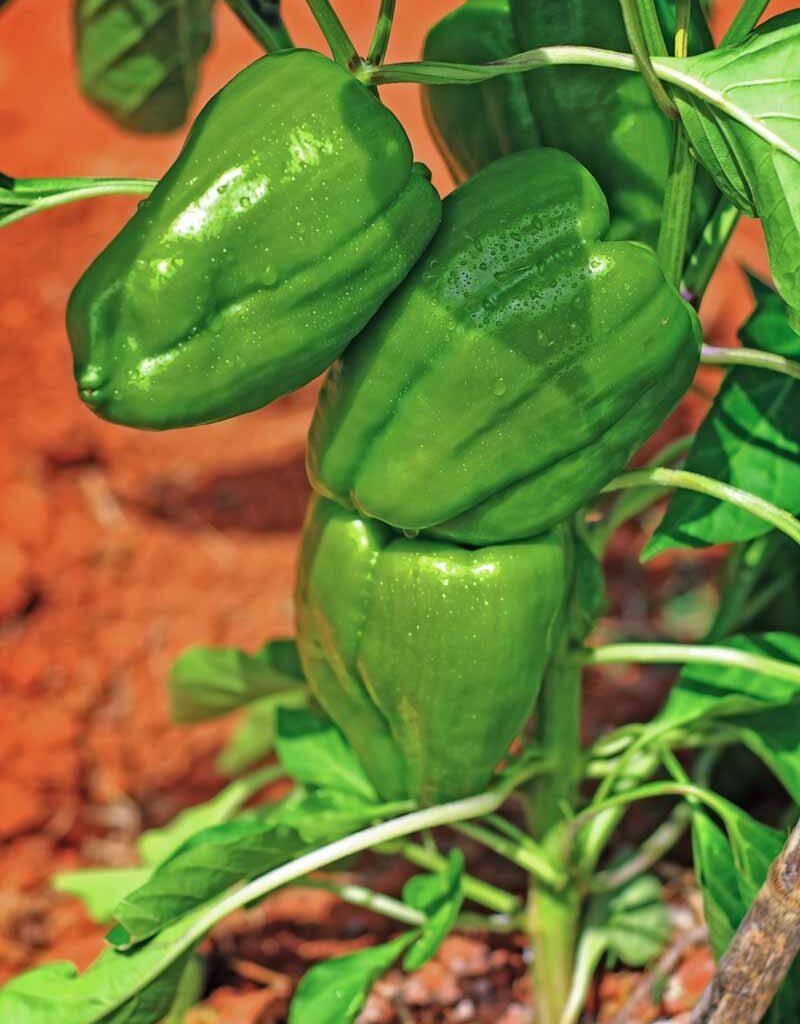
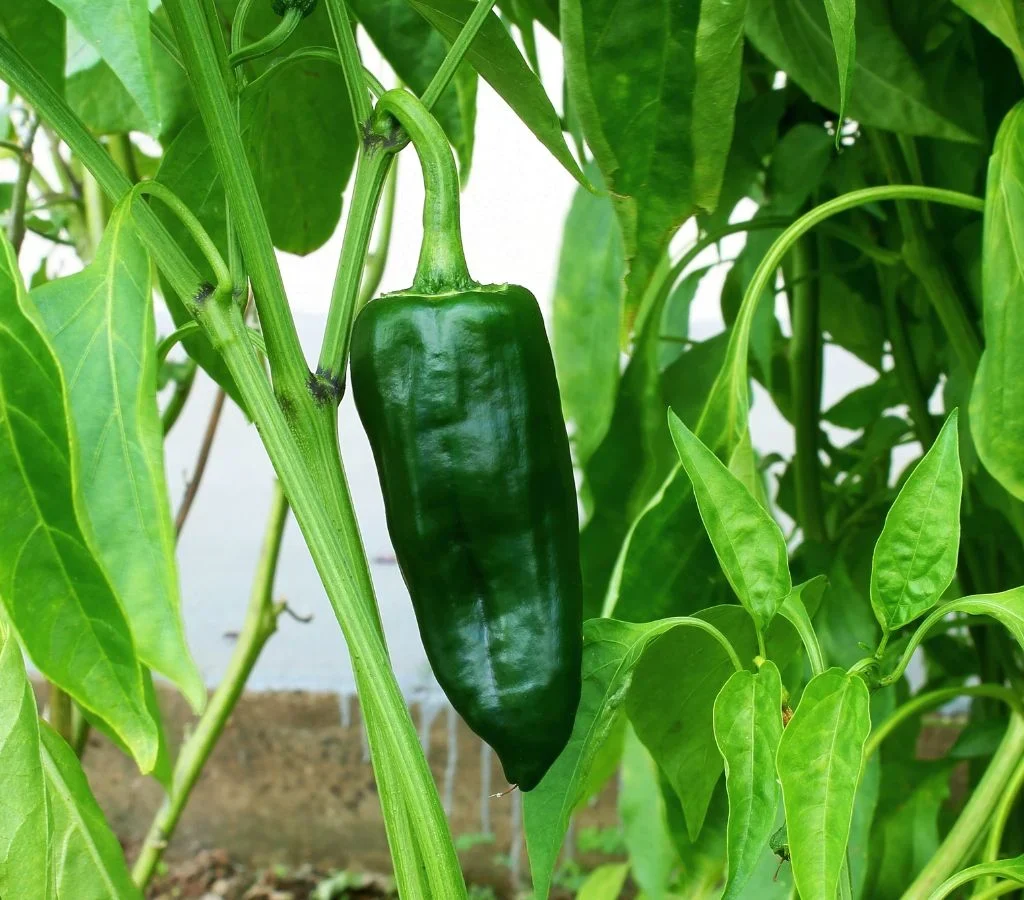
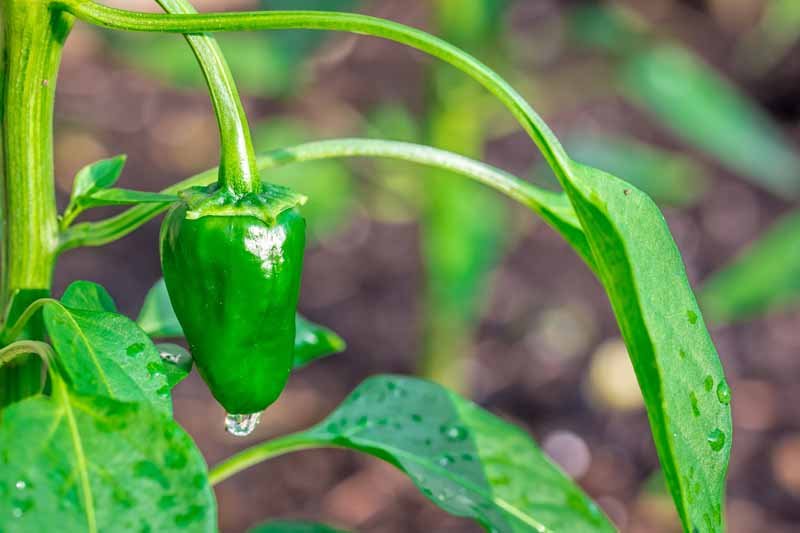
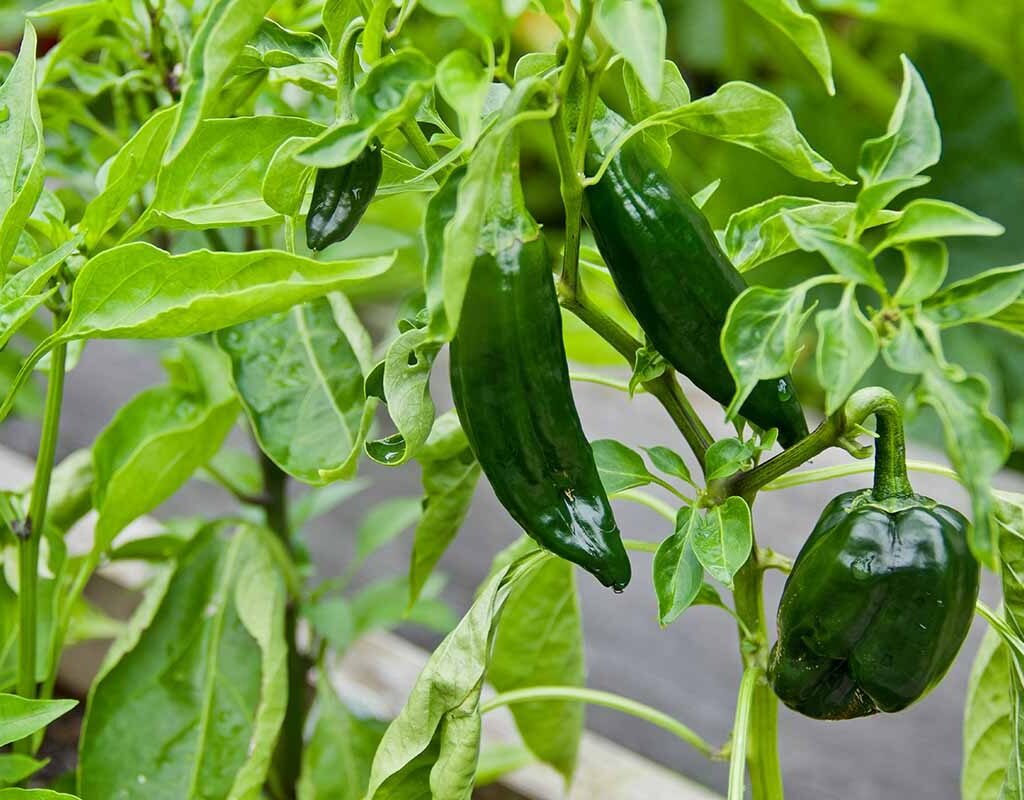
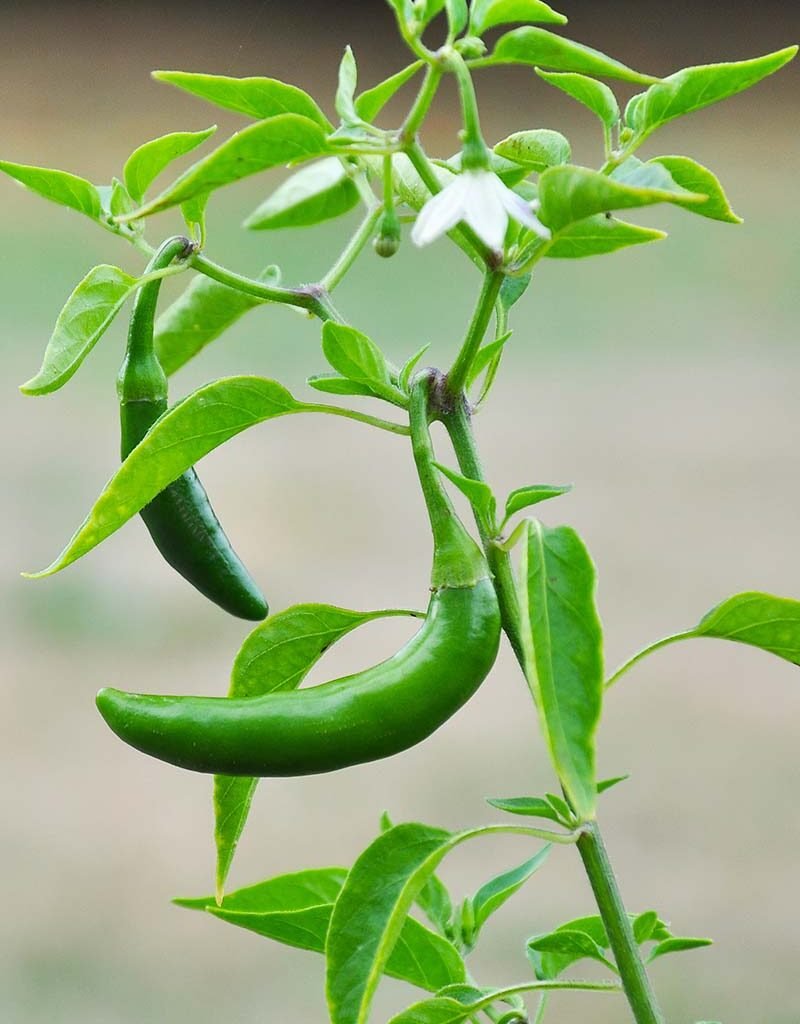
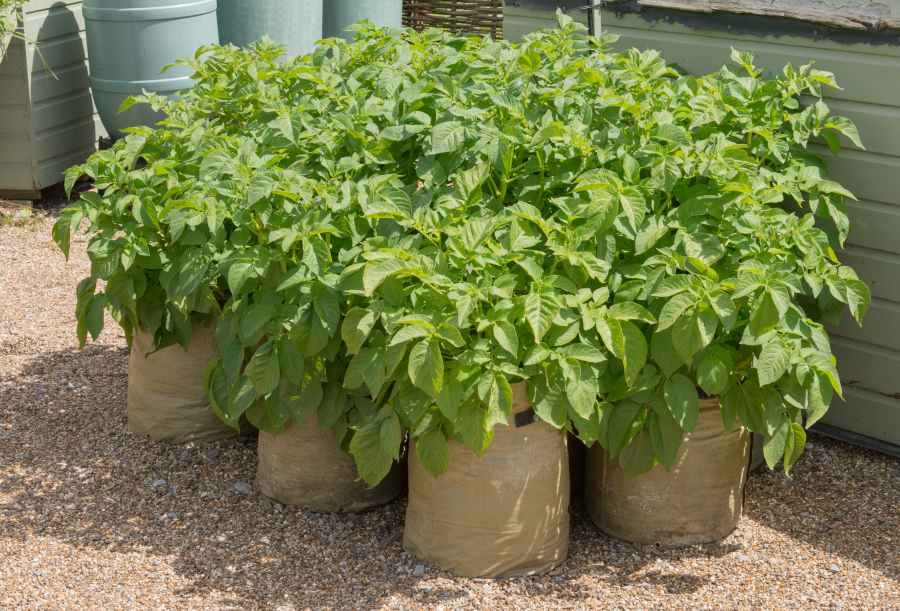
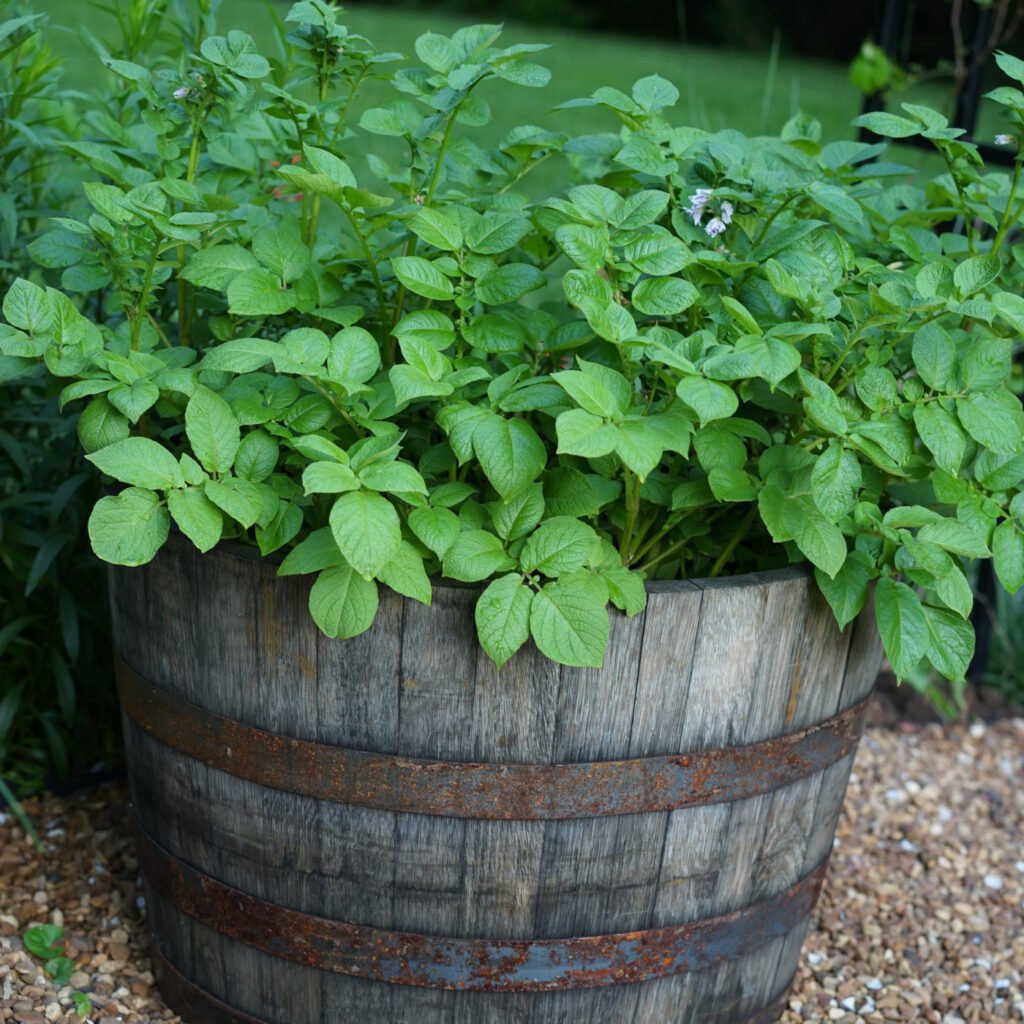
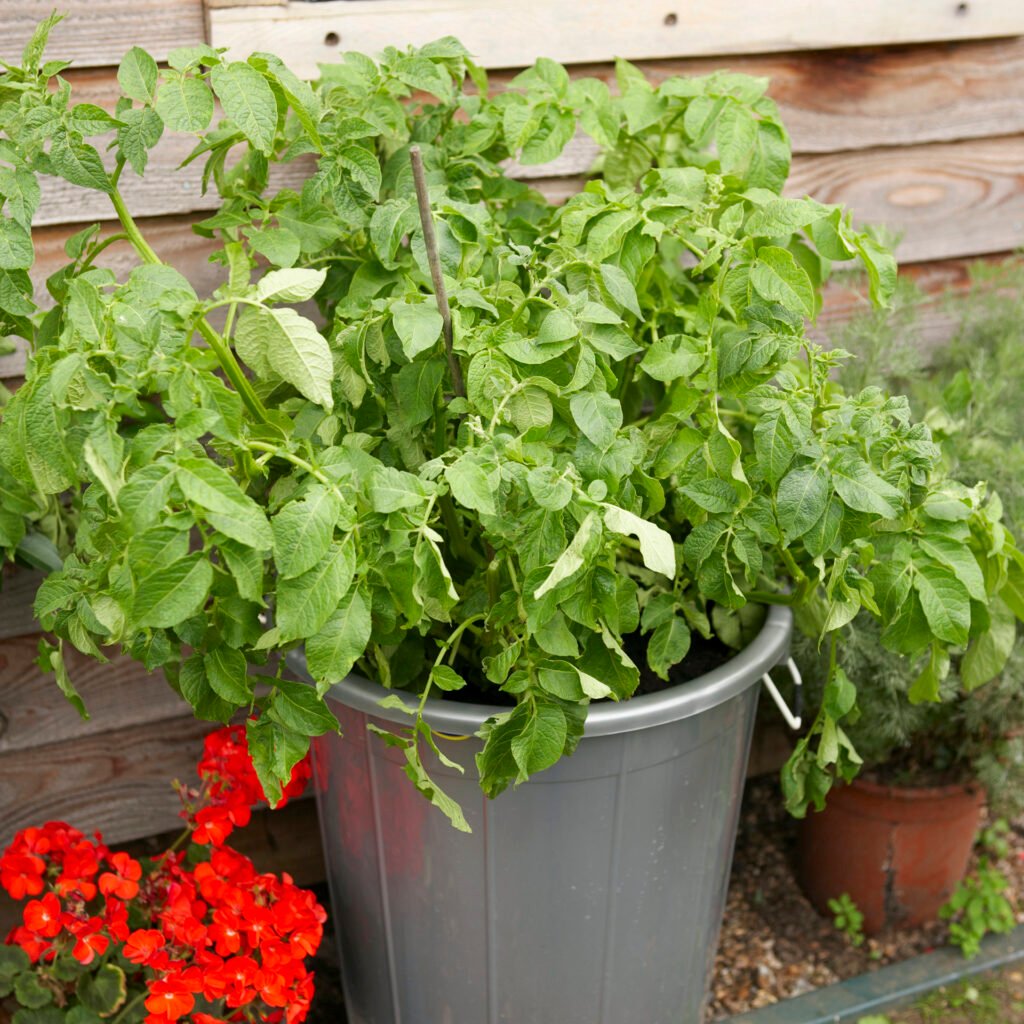
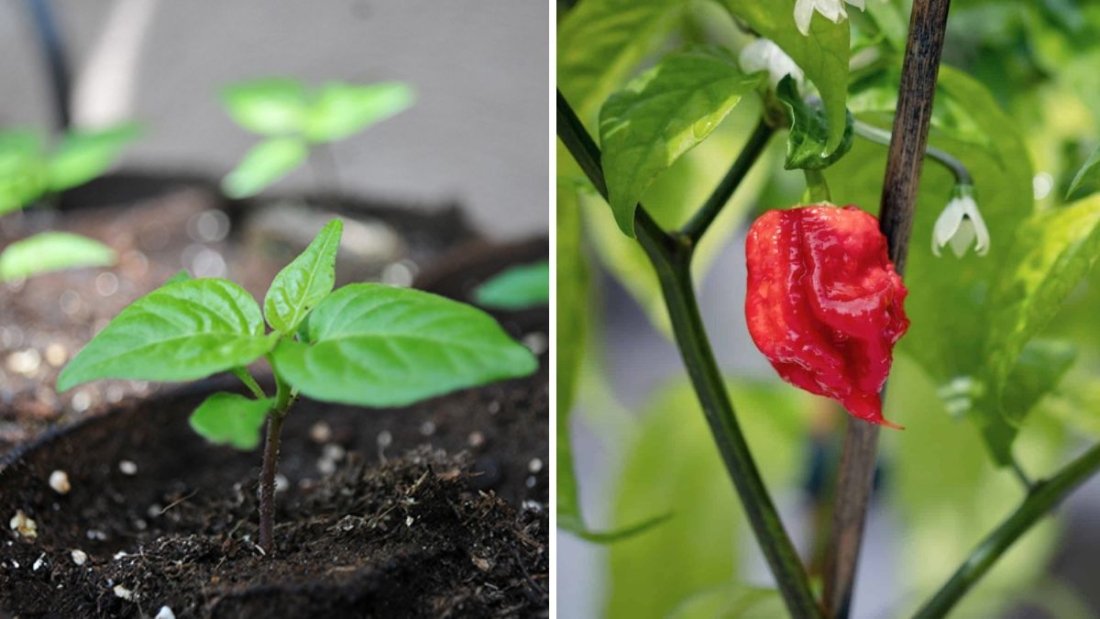
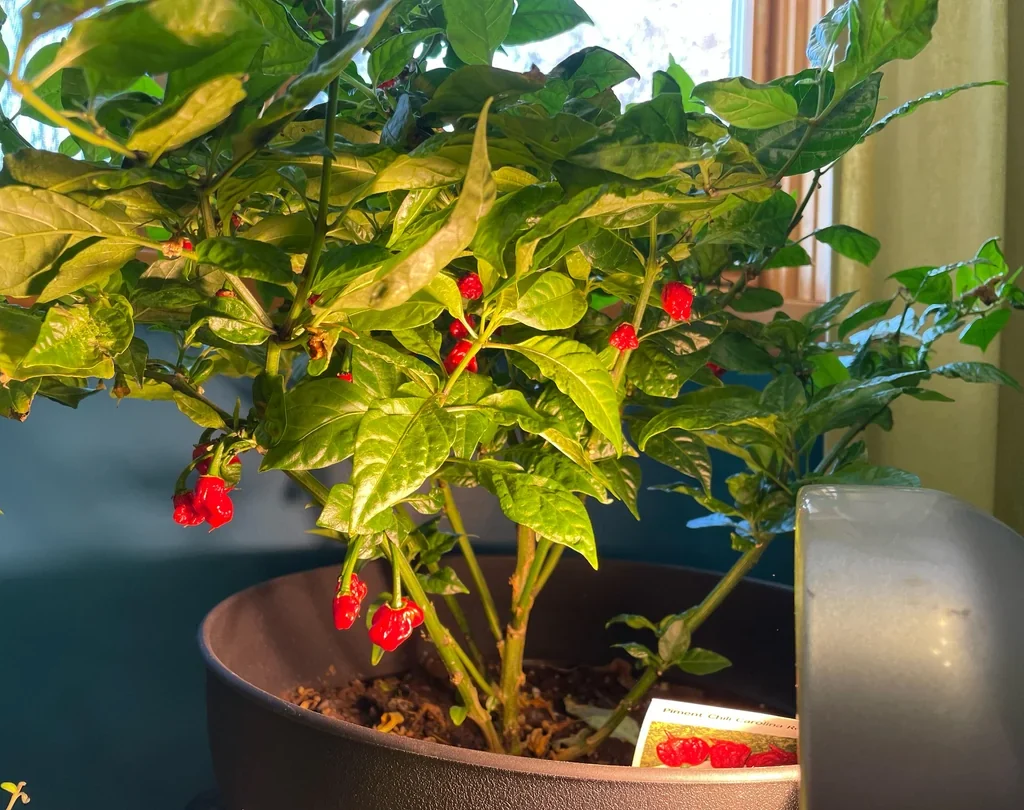
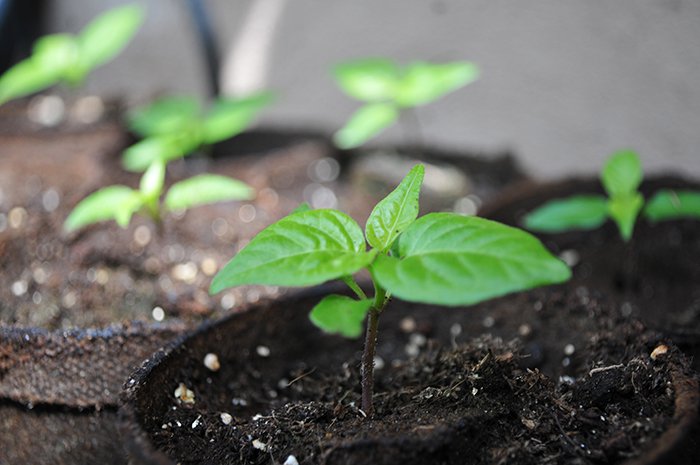
Growing the Carolina Reaper in America
Growing a Carolina Reaper is not just an adventure—it’s a badge of honor for chili lovers. Fortunately, this pepper grows well in many U.S. climates, especially in southern and western states with warm, sunny conditions.
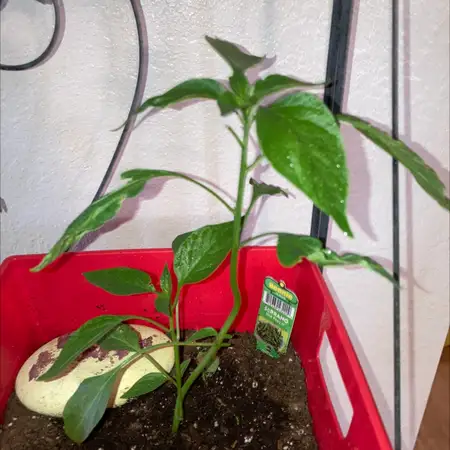
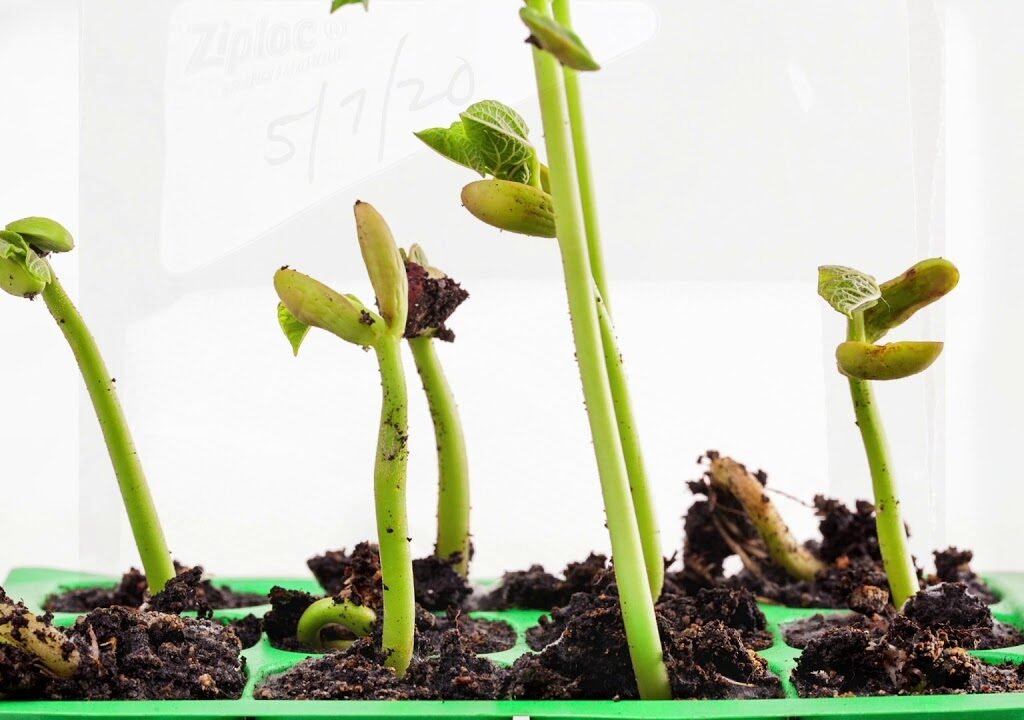
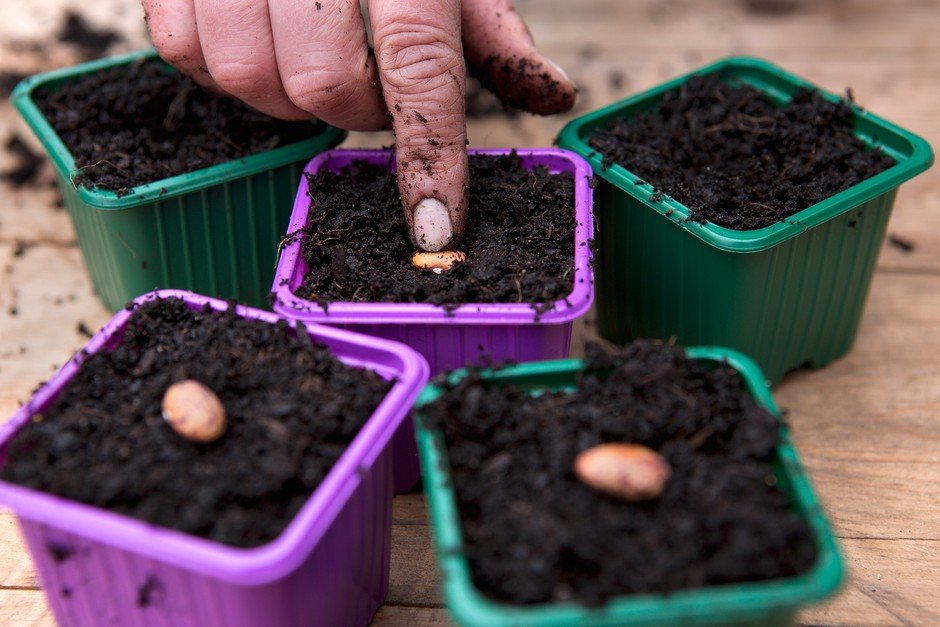
1. Starting from Seeds
- Start seeds indoors 8–10 weeks before the last frost.
- Keep soil temperatures between 80–90°F (use a heat mat for best results).
- Germination takes 2–4 weeks, so patience is essential.
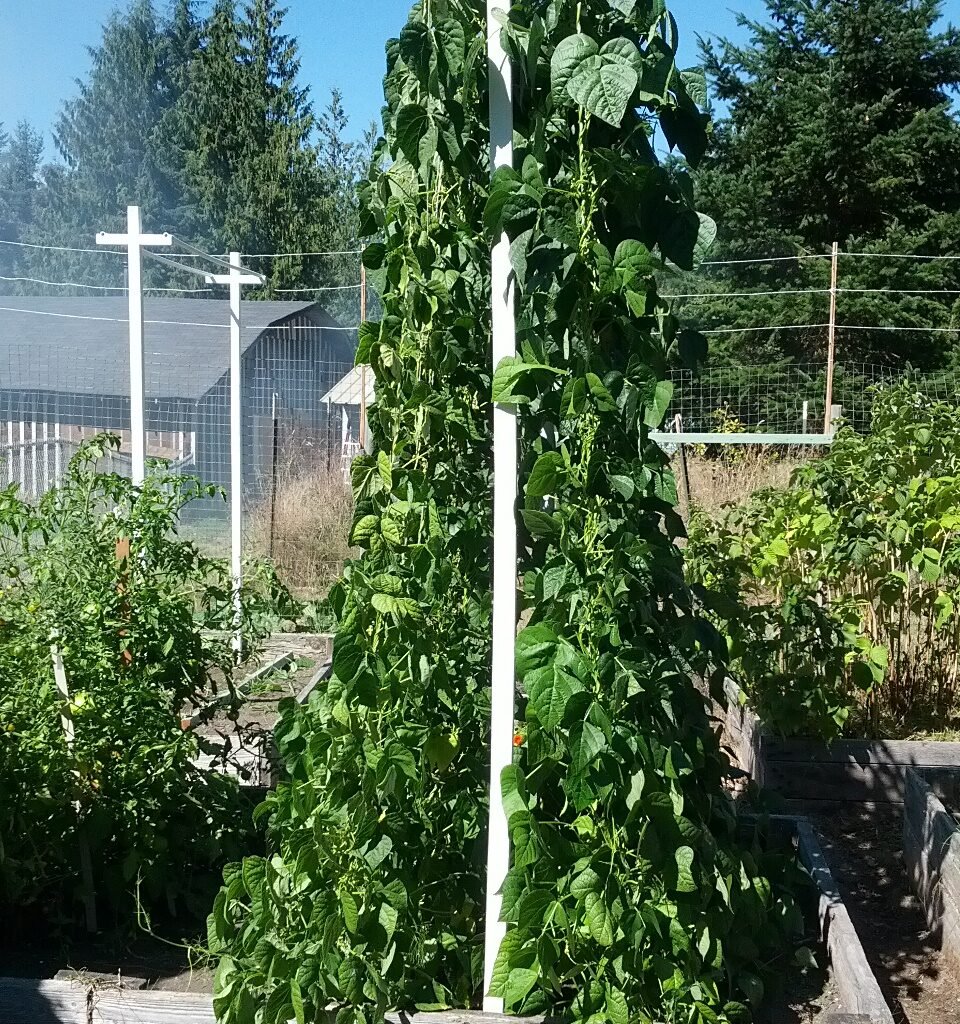
2. Transplanting Outdoors
- Once seedlings are 6–8 inches tall and temperatures stay above 60°F, transplant them to your garden or containers.
- Choose a location with full sun (at least 6 hours daily).
- Space plants 18–24 inches apart.
3. Soil and Water
- Use well-draining, fertile soil with a pH of 6.0–6.8.
- Keep soil moist but not soggy. Overwatering can cause root rot.
- Fertilize with a balanced formula (10-10-10) every 3–4 weeks.
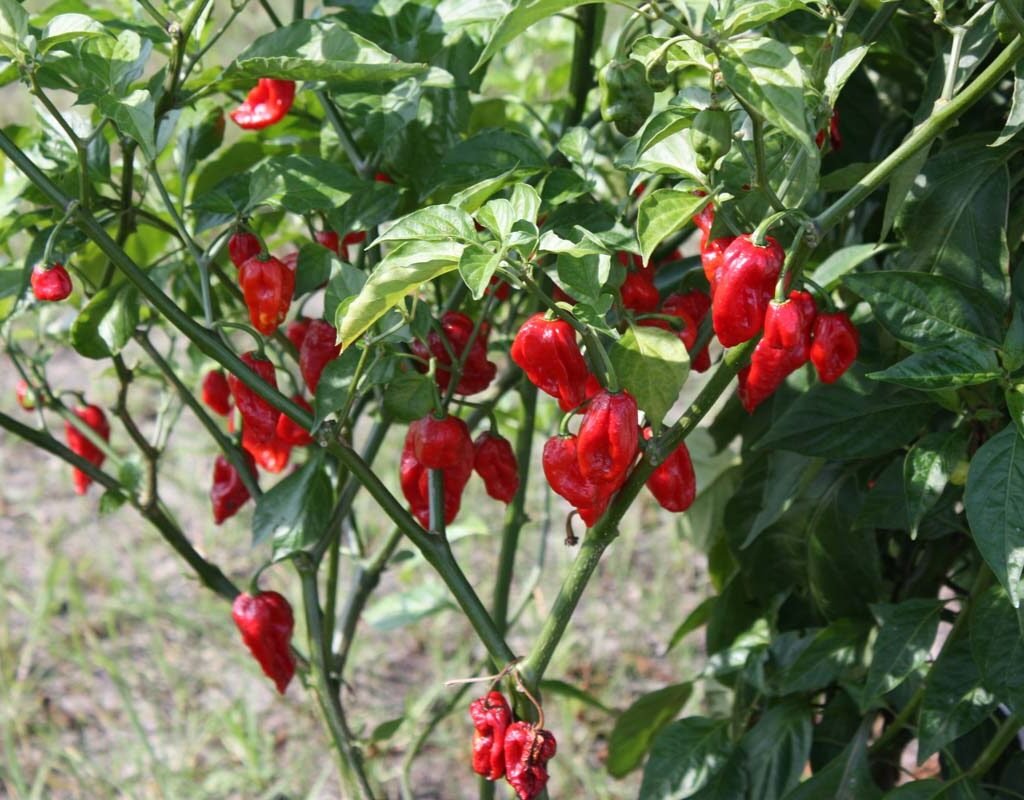
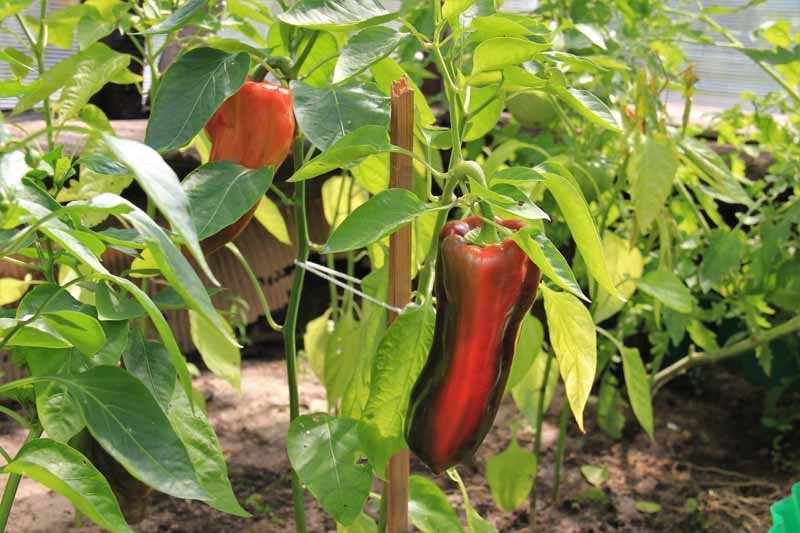
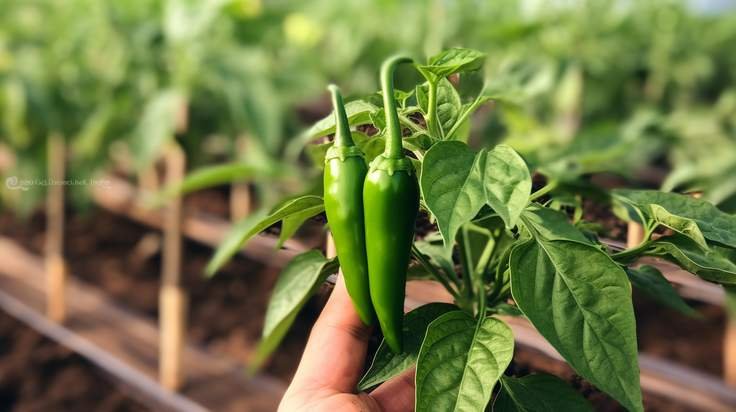
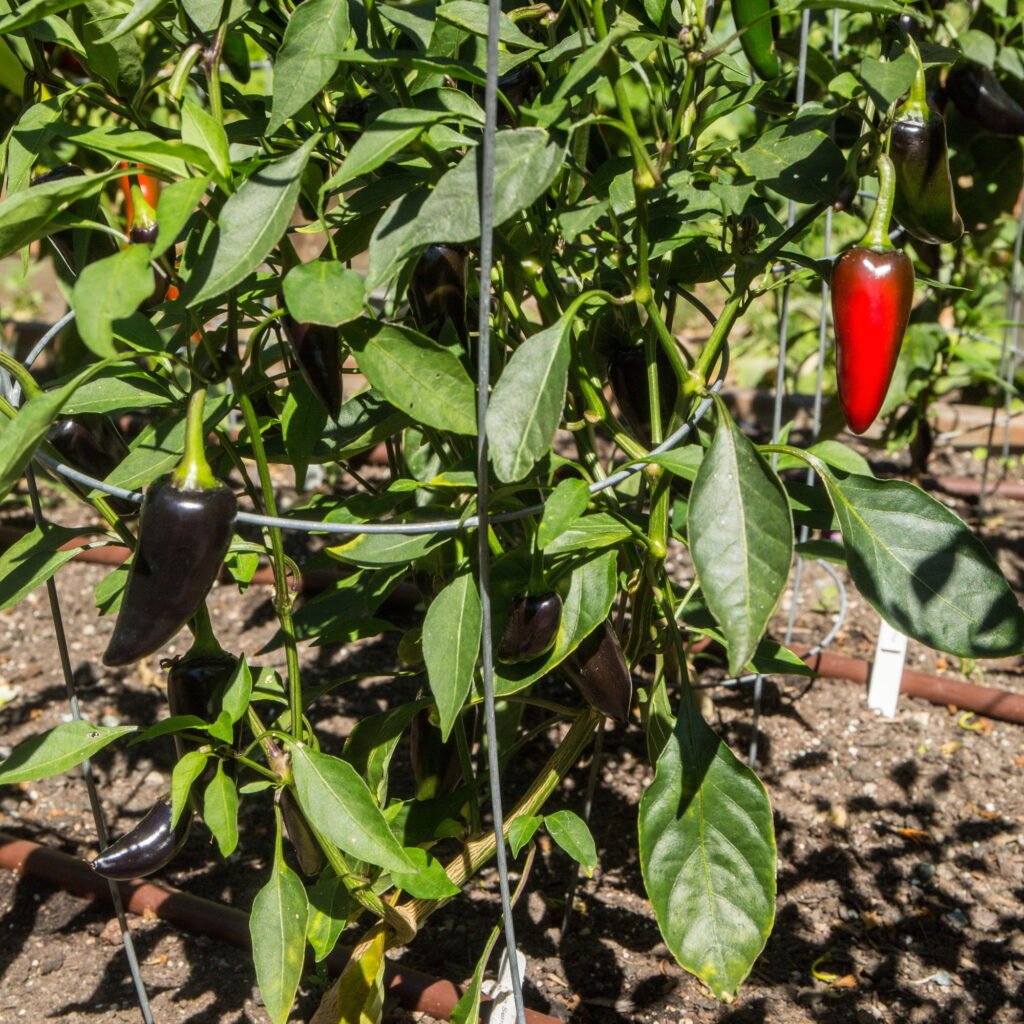
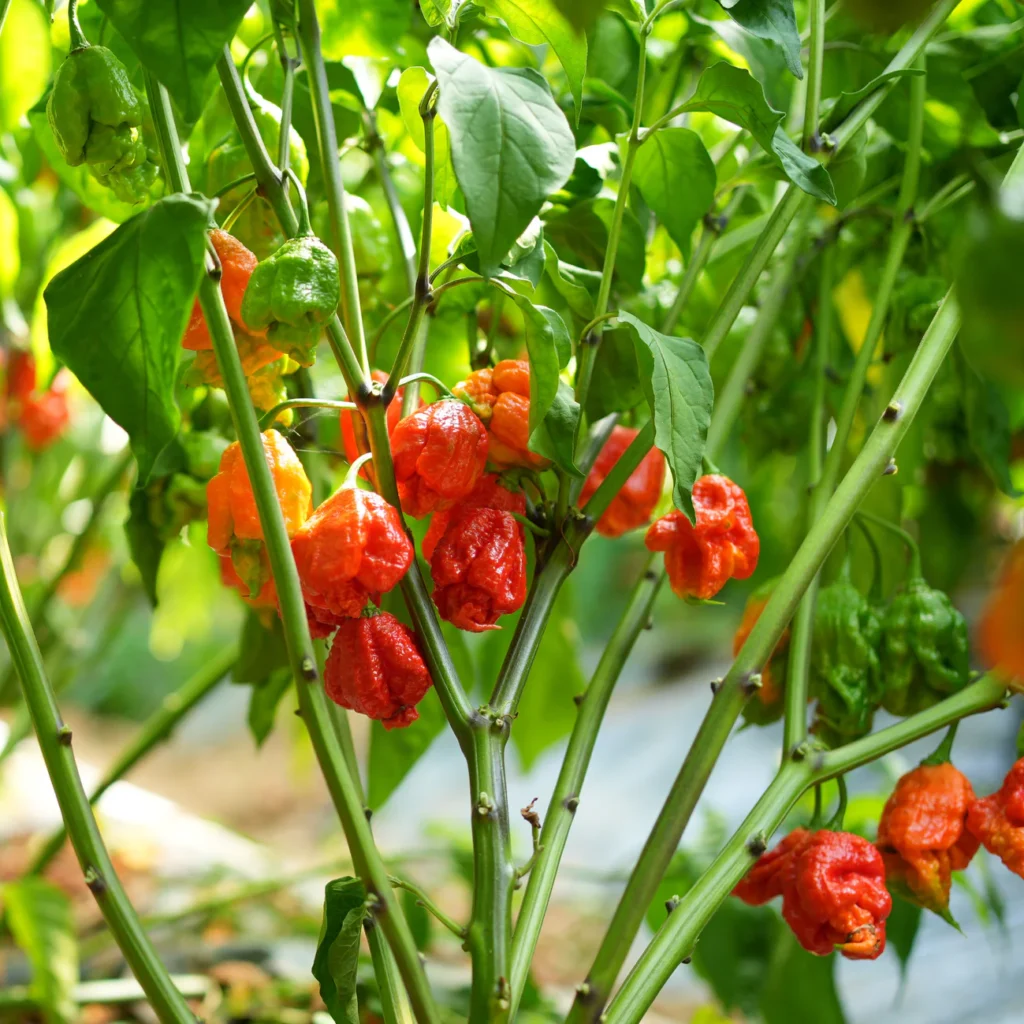
4. Harvesting
- Reapers take about 90–100 days after transplanting to mature.
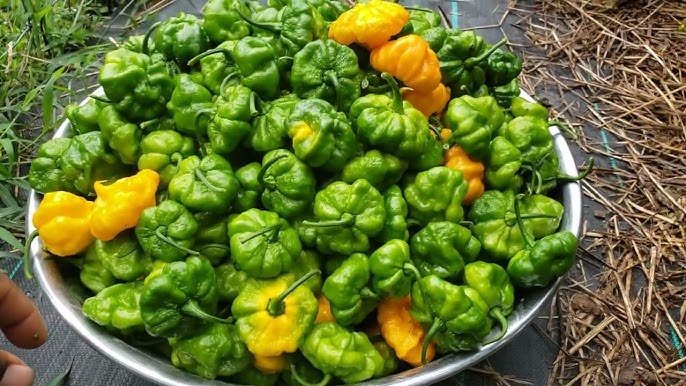
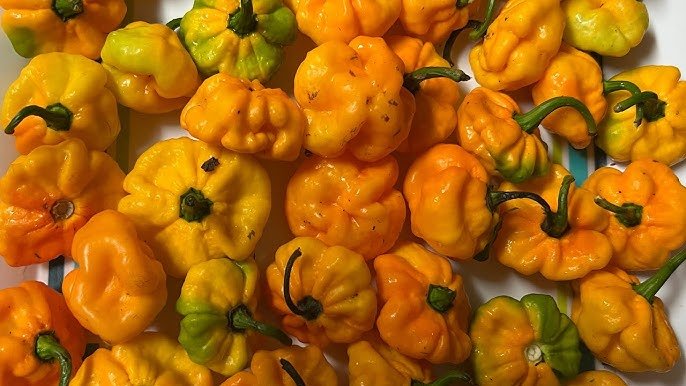
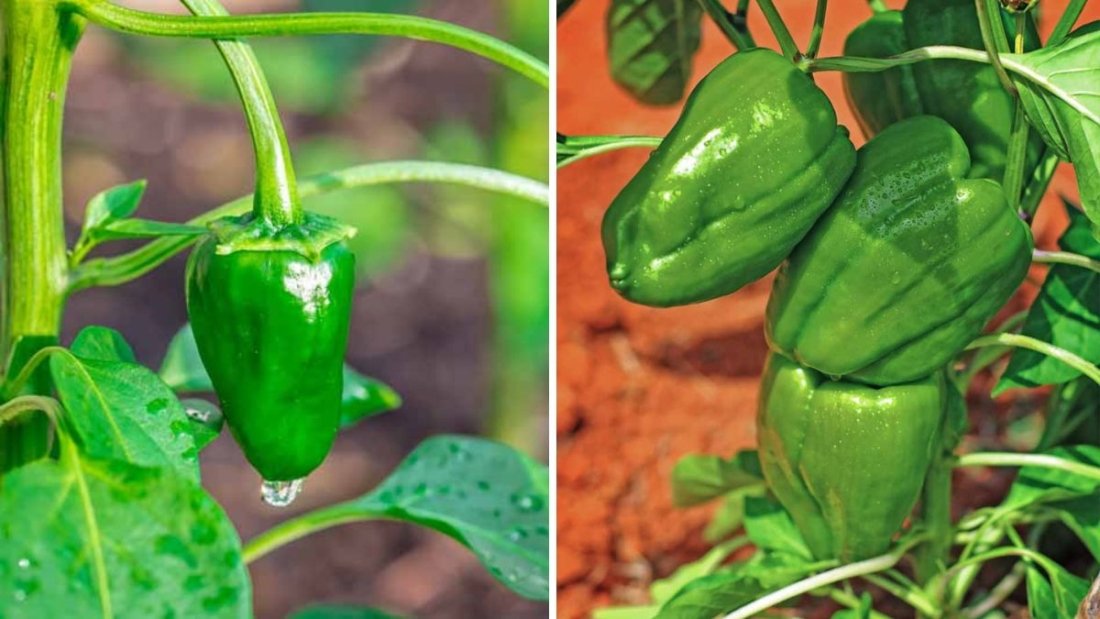
- They ripen from green to vibrant red (or sometimes yellow, chocolate, or peach varieties).
- Use scissors or pruning shears to harvest to avoid damaging stems.
A single Carolina Reaper plant can produce 50–100 peppers per season, rewarding gardeners with a fiery bounty.
Cooking with the Carolina Reaper: Handle with Extreme Caution
Cooking with the Carolina Reaper can be an incredible experience—but safety comes first. The pepper’s oil contains such concentrated capsaicin that direct skin contact can cause burns.
Safety Tips:
- Always wear gloves and eye protection when handling fresh peppers.
- Never touch your eyes, face, or mouth while working with them.
- Work in a well-ventilated area or outdoors—fumes from cooking can irritate your eyes and throat.
- Wash hands, utensils, and cutting boards thoroughly with soap and vinegar.
Top 5 Fiery Ways to Use the Carolina Reaper
1. Carolina Reaper Hot Sauce
Blend fresh or dried Reapers with vinegar, garlic, onion, and a touch of fruit (like mango or pineapple). The result is a fiery, flavorful sauce that adds punch to any meal.
2. Spicy BBQ Marinade
Add a tiny bit of Carolina Reaper powder or puree to barbecue sauce. Perfect for chicken wings, ribs, or brisket, it adds heat without overpowering the smoky sweetness.
3. Carolina Reaper Chili
Mix finely diced Reaper into your favorite chili recipe for an unforgettable kick. Just a quarter of one pepper can heat a large pot.
4. Fiery Salsa
Blend roasted tomatoes, onions, lime juice, and a small piece of Carolina Reaper for a salsa that’s explosively hot yet flavorful.
5. Spicy Honey Glaze
Combine honey with Carolina Reaper powder for a sweet-heat glaze that’s incredible on fried chicken, grilled shrimp, or roasted veggies.
Remember: even a little goes a long way. Start small—you can always add more heat later.
Health Benefits of Carolina Reapers
While the Carolina Reaper might seem like a fiery challenge, it’s also packed with impressive health benefits thanks to its capsaicin content.
1. Boosts Metabolism
Capsaicin increases body temperature, stimulating metabolism and helping burn calories faster.
2. Supports Heart Health
Studies show that capsaicin may reduce bad cholesterol (LDL) and improve blood circulation.
3. Pain Relief
Capsaicin is often used in topical creams for arthritis and muscle pain due to its ability to block pain signals.
4. Rich in Vitamins
Carolina Reapers are an excellent source of vitamin A, vitamin C, and antioxidants, which support immune function and skin health.
5. Improves Mood
Eating spicy food releases endorphins and dopamine, creating a natural high that leaves you feeling energized and happy.
Preserving and Storing Carolina Reapers
Because these peppers are so potent, a little goes a long way. Here are easy ways to preserve them for long-term use:
- Drying: Use a dehydrator or oven on low heat to dry whole peppers. Grind into flakes or powder.
- Freezing: Store whole peppers in airtight bags for up to 8 months.
- Pickling: Slice and pickle in vinegar with garlic and salt for an intense condiment.
- Fermenting: Ferment Reapers with saltwater for 2–4 weeks to make authentic, tangy hot sauce bases.
Always label jars clearly—mistaking Reaper sauce for ketchup would be a fiery mistake!
Fun Facts About the Carolina Reaper
- The Carolina Reaper holds the Guinness World Record for the hottest pepper (since 2013).
- Its creator, Ed Currie, named it “Reaper” because of its scythe-like tail.
- Some people have described eating one as “an out-of-body experience.”
- The pepper’s fruity sweetness makes it a favorite for spicy candies, chocolates, and challenge chips.
- Many YouTubers have built entire channels around Carolina Reaper challenges.
Popular Carolina Reaper Products in the U.S.
Thanks to America’s love for bold flavors, the Carolina Reaper is featured in a wide range of products:
- Hot Sauces: From small-batch artisan blends to national brands like PuckerButt and Hellfire Hot Sauce.
- Snack Foods: Ghost Pepper and Reaper chips, popcorn, and even beef jerky are trending across the U.S.
- Reaper Powder and Flakes: Used by chefs and home cooks to season everything from tacos to pizza.
- Carolina Reaper Cheese: Specialty dairies craft pepper jack-style cheeses infused with Reaper heat.
The pepper’s popularity has turned it into a culinary and cultural phenomenon, uniting spice lovers nationwide.
The Carolina Reaper vs. Other Super-Hot Peppers
| Pepper | Origin | Heat Level (SHU) | Flavor Profile |
|---|---|---|---|
| Carolina Reaper | USA | 1,641,183–2,200,000 | Sweet, fruity, smoky |
| Trinidad Scorpion | Trinidad | 1,200,000–2,000,000 | Earthy, tangy |
| Ghost Pepper (Bhut Jolokia) | India | 855,000–1,041,427 | Smoky, fruity |
| 7 Pot Douglah | Trinidad | 1,800,000 | Nutty, rich |
| Habanero | Mexico | 100,000–350,000 | Citrusy, floral |
While others come close, the Carolina Reaper reigns supreme in both heat and popularity.
Conclusion: Respect the Heat, Relish the Flavor
The Carolina Reaper isn’t just a chili—it’s an experience. It’s the perfect blend of danger and delight, bringing together American innovation, natural heat, and incredible flavor.
Whether you’re a gardener growing it for bragging rights, a chef using it to create bold sauces, or an adventurous foodie chasing the thrill of the burn, the Carolina Reaper delivers an unforgettable journey.
Just remember: handle it with care, use it sparingly, and savor every fiery, flavorful bite. Because when it comes to spice, nothing says American heat like the Carolina Reaper.