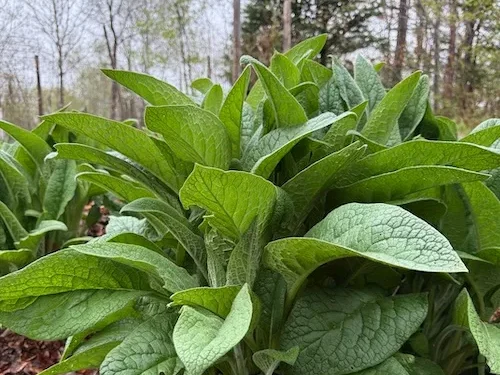
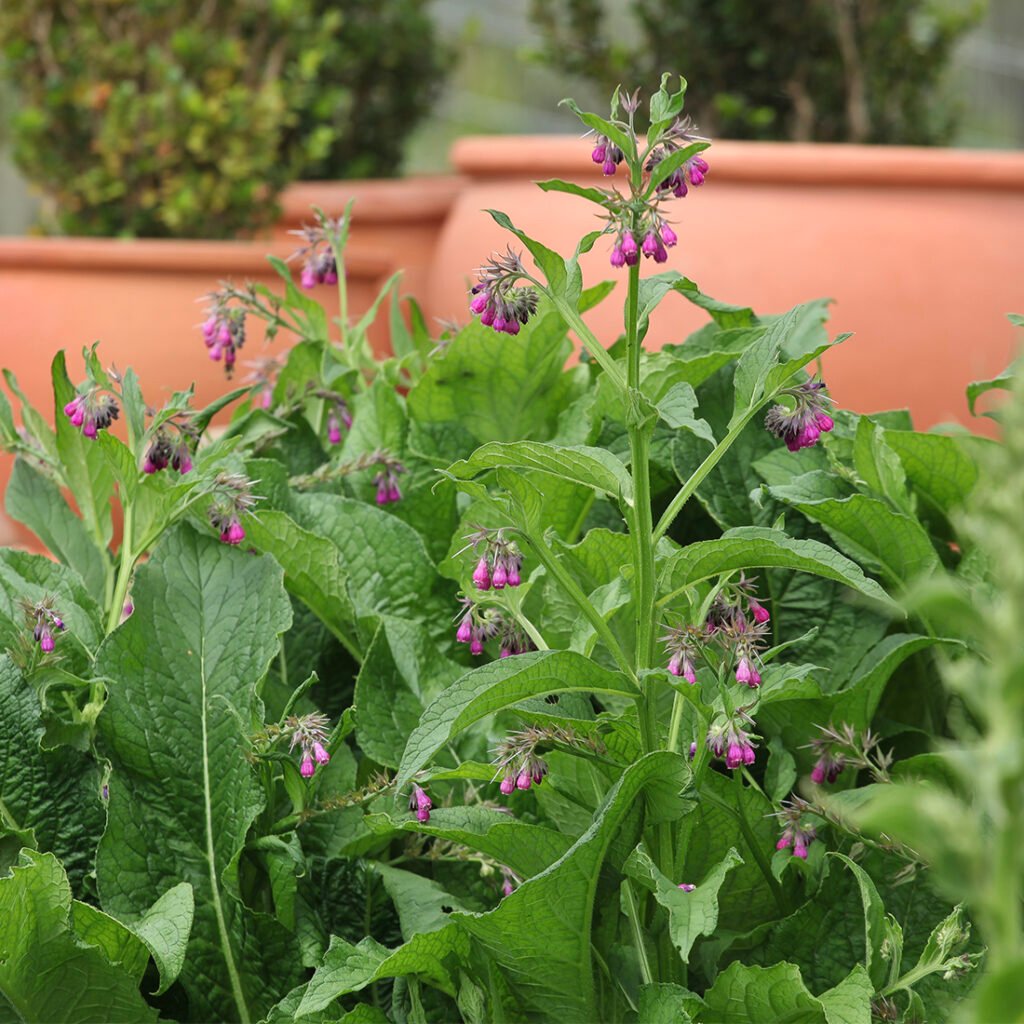
In a time when Americans are turning back to nature for wellness and sustainability, few herbs capture that spirit better than comfrey. Known for centuries as “knitbone” due to its powerful healing properties, comfrey has been a beloved plant in both herbal medicine and organic gardening. Its large, deep-green leaves and purple bell-shaped flowers not only beautify the garden but also serve countless practical purposes — from making natural fertilizers to soothing skin and joint issues.
If you’re passionate about organic gardening, homesteading, or natural wellness, comfrey deserves a place in your backyard. This detailed guide explores everything you need to know about this remarkable plant — from its history and benefits to how to grow and use it effectively in your American garden.
What Is Comfrey? A Powerhouse Herb with Ancient Roots
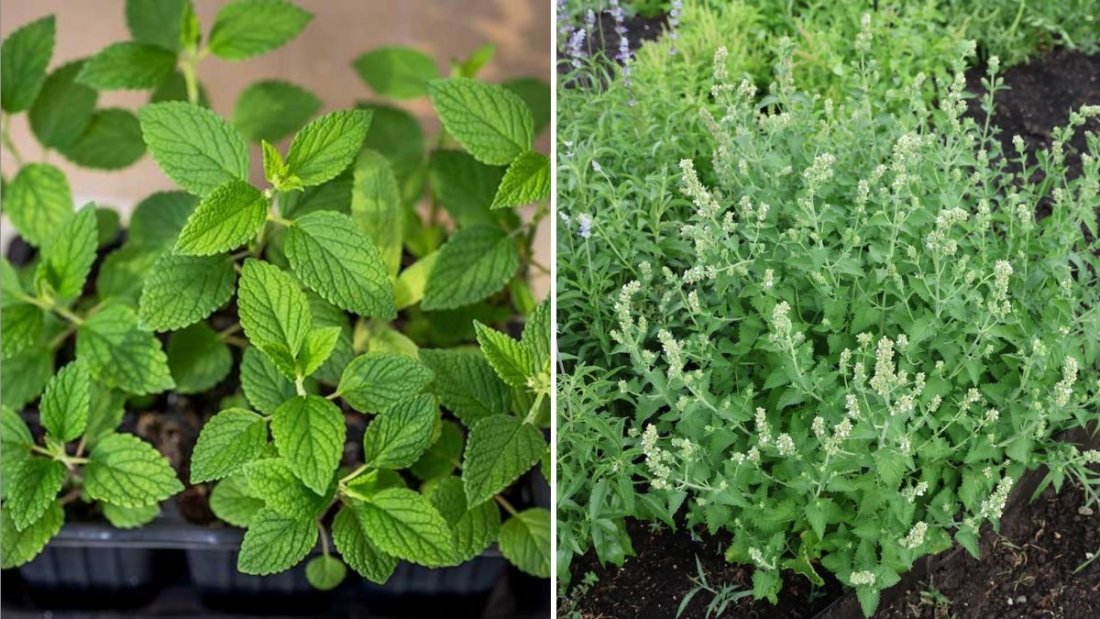
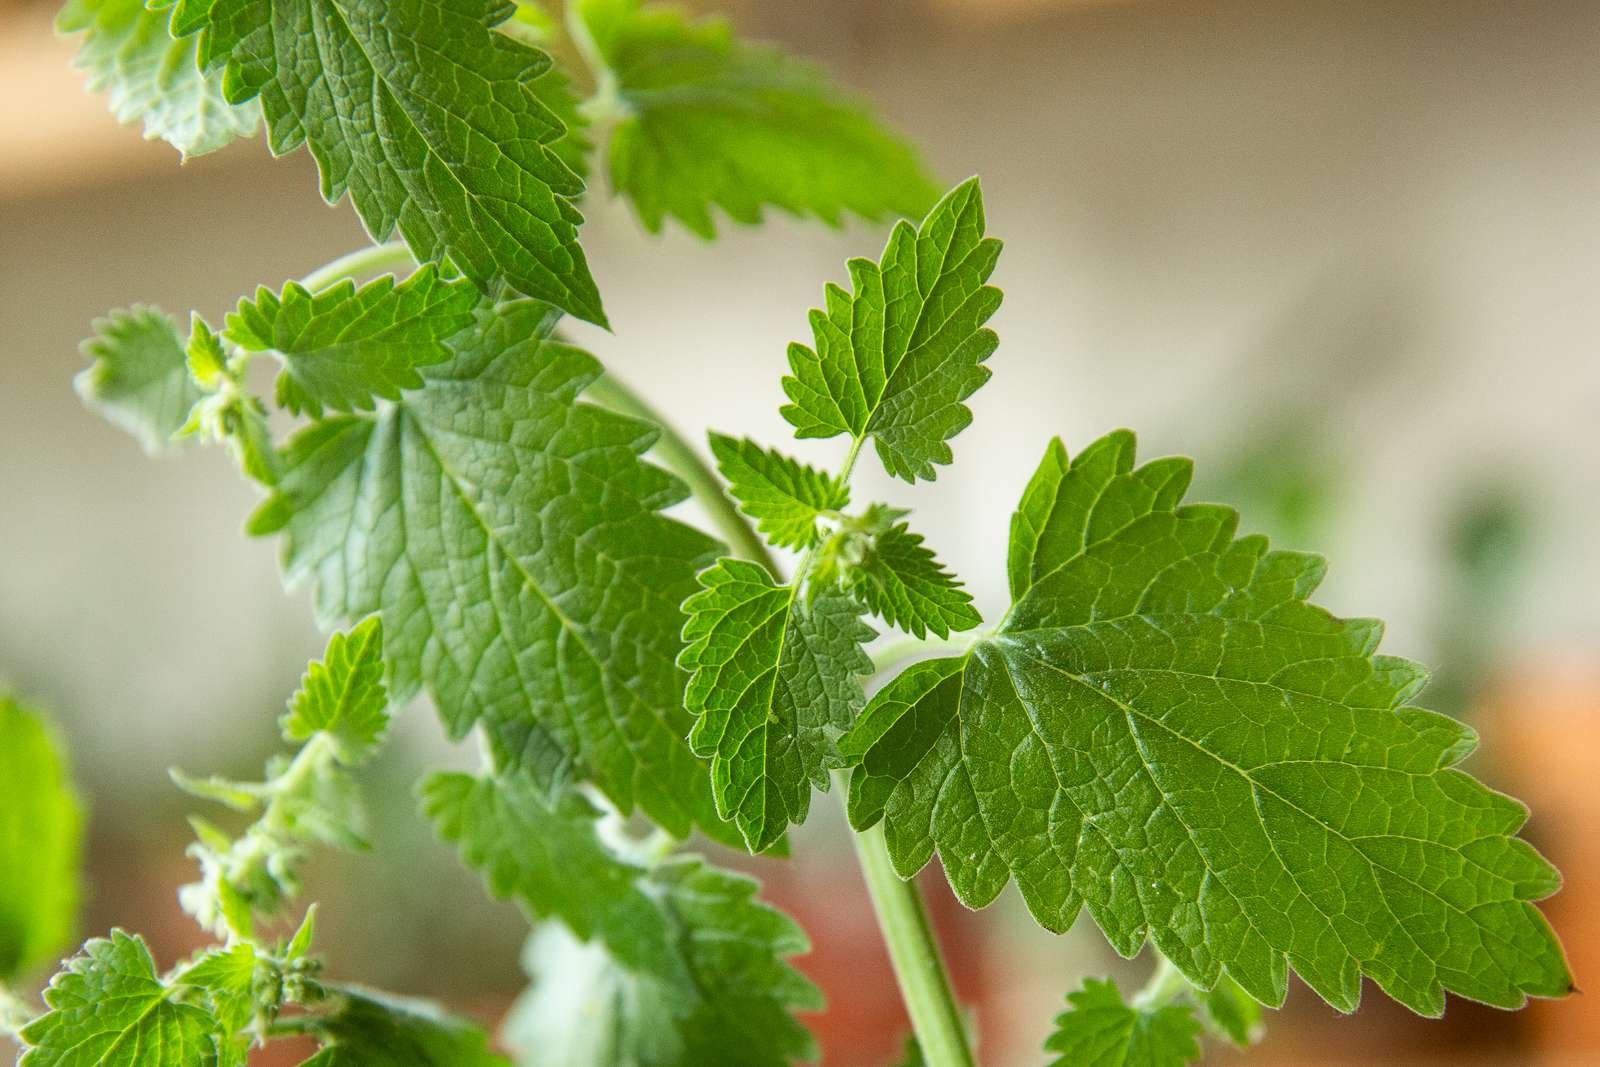
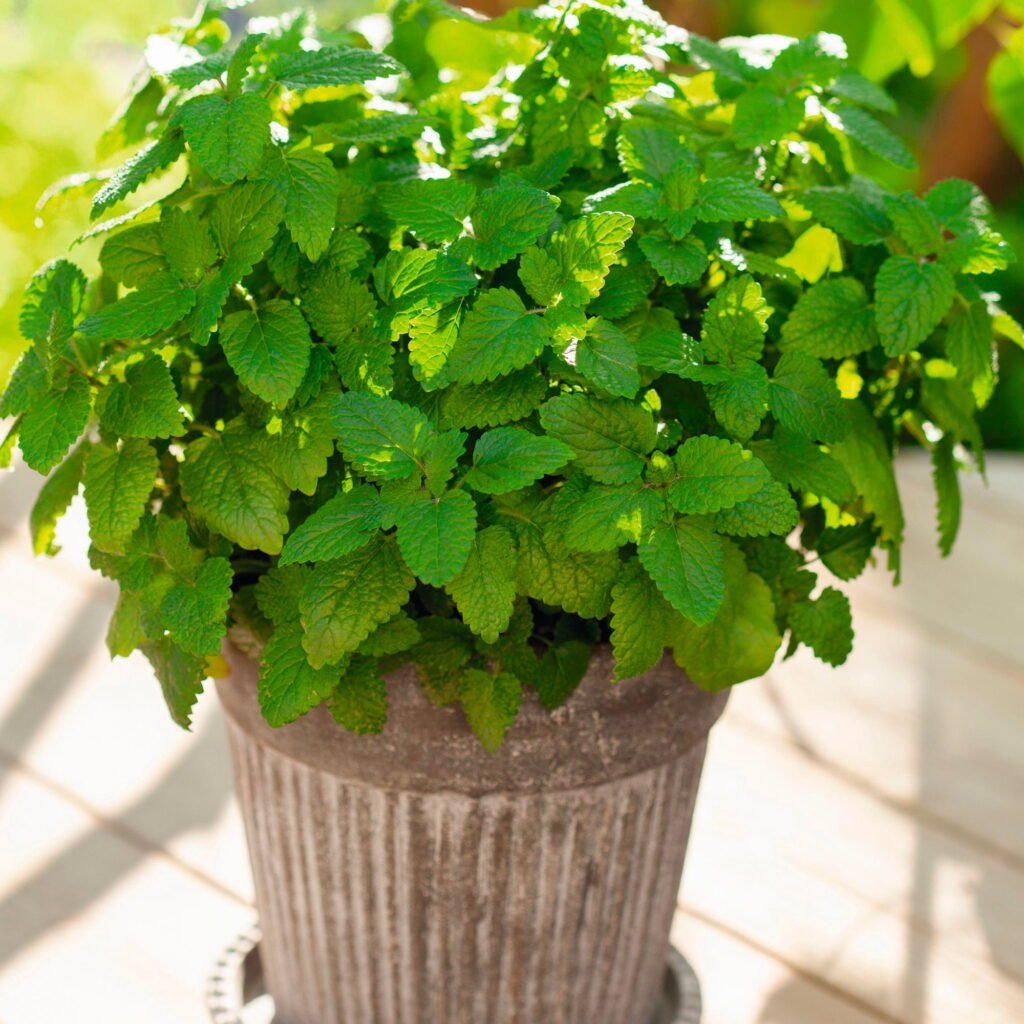
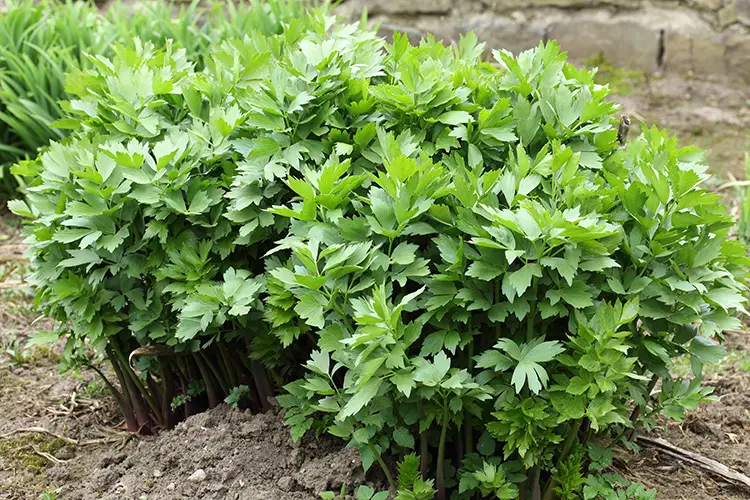
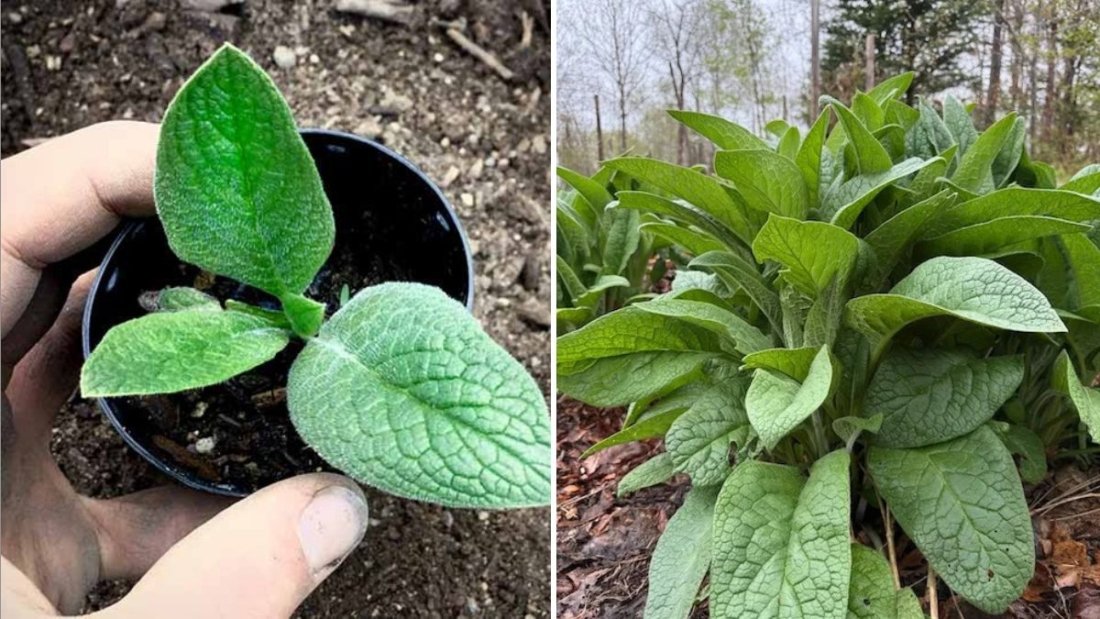
Comfrey (Symphytum officinale) is a perennial herb native to Europe and Asia, now widely naturalized across the United States. It belongs to the borage family (Boraginaceae) and thrives in a variety of American climates, from the cool Pacific Northwest to the humid Southeast.
Its name, derived from the Latin confera (meaning “to grow together”), hints at its traditional use — healing broken bones, bruises, and wounds. Historical records show comfrey being used by Roman soldiers, European monks, and Native American healers for centuries.
Today, comfrey’s reputation has expanded beyond medicine. Gardeners across the U.S. prize it as a “green gold” plant for its remarkable ability to improve soil fertility and compost quality.
The Healing Power of Comfrey: Traditional and Modern Uses
Comfrey’s nickname, “knitbone,” isn’t just folklore. Its leaves and roots contain allantoin, a natural compound that promotes cell regeneration and tissue repair. Here’s a look at its most well-known traditional uses — and how Americans still use it today:
1. Natural Wound and Skin Healer
Comfrey salves and poultices have long been used to speed up the healing of bruises, sprains, and minor wounds. Allantoin helps new skin cells grow, while rosmarinic acid reduces inflammation.
Modern herbalists often recommend comfrey-infused oils or creams for:
- Bruises and sprains
- Minor burns and insect bites
- Eczema, psoriasis, or dry skin
- Muscle soreness and joint pain
(Note: Comfrey should not be used on deep wounds or taken internally unless under professional guidance.)
2. Relief for Joint and Bone Pain
Many Americans who suffer from arthritis or sports injuries use comfrey creams to ease pain naturally. Its anti-inflammatory and soothing effects make it a popular alternative to synthetic pain balms.
3. Hair and Skin Care
DIY enthusiasts use comfrey in natural beauty recipes — adding it to shampoos, face masks, and toners to hydrate and rejuvenate skin.
Comfrey in the Garden: A Gardener’s Best Friend
While comfrey has earned its fame in natural medicine, its value in sustainable gardening is just as impressive. American gardeners often call it the “organic fertilizer plant” for a reason — it’s a nutrient powerhouse.
1. Living Compost and Natural Fertilizer
Comfrey’s deep taproots reach far into the soil, drawing up essential minerals like nitrogen, potassium, and calcium. These nutrients concentrate in the leaves, making them perfect for creating a comfrey compost tea — a free, organic fertilizer loved by tomatoes, peppers, and flowering plants.
How to make comfrey tea fertilizer:
- Fill a bucket halfway with chopped comfrey leaves.
- Cover with water and let it steep for 2–3 weeks.
- Strain and dilute 1:10 with water before using.
This dark, nutrient-rich liquid boosts plant growth naturally and reduces the need for chemical fertilizers.
2. Soil Conditioner and Mulch
Comfrey leaves break down quickly, enriching the soil with organic matter. Layer them around plants as green mulch or add them to your compost pile to accelerate decomposition.
3. Companion Plant for Pollinators
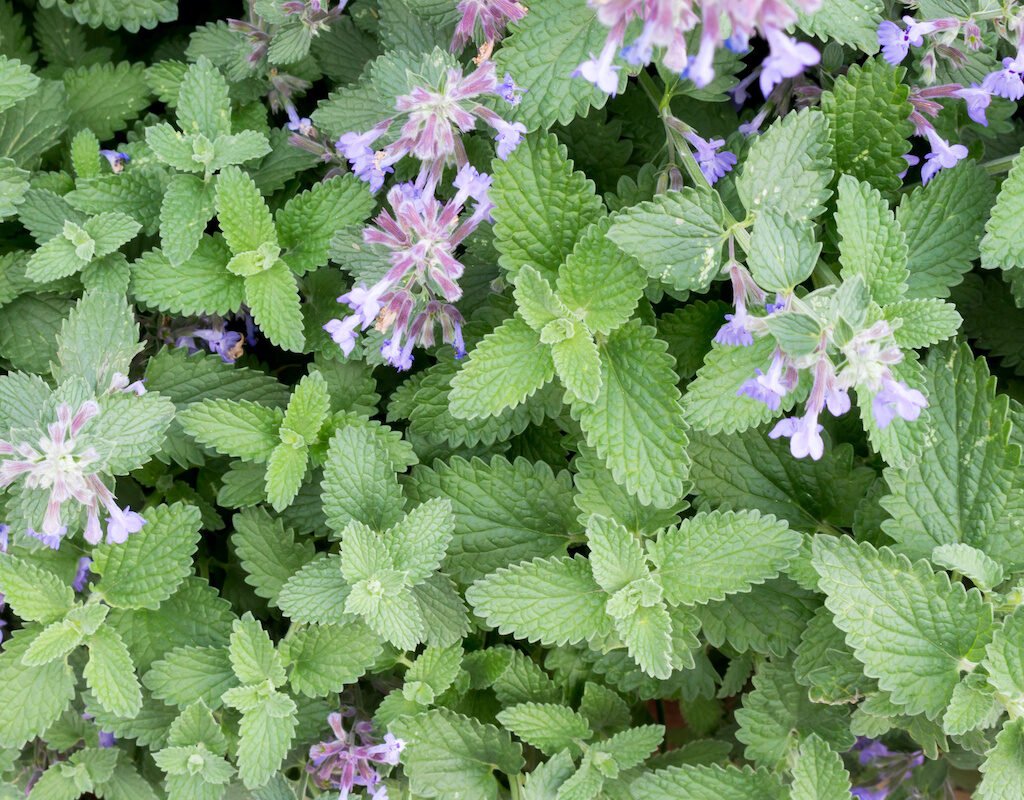
Comfrey’s purple bell-shaped flowers bloom from late spring through summer, attracting bees, butterflies, and beneficial insects. This makes it an excellent companion plant in pollinator-friendly gardens.
4. Great for Permaculture Systems
In permaculture and regenerative farming, comfrey is used as a dynamic accumulator — a plant that mines nutrients from deep in the soil and redistributes them to surface layers. It’s often planted near fruit trees and vegetable beds to keep ecosystems self-sustaining.
How to Grow Comfrey in American Climates
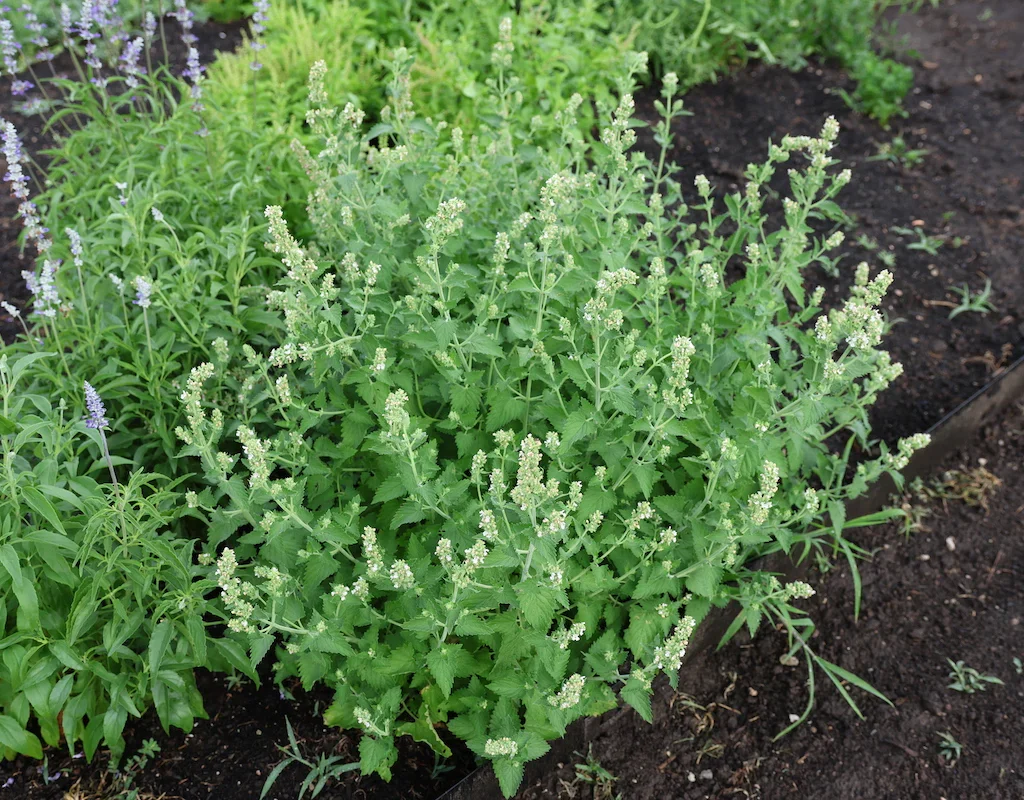
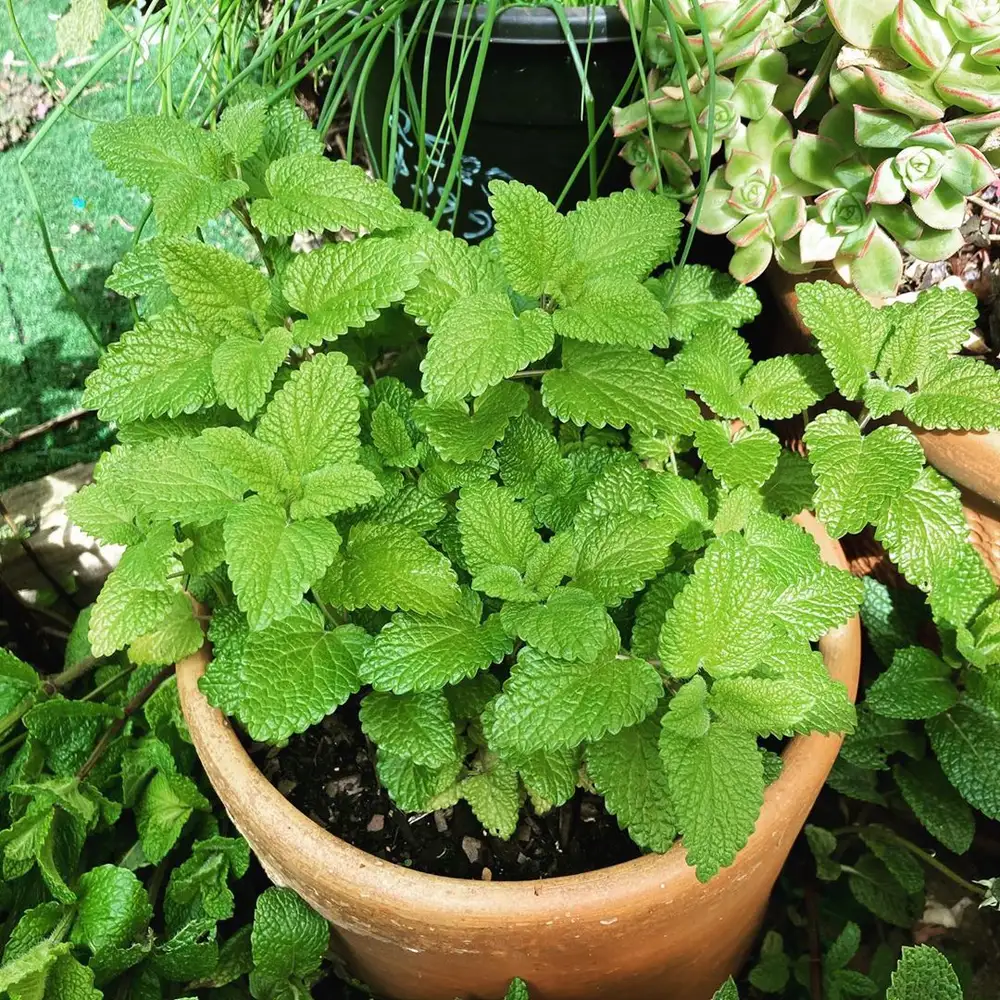
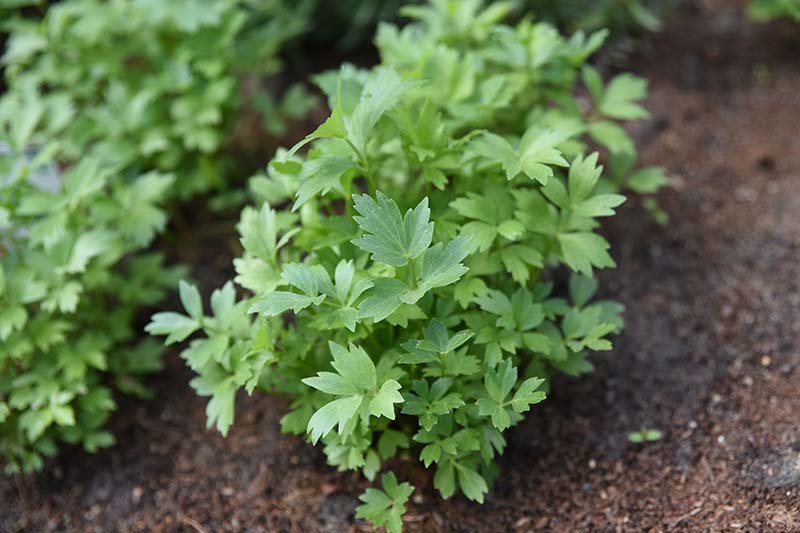
Comfrey is a hardy, low-maintenance perennial that can thrive in most U.S. regions with minimal effort. Here’s how to grow it successfully:
1. Best Varieties for U.S. Gardens
- Common Comfrey (Symphytum officinale): Traditional medicinal type, can self-seed.
- Russian Comfrey (Symphytum × uplandicum): Popular hybrid that doesn’t spread aggressively.
- Bocking 14: A sterile, high-yielding variety developed in England — ideal for compost and fertilizer use.
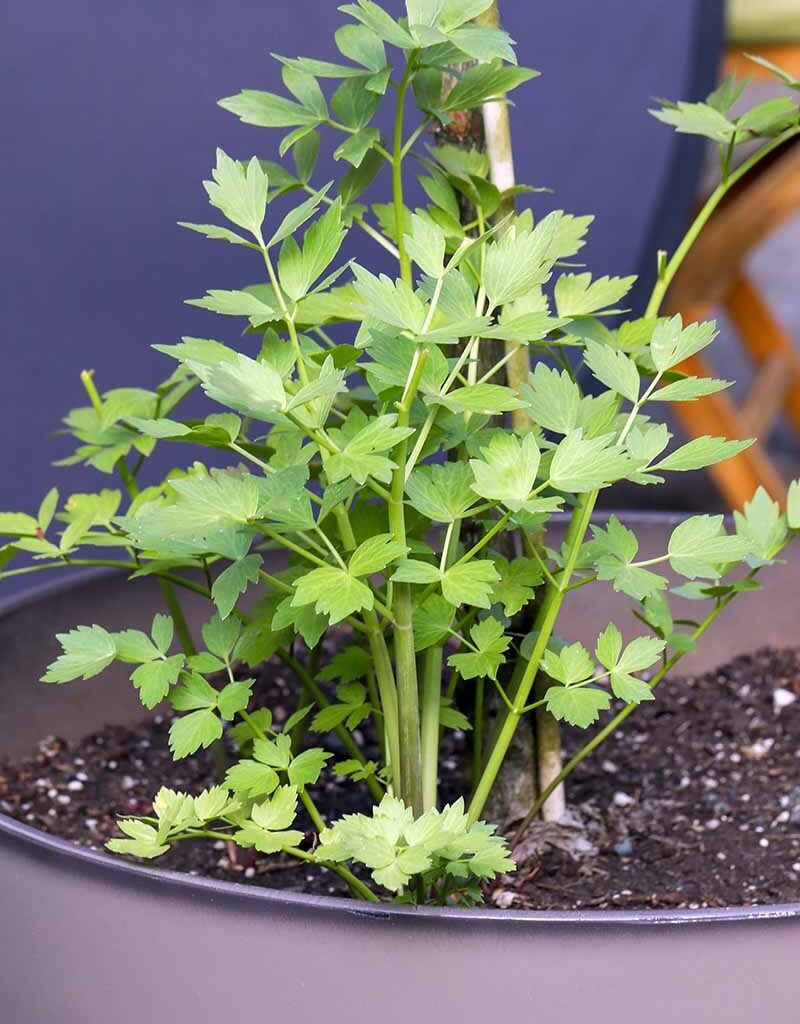
2. Planting Conditions
- Zones: 4–9
- Soil: Moist, well-drained soil rich in organic matter.
- Sunlight: Full sun to partial shade.
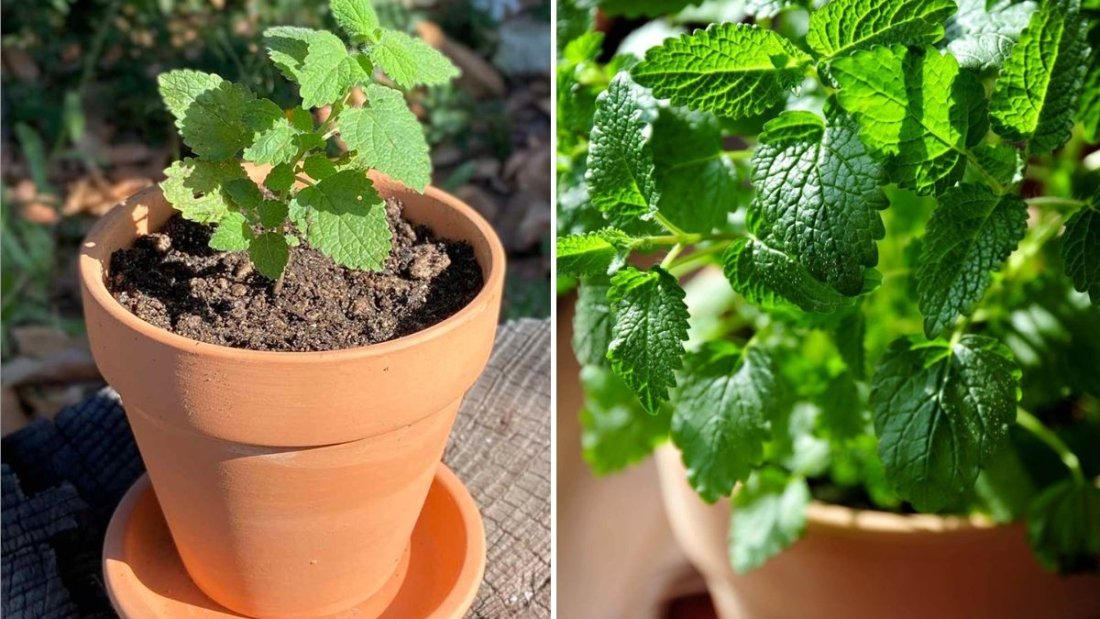
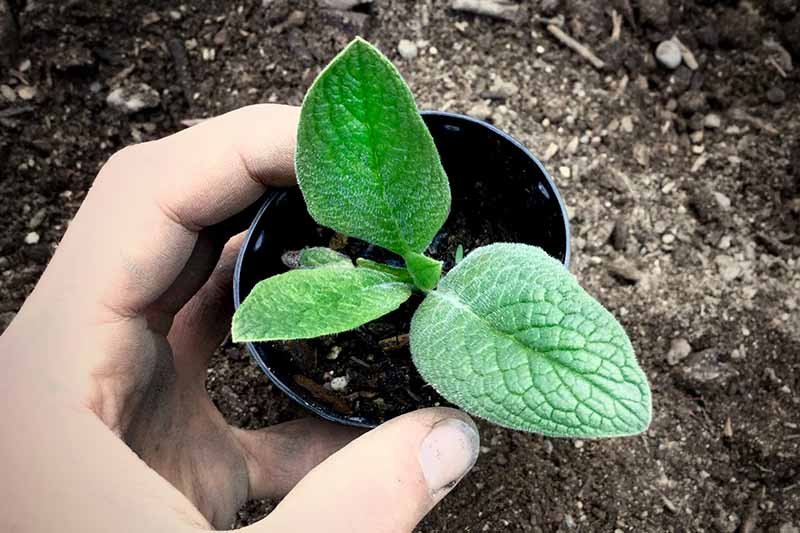
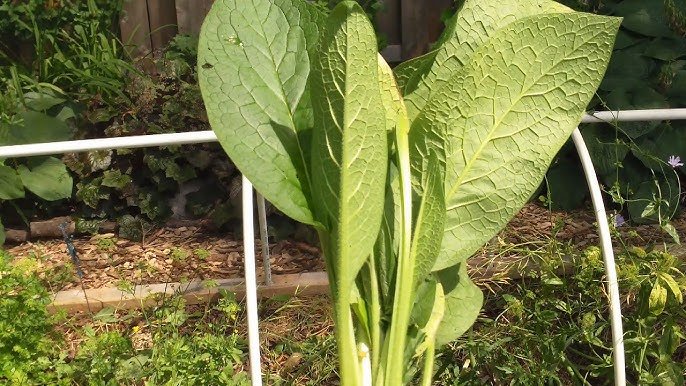
Plant comfrey from root cuttings or crowns in early spring or fall. Space plants about 2–3 feet apart — they grow large and lush once established.
3. Watering and Maintenance
Comfrey loves moisture but dislikes standing water. Once established, it’s drought-tolerant and pest-resistant. Cut back leaves several times per season for use in compost or mulch — they’ll regrow quickly.
Pro Tip: Because comfrey’s roots grow so deep, it’s best to plant it where you want it to stay. Removing it later can be difficult.
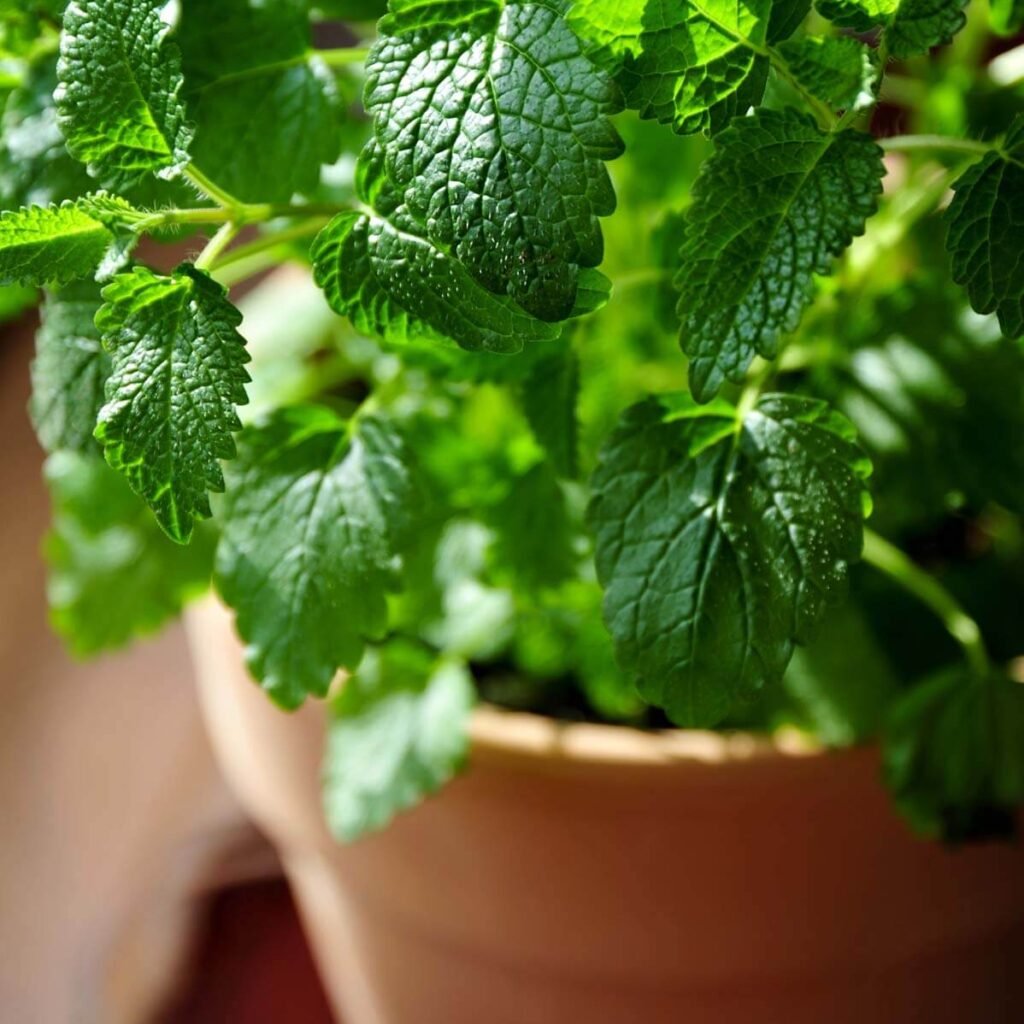
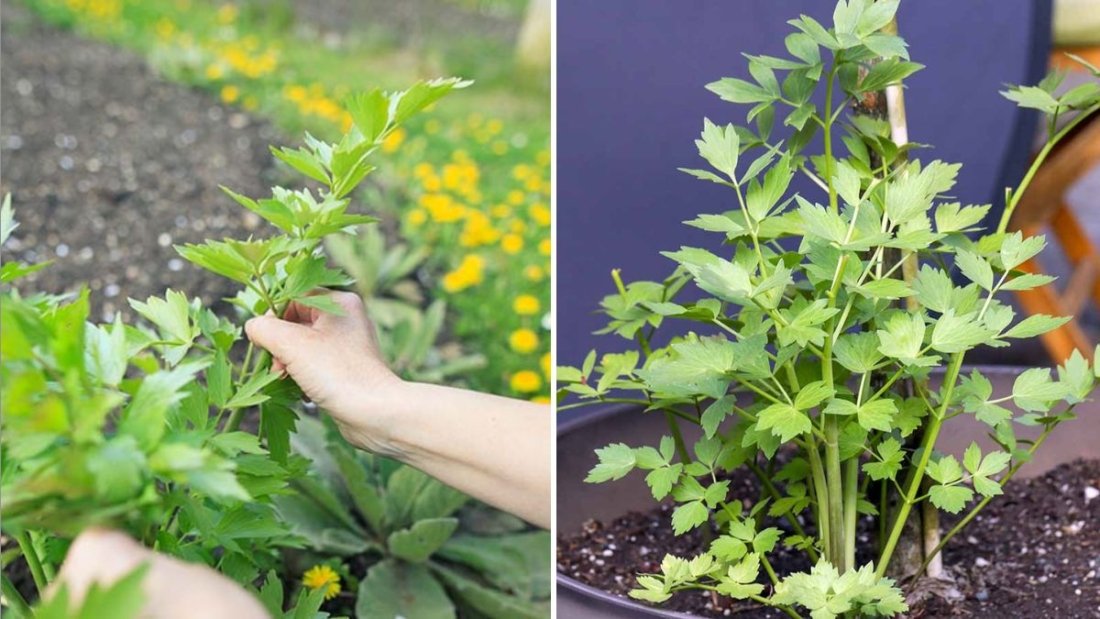
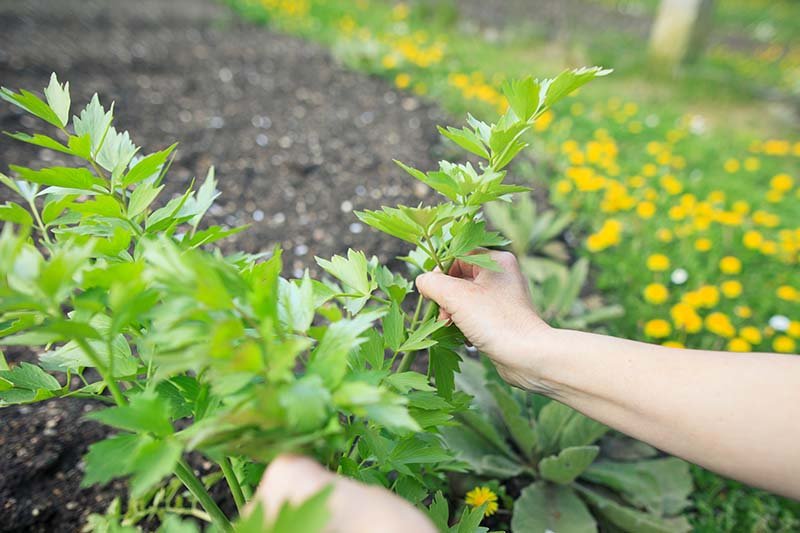
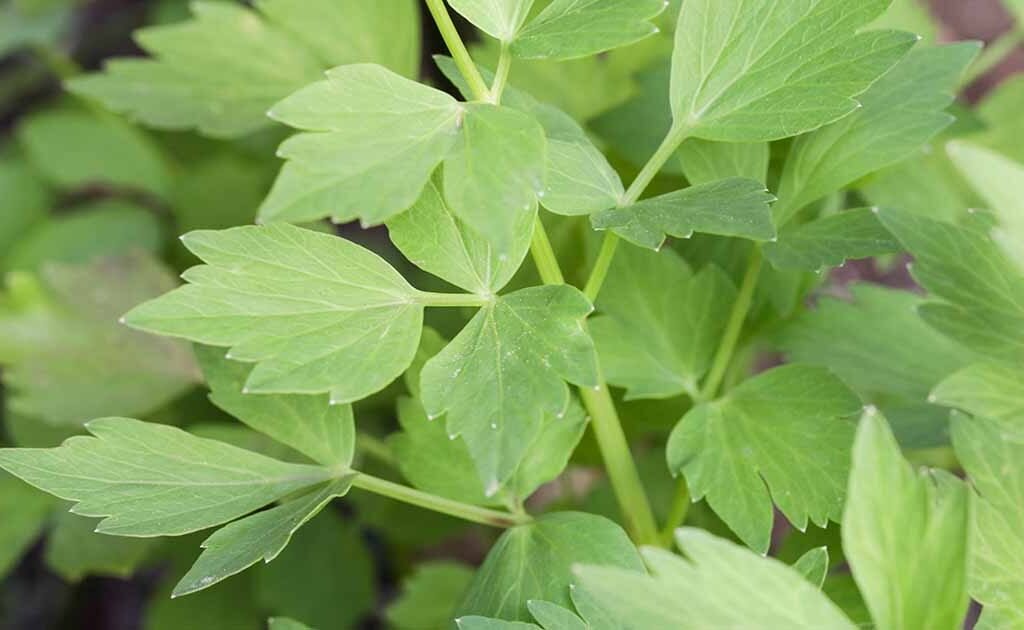
4. Harvesting Comfrey Leaves
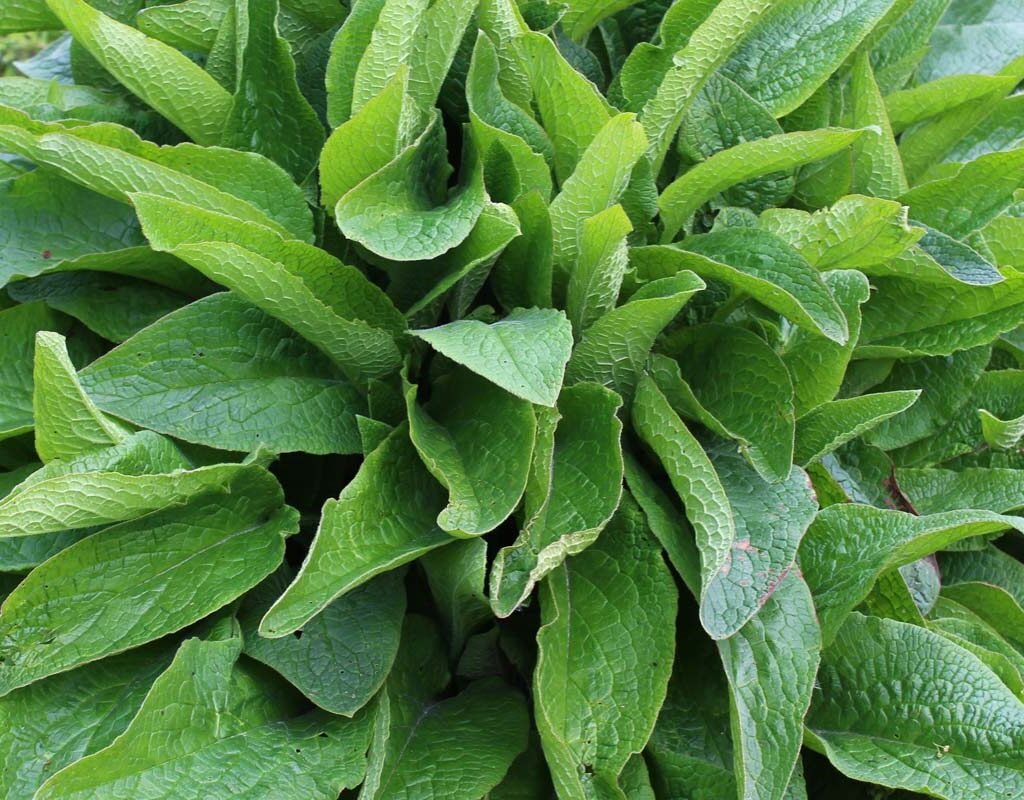
You can harvest comfrey leaves 3–5 times per year during the growing season. Cut leaves when they’re young and vibrant, ideally before flowering, for maximum nutrient content. Dry them in a warm, airy space for later use in salves, teas (external), or compost.
DIY Comfrey Uses at Home
Comfrey’s versatility extends far beyond the garden. Here are some American homestead favorites for putting this herb to work:
1. Comfrey Healing Salve
- Infuse dried comfrey leaves in olive oil for 2–3 weeks.
- Strain, then mix with melted beeswax to form a salve.
- Use topically on sore muscles, bruises, or dry skin.
2. Comfrey Compost Booster
Add chopped comfrey leaves directly to your compost pile to speed up decomposition and boost nutrient content. It’s often called a “compost activator.”
3. Comfrey Poultice for Pain Relief
Mash fresh leaves into a paste and apply (externally) to sprains or muscle aches. Wrap with a clean cloth and leave for several hours.
4. Natural Garden Spray
Steep comfrey leaves with nettles to make a plant-boosting foliar spray that nourishes leaves and improves resistance to pests.
Safety and Caution: Using Comfrey Responsibly
While comfrey is powerful, it must be used wisely. The plant contains pyrrolizidine alkaloids (PAs), compounds that can be toxic to the liver if ingested in large amounts.
Here are key safety tips:
- Avoid internal use of comfrey unless guided by a qualified herbalist.
- Use only externally in creams or salves.
- Choose PA-free extracts for commercial skincare products.
When handled properly, comfrey is perfectly safe for topical and garden use — and remains one of the most valuable plants in the herbal world.
Comfrey in American Sustainable Living
Across the U.S., homesteaders, herbalists, and eco-conscious gardeners are rediscovering comfrey for its multi-purpose benefits. It embodies the American values of self-sufficiency and natural living.
From urban backyard gardeners in Chicago to rural homesteads in Montana, comfrey serves as:
- A natural fertilizer that replaces chemical feeds
- A healing herb for external remedies
- A pollinator plant supporting biodiversity
- A compost activator for organic soil care
In short, comfrey is a cornerstone of the modern green movement — offering practical, sustainable solutions for health and horticulture alike.
Fun Facts About Comfrey
- Comfrey has been used for over 2,000 years in European medicine.
- The plant’s roots can grow up to 10 feet deep, tapping nutrients other plants can’t reach.
- The famous Bocking 14 variety was developed by organic pioneer Lawrence Hills in England.
- Comfrey is often called the “miracle herb of permaculture.”
- Bees adore its flowers — it’s one of the best nectar sources for early-season pollinators.
Conclusion: Comfrey — Nature’s Gift for Health and the Garden
Comfrey truly earns its title as a miracle herb. Whether you’re an American gardener looking to enrich your soil, a homesteader seeking self-reliance, or a wellness enthusiast exploring natural remedies, comfrey offers something special.
With its healing leaves, vibrant blooms, and eco-friendly benefits, comfrey is more than just a plant — it’s a bridge between the garden and natural wellness.
So next spring, make space for comfrey in your garden. You’ll soon see why this humble herb has been cherished for centuries — and why it’s becoming a staple in America’s green revolution.