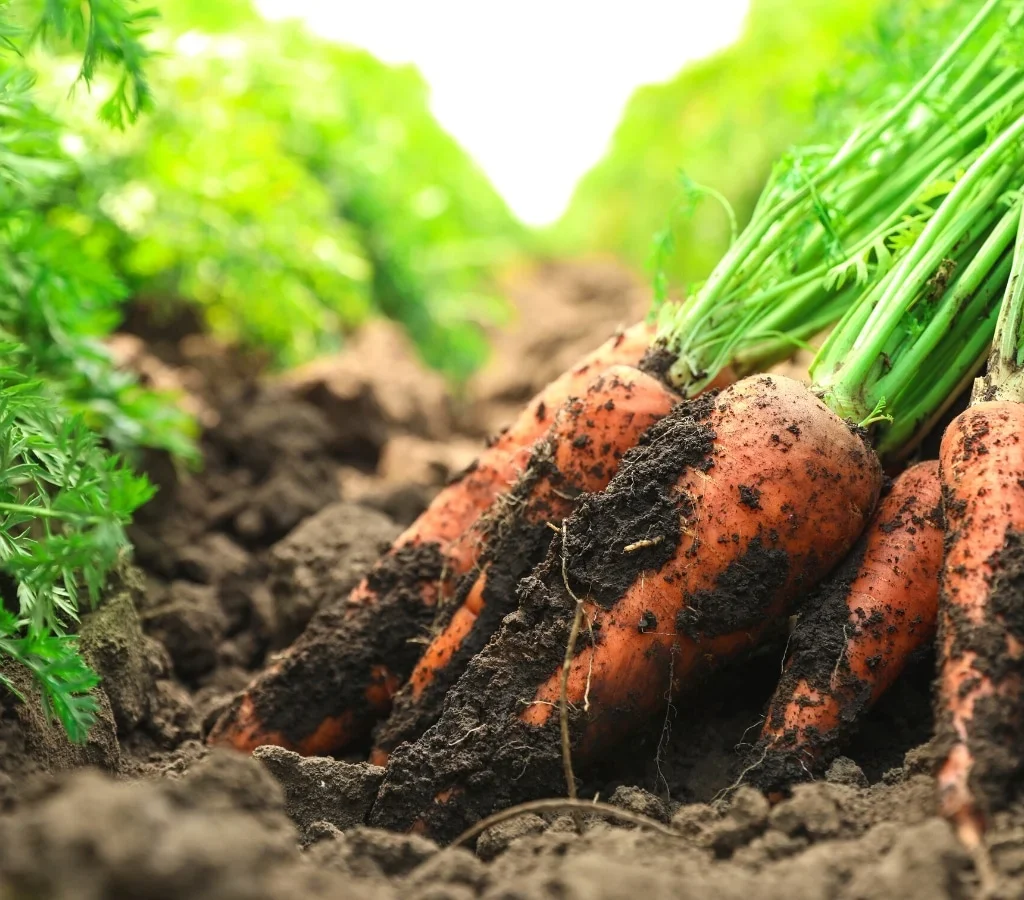
What if you could turn your kitchen scraps into a never-ending supply of fresh, crunchy carrots—without buying new seeds? Believe it or not, it’s possible! Americans everywhere are embracing sustainable gardening and food waste reduction, and one of the most rewarding projects is growing carrots from discarded stems.
This method doesn’t just save money—it’s fast, eco-friendly, and surprisingly productive. Whether you live in an apartment with a sunny window or a suburban home with a backyard garden, you can regrow carrots easily and efficiently using just the tops you’d normally toss away.
In this detailed guide, you’ll learn how to regrow carrots from scraps the right way—step-by-step—while boosting yield and growth speed. You’ll also discover how to care for them properly, when to harvest, and how to make this simple hack part of your long-term gardening routine.
1. Can You Really Regrow Carrots From Stems?
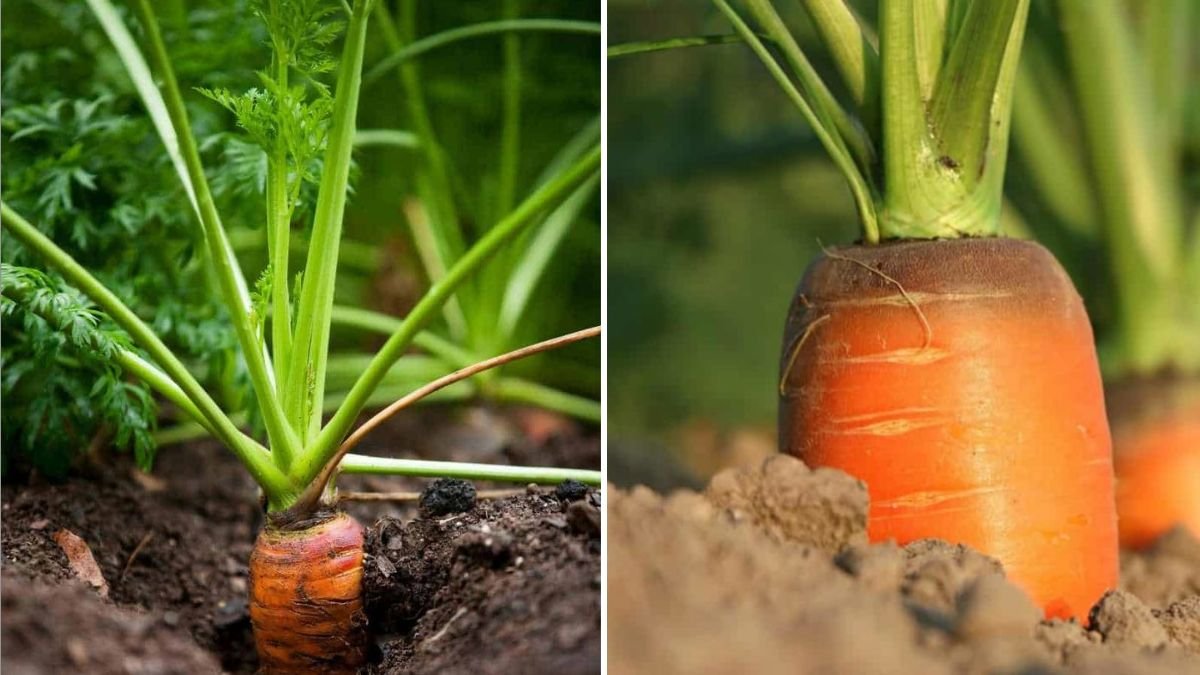
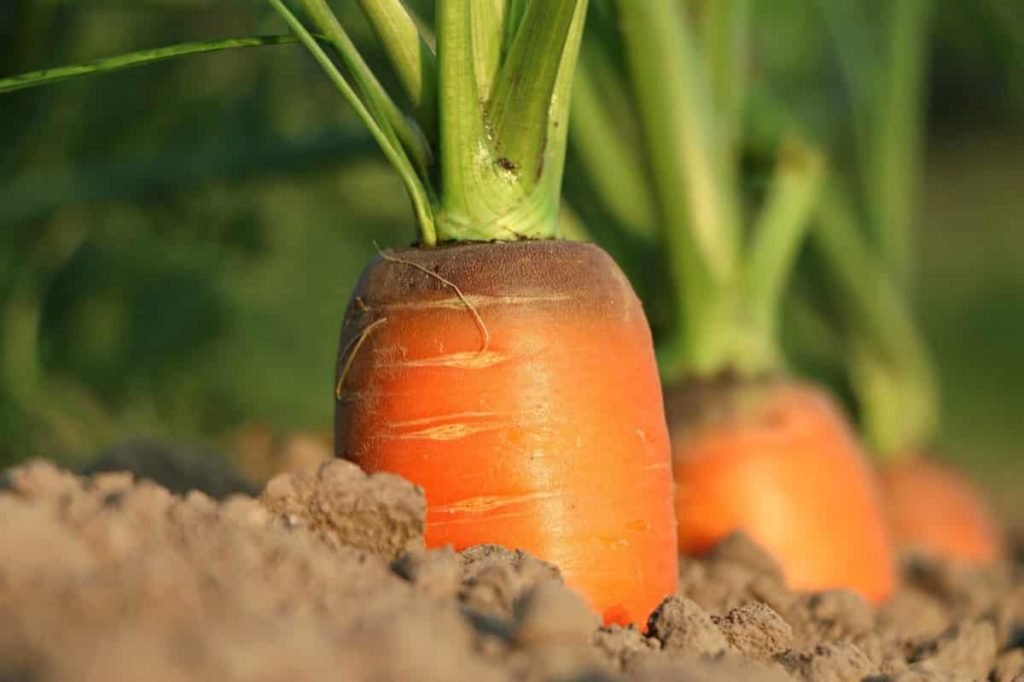
Let’s start with an important truth: you can’t regrow a whole new carrot root (the orange edible part) from just the stem. The carrot we eat is actually the plant’s taproot, and once it’s been harvested, that part is gone for good.
However, you can regrow the green tops and new roots from the discarded carrot stem—and with the right care, those regrown plants can produce flowers, seeds, and even small new roots for future growth.
Think of it as propagating carrots, not cloning them. The result is a fast, sustainable way to grow leafy carrot greens, attract pollinators, and even regenerate carrot plants that can yield new seeds for next season’s harvest.
2. Why Americans Are Turning to Regrowth Gardening
Across the U.S., home gardeners are finding creative ways to reduce waste and grow fresh produce year-round. Regrowing vegetables from scraps has become a major trend, and carrots are one of the easiest to start with.
Here’s why this method is popular:
- Eco-Friendly: Reduces food waste and promotes sustainable living.
- Budget-Friendly: You grow from scraps—no seeds or fancy tools required.
- Beginner-Friendly: Perfect for kids, classrooms, or urban gardeners.
- Fast Results: Sprouting begins within days, not weeks.
- Educational: Great way to learn about plant regeneration and seed saving.
It’s a fun, easy project that turns kitchen waste into garden gold—literally!
3. What You’ll Need to Get Started
Before you dive in, gather a few simple supplies. Most are already in your kitchen or garden shed.
Supplies:
- Fresh carrot tops (at least 1 inch of stem attached to the top)
- Shallow dish or bowl
- Clean water
- Toothpicks (optional)
- Pot or container with drainage holes
- Potting mix or garden soil
- A sunny spot (windowsill, balcony, or garden bed)
Pro Tip: Choose organic carrots if possible—they’re less likely to be treated with chemicals that can slow regrowth.
4. Step-by-Step Guide: Regrowing Carrots From Stems
Let’s get your carrot regrowth project started the right way.
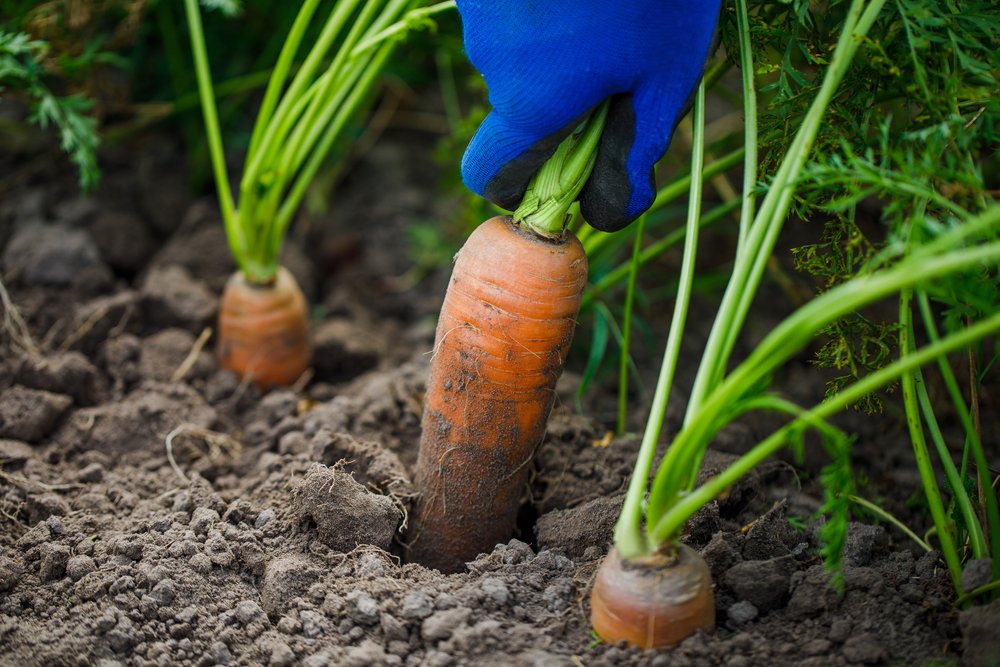
Step 1: Prepare the Carrot Tops
- Cut off the top 1–2 inches of the carrot (the stem end, where the greens sprout).
- Rinse to remove dirt or debris.
Make sure each top has a small flat surface where the stem and orange part meet—this is where new growth will emerge.
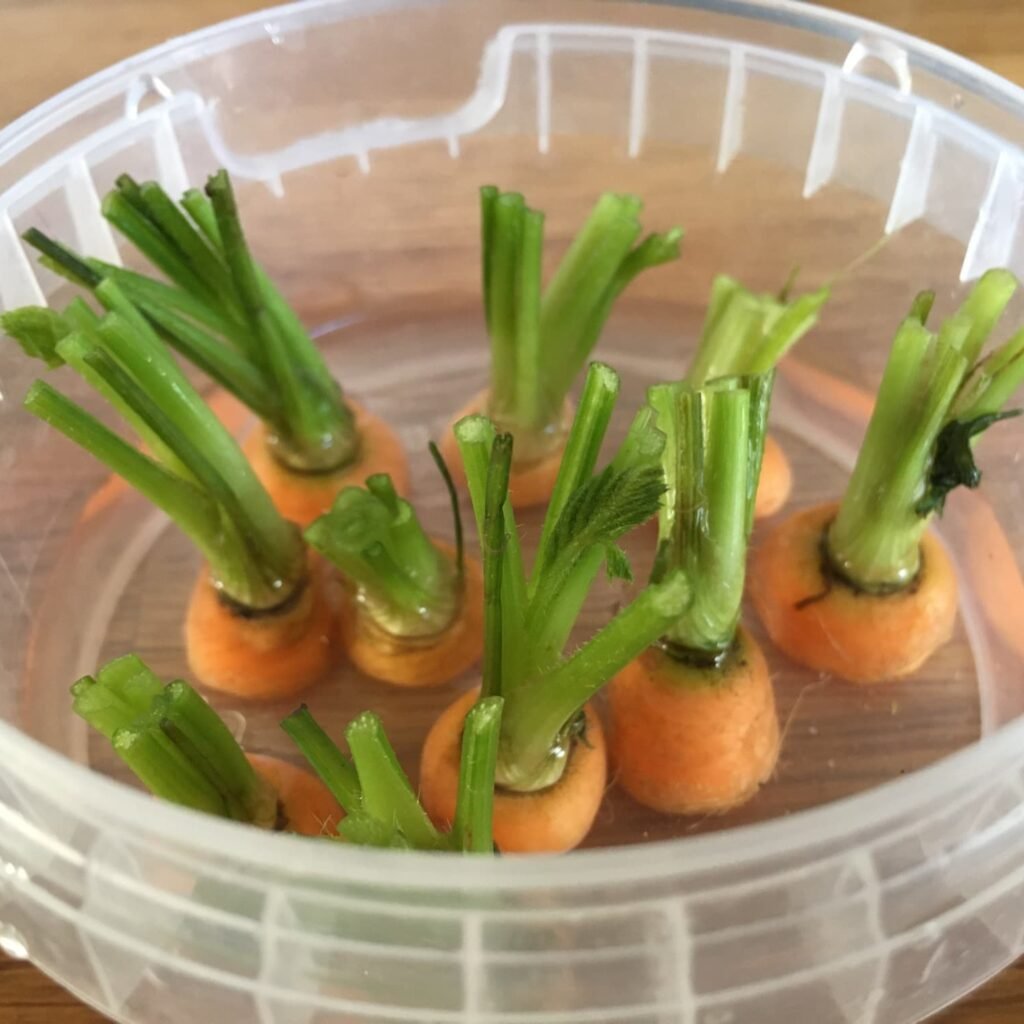
Step 2: Place in Water
- Fill a shallow dish with about ½ inch of clean water.
- Place the carrot tops cut-side down, green side up.
- You can use toothpicks to keep them slightly above the water if needed.
Keep the dish in a bright, sunny location (like a windowsill). Avoid direct, harsh afternoon sunlight in the first few days.
Change the water daily to prevent mold and bacterial buildup.
Within 3–5 days, you’ll notice tiny green shoots and white roots forming underneath the stem—proof that your carrot is regenerating!

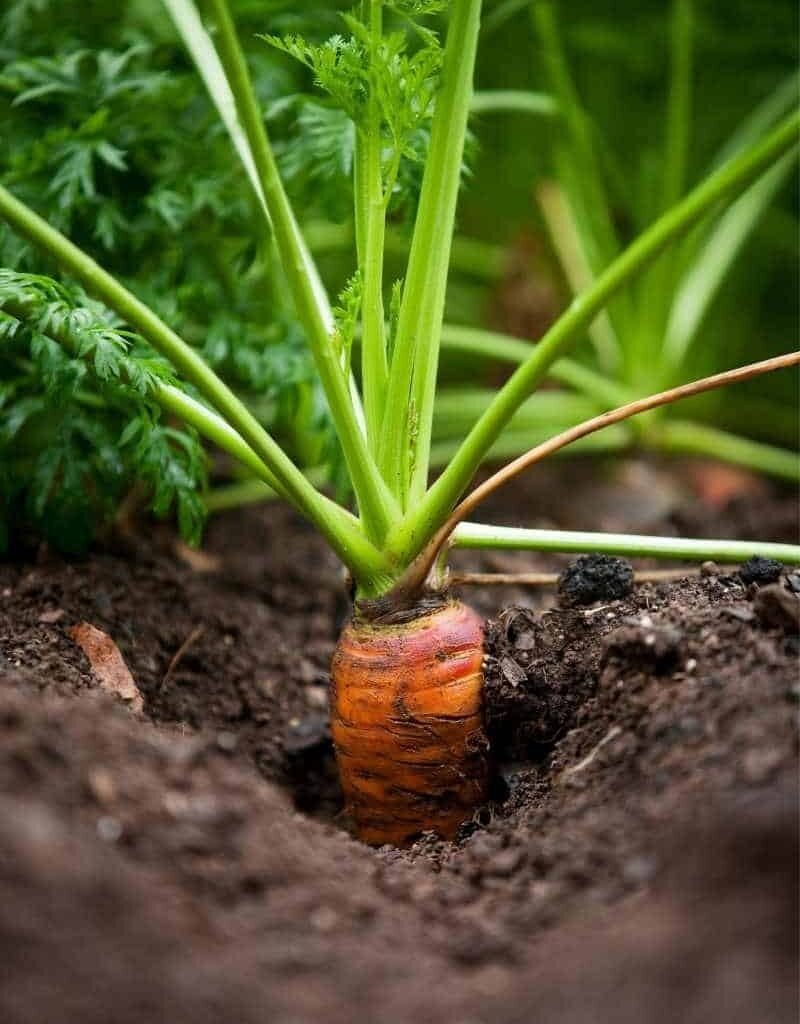
Step 3: Transplant Into Soil
Once the tops have developed roots around 1 inch long and leafy growth of at least 2 inches, they’re ready to move into soil.
How to Transplant:
- Fill your pot or garden bed with loose, well-drained soil.
- Make small holes deep enough to cover the lower part of the carrot top.
- Place each rooted top gently and cover with soil up to the base of the greens.
- Water thoroughly.
Keep soil consistently moist (but not soggy) for the first two weeks.
Step 4: Care for Your Regrown Carrots
Now that your carrot tops are in soil, consistent care ensures rapid growth and high yield potential.
Sunlight:
- Carrots love 6–8 hours of sunlight daily.
- Place your pot near a sunny window or outdoors in a bright spot.
Watering:
- Keep soil moist, not drenched.
- Water when the top inch of soil feels dry.
Fertilizer:
- Add organic compost or diluted liquid fertilizer every 2–3 weeks.
- Avoid nitrogen-heavy fertilizers—they promote leaves, not roots.
Within 2–3 weeks, you’ll see vigorous greens and possibly new roots forming underneath!

5. Turning Regrown Tops Into New Carrot Seeds
Here’s where this method becomes truly sustainable. With enough patience, your regrown carrot tops can flower and produce seeds for new carrot plants.
How to Do It:
- Allow your carrot tops to grow freely for several weeks.
- As they mature, they’ll send up tall stalks with umbrella-shaped flowers.
- These blooms attract pollinators like bees and butterflies—great for your garden ecosystem.
- After flowering, let the stalks dry naturally.
- Collect the tiny brown seeds (known as carrot umbels) for replanting.
Each stem can produce hundreds of new seeds, setting you up for an endless cycle of carrot growing—no store-bought packets needed.
6. Harvesting Carrot Greens (and How to Use Them)
Even if you’re not regrowing full carrots, the greens themselves are delicious, nutrient-rich, and versatile.
Harvest Tips:
- You can start trimming greens once they’re 6–8 inches tall.
- Always leave at least 2 inches of growth so the plant continues regenerating.
Ways to Use Carrot Greens:
- Blend into pesto or green smoothies.
- Sauté with garlic and olive oil.
- Chop into soups, salads, or omelets for a zesty flavor boost.
Carrot greens are packed with vitamin K, potassium, and antioxidants, making them a healthy bonus to your regrowth project.
7. Boosting Growth Speed and Yield
Want to make your regrown carrot tops flourish faster and produce more? Try these proven techniques:
Use Warm Water for Starting
Carrots sprout more quickly in water that’s around 70–75°F (21–24°C).
Add a Natural Rooting Agent
Mix a few drops of apple cider vinegar or aloe vera gel into the water to stimulate root growth.
Ensure Proper Drainage
Loose, sandy soil encourages root expansion and prevents rot.

Mulch the Soil
A light layer of mulch or straw helps retain moisture and stabilizes soil temperature.
Rotate Light Exposure
If indoors, rotate the pot every few days so all sides of the plant receive equal sunlight.
With these tweaks, your carrot tops will grow greener, stronger, and faster—often showing visible progress within a single week.
8. Common Problems and Easy Fixes
Even low-maintenance crops like carrots can face issues. Here’s how to troubleshoot:
Problem: Leaves turning yellow
Fix: Too much water or poor drainage. Let soil dry slightly before watering again.
Problem: Mold forming in water stage
Fix: Change water daily and ensure the dish is clean. Add a drop of lemon juice to deter bacteria.
Problem: Weak or thin greens
Fix: Move to a sunnier location or feed with a balanced liquid fertilizer.
Problem: No root formation
Fix: Try using fresh carrot tops or ensure the cut section hasn’t dried out before soaking.
9. Expanding Your Scrap Garden
Once you master carrot regrowth, try this technique with other kitchen scraps!
You can regrow:
- Green onions (from roots)
- Celery (from the base)
- Lettuce (from the crown)
- Garlic (from cloves)
- Beets and radishes (from tops)
Before long, you’ll have a mini home garden grown entirely from leftovers—a sustainable, money-saving way to keep your kitchen stocked with fresh produce.
Conclusion: From Scraps to Sustainability
Growing carrots from discarded stems isn’t just a fun DIY project—it’s a statement of sustainability, creativity, and self-reliance. You’re turning waste into life, transforming something ordinary into a continuous source of fresh greens and seeds.
In just a few short weeks, you can watch your kitchen scraps sprout, thrive, and regenerate—proof that nature never really stops giving when you know how to work with it.
So the next time you slice off those carrot tops, don’t toss them out. Instead, start your own fast-growing, high-yield carrot garden right at home. It’s simple, satisfying, and 100% eco-friendly—a small step that makes a big impact.