
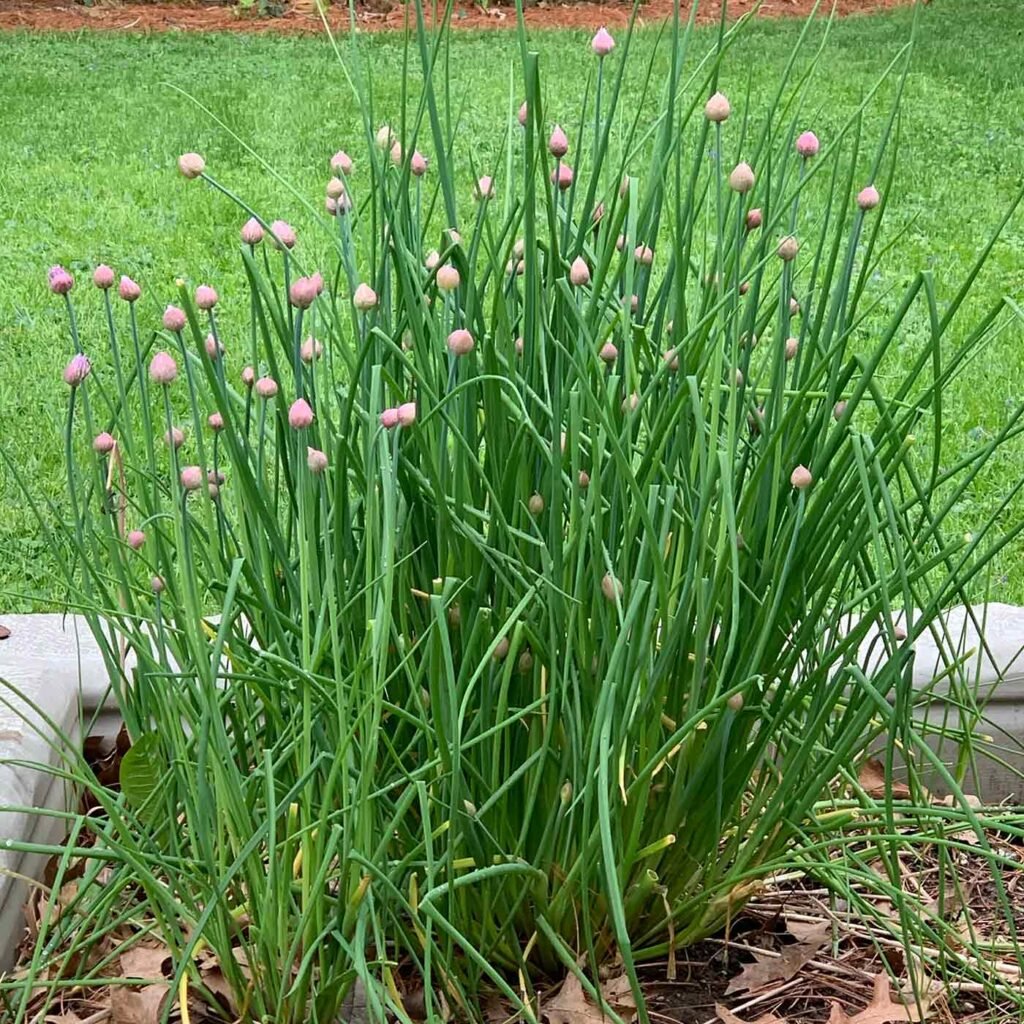
If you’ve been growing chives for a few seasons, you’ve probably noticed how quickly they can fill up their pot or garden space. What starts as a small, neat clump of slender green stalks can turn into a thick, tangled mass that produces fewer leaves each year. Don’t worry—this isn’t a sign your chives are dying. It simply means they’re overgrown and ready to be divided.
Dividing chive plants is one of the easiest and most rewarding tasks for home gardeners. Not only does it rejuvenate the mother plant, but it also gives you new, healthy clumps to grow elsewhere or share with friends. With just a few tools and about 15 minutes, you can double—or even triple—your future harvests.
Here’s everything you need to know about how to divide overgrown chive plants, when to do it, and how to care for them afterward for the best results.
Why You Should Divide Chive Plants
Chives (Allium schoenoprasum) are hardy perennials belonging to the onion family. They’re known for their mild onion flavor and their ability to come back year after year with minimal effort. However, like all perennials, they benefit from occasional rejuvenation.
Over time, chive clumps become:
- Crowded: Roots compete for nutrients, leading to thinner stalks and slower growth.
- Woodier at the center: The middle of the plant often dies back while new shoots appear around the edges.
- Less productive: Leaves may yellow early or stop growing as thick and flavorful.
By dividing the plant, you’re essentially resetting its growth cycle. Freshly separated clumps have more space to spread their roots, absorb nutrients, and produce lush, tender leaves.
Bonus: Each divided clump becomes a brand-new plant. So from one overgrown chive clump, you can easily get 4–6 new ones!
When To Divide Chives
Timing matters when it comes to division. Chives recover best during their active growing seasons—spring and early fall—when the weather is mild.
- Best time: Early spring, just as new shoots start to emerge (March–April in most regions).
- Alternative: Early fall (September–October), allowing plants to establish before winter dormancy.
Avoid dividing during hot midsummer or freezing winter conditions, as stress can delay recovery or kill tender new roots.
If you’re growing chives indoors, you can divide any time the plant looks overcrowded, as long as you provide consistent moisture and light.
What You’ll Need
Before you start, gather these simple tools and supplies:
- Garden spade or trowel
- Sharp knife or pruning shears (for cutting clumps)
- Garden gloves
- Watering can or hose
- Compost or organic fertilizer
- Pots or a prepared garden bed (for replanting divisions)
Tip: Water your chive plant well a day before dividing. Moist soil makes it easier to lift and separate the roots without damaging them.

Step-by-Step: How To Divide Overgrown Chive Plants
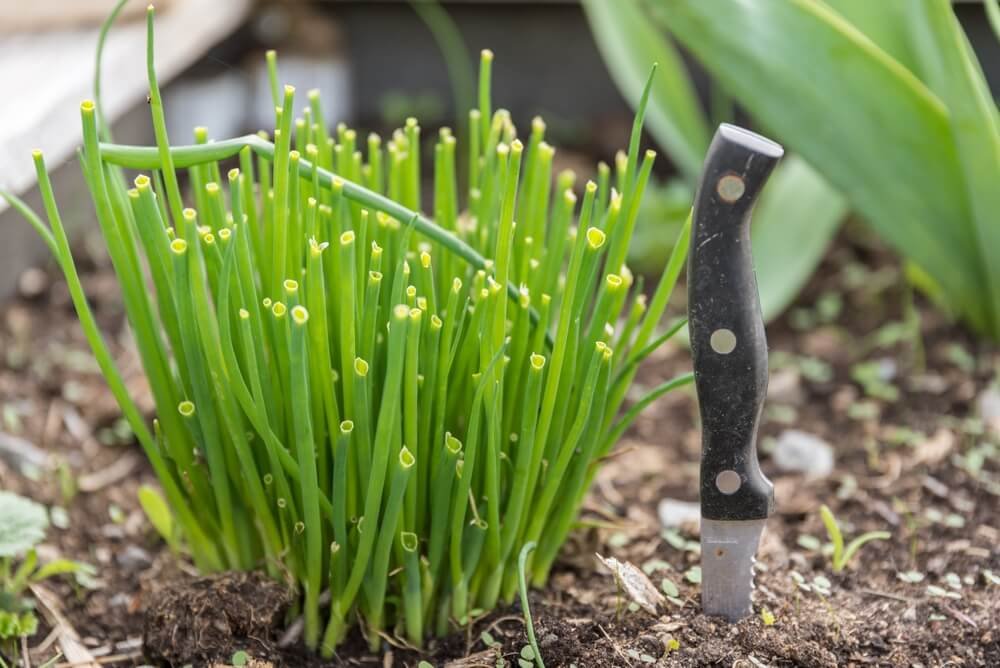
Step 1: Dig Up the Whole Clump
Start by loosening the soil around the base of the chive clump using a spade or garden fork. Be gentle—chive roots are fine and fibrous. Dig at least 3–4 inches away from the base to avoid cutting into the root system.
Carefully lift the entire plant out of the ground (or remove it from the pot) and shake off excess soil so you can see the roots clearly.
Step 2: Examine the Roots and Stems
Once out of the soil, take a close look at your chive plant. You’ll notice:
- The outer edges are full of fresh, green shoots.
- The center might be brown, woody, or even hollow.
This center portion is old growth that you can discard. Focus on the healthy outer clumps—these are the sections you’ll divide and replant.
Step 3: Separate the Clump Into Smaller Sections
Use your hands to gently pull apart the root ball. Chive roots are flexible and usually separate easily. If they’re densely tangled, use a sharp knife or pruning shears to cut through the mass.
Ideal division size: Each new section should have at least 8–10 shoots and a good amount of roots attached. Smaller divisions may take longer to establish, while larger ones rebound faster.

From a mature clump, you can typically create 4 to 6 new plants.
Step 4: Replant Immediately
Chives don’t like their roots drying out, so replant the divisions as soon as possible.
For garden planting:
- Choose a sunny location with well-draining, fertile soil.
- Enrich the soil with compost or aged manure.
- Plant each division 6–8 inches apart in rows or clusters.
- Water thoroughly to settle the soil around the roots.
For container planting:
- Select pots that are at least 6 inches deep with drainage holes.
- Use a high-quality potting mix with a bit of compost mixed in.
- Keep one or two divisions per pot to allow for growth.
- Place the pot in a bright spot with at least 5–6 hours of sunlight daily.
Step 5: Water and Mulch
After replanting, give the new divisions a deep watering. Chives prefer evenly moist (not soggy) soil. To help retain moisture and regulate temperature, spread a thin layer of straw, shredded leaves, or compost mulch around the base.
This also prevents weeds from competing with your young plants.

Aftercare: Helping Divided Chives Thrive
Newly divided chives need a little extra care while they re-establish.
For the first few weeks:
- Water consistently: Keep soil lightly moist until you see new growth.
- Avoid heavy harvesting: Let the plants rest and root. Wait at least 4–6 weeks before cutting leaves again.
- Feed lightly: Once the plants show new shoots, apply a diluted liquid fertilizer or compost tea every two weeks.
Once established:
Chives are low-maintenance. Just water when the top inch of soil feels dry, and trim regularly to encourage fresh, tender growth.
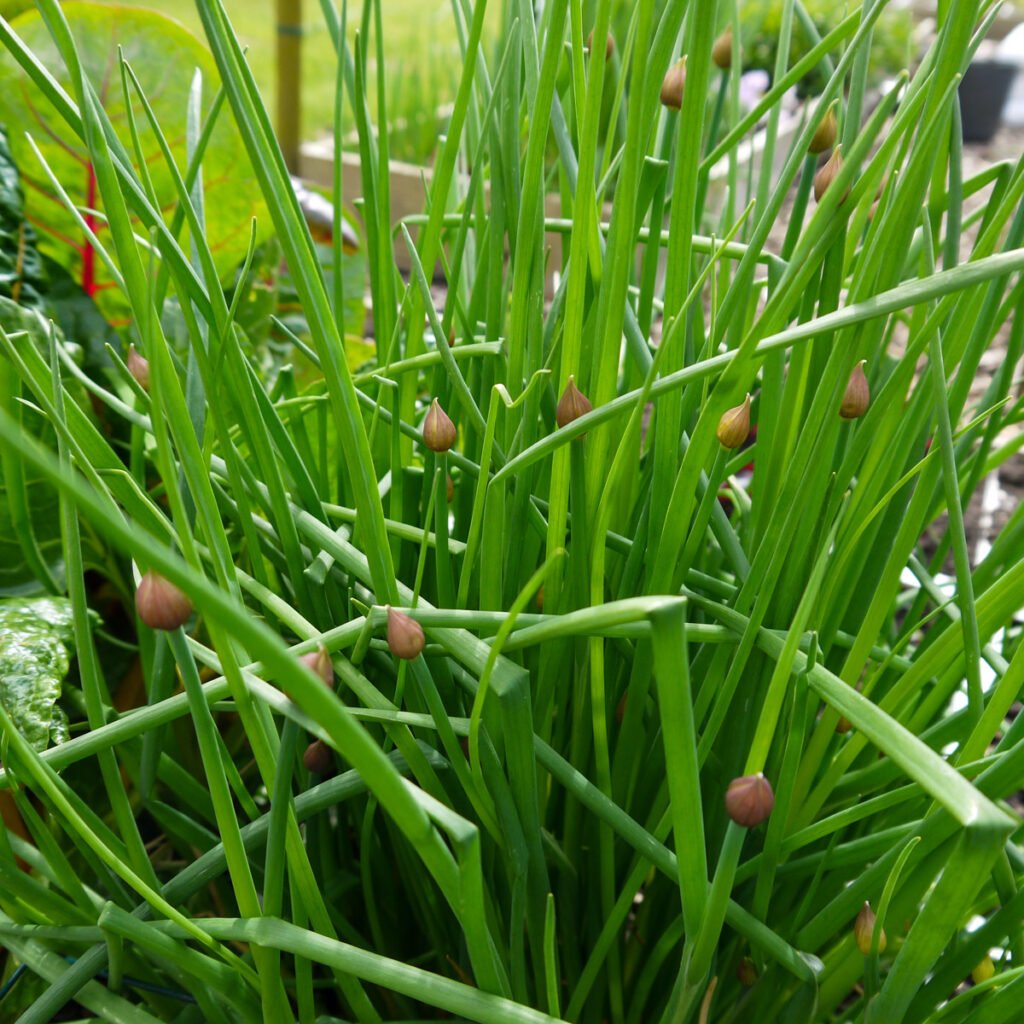
Harvesting After Division
The great thing about dividing chives is that it doesn’t just rejuvenate them—it boosts your yield. Within a month or two of replanting, you’ll start seeing new, lush growth ready for harvest.
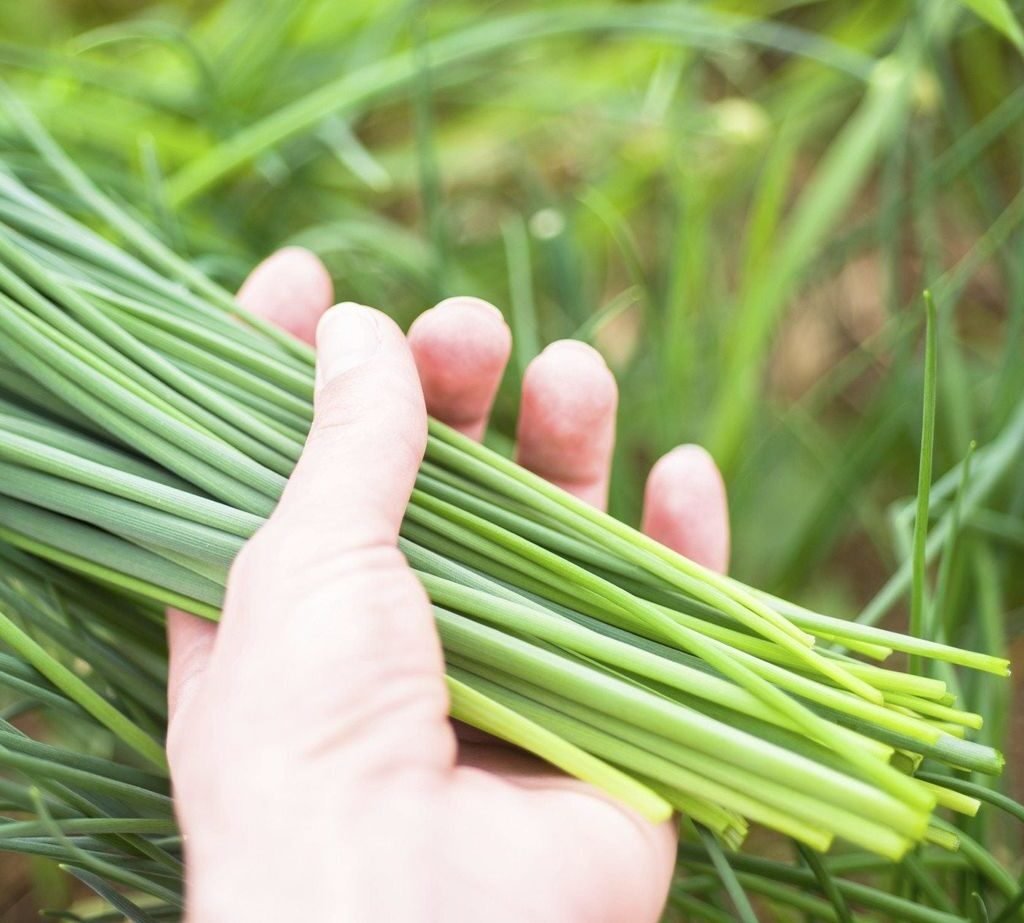
How to harvest properly:
- Cut leaves from the outer part of the clump, about 1 inch above the soil.
- Always use clean scissors or shears to prevent disease.
- Regular harvesting (every 2–3 weeks) encourages the plant to produce more shoots.
By midsummer, your divided plants will be thick and productive again—perfect for topping salads, omelets, soups, and baked potatoes.
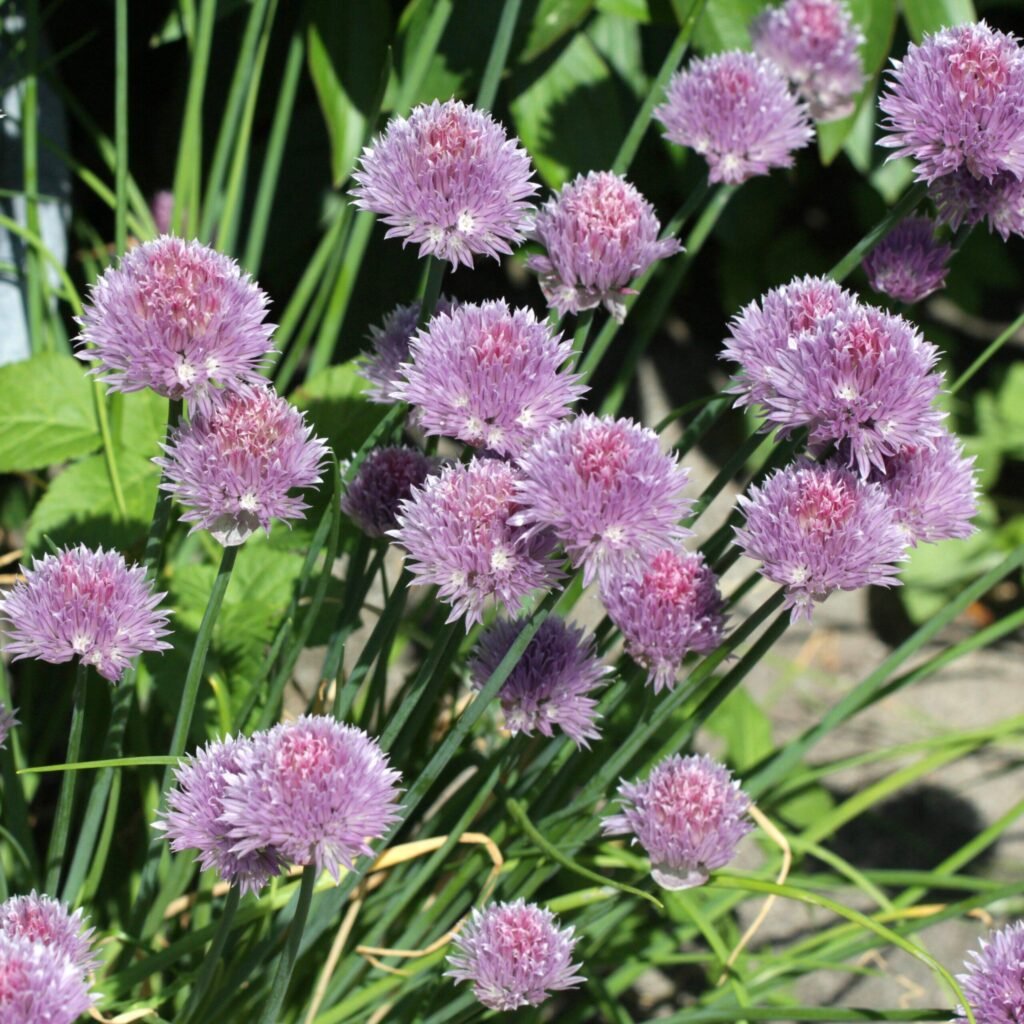
Bonus: Divide Flowering Chives Too
Chives are known not just for their flavorful leaves but also for their beautiful purple blooms that appear in late spring or early summer. These flowers are edible and attract pollinators like bees and butterflies.
If your chives are flowering heavily, don’t worry—you can still divide them!
- Trim off the flower stalks before dividing to help the plant focus on root establishment.
- You can also dry or freeze the blossoms to use in flavored vinegars or garnishes.
Extra Tips for Success
- Rotate your planting spot: If you’re replanting in the garden, move divided chives to a new area to reduce soil fatigue and pest buildup.
- Share the extras: Chive divisions make wonderful gifts for gardening friends—wrap the roots in damp paper and place them in small pots.
- Divide every 2–3 years: This keeps your plants young, healthy, and productive.
- Don’t skip pruning: Even after division, regular trimming prevents the plant from getting leggy or overcrowded again.
The Reward: More Harvests, Healthier Plants
Dividing overgrown chive plants isn’t just maintenance—it’s rejuvenation. In one simple afternoon, you can breathe new life into tired clumps and multiply your harvest for seasons to come. The process ensures stronger roots, fresher leaves, and an endless supply of that signature oniony flavor for your kitchen.
Whether you grow them in garden beds, window boxes, or patio pots, chives are one of the most forgiving herbs you’ll ever grow. And once you’ve mastered the art of division, you’ll never run out of chives again—no matter how often you snip them for your favorite dishes.