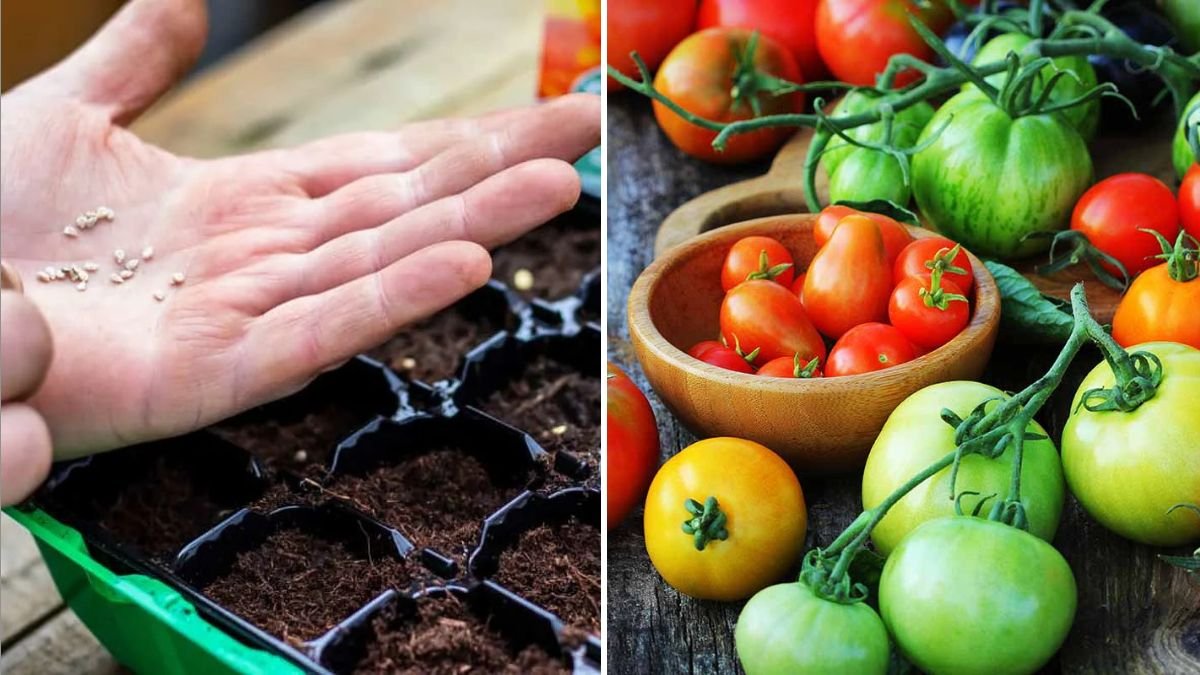
Growing tomatoes from seeds is one of the most rewarding gardening experiences. Not only does it allow you to cultivate a wide variety of flavors, colors, and sizes, but starting from seeds also gives you control over plant health and growth from the very beginning. While it may seem intimidating at first, with the right steps and techniques, you can grow robust, productive tomato plants like a seasoned gardener. This guide will walk you through how to grow tomatoes from seeds like a pro, covering seed selection, soil preparation, germination, transplanting, and care tips.
Step 1: Choose the Right Tomato Seeds
The first step to growing healthy tomatoes is selecting the right variety for your garden and climate.
Types of Tomato Seeds:
- Determinate (Bush) Varieties:
- Grow to a fixed height and produce fruit all at once.
- Ideal for container gardening or small spaces.
- Indeterminate (Vining) Varieties:
- Continue growing and producing fruit throughout the season.
- Require staking or trellising for support.
- Heirloom Varieties:
- Open-pollinated seeds known for unique flavors and colors.
- May require more care but reward gardeners with exceptional taste.
- Hybrid Varieties:
- Bred for disease resistance, higher yields, and consistent growth.
Tips:
- Consider your growing season: choose varieties that mature before the first frost if you have a short season.
- Check disease resistance labels, particularly for common tomato diseases like blight or fusarium wilt.
Step 2: Prepare the Seed-Starting Containers and Soil
Healthy seedlings start with clean containers and nutrient-rich soil.
Containers:
- Use seed trays, small pots, or even recycled containers with drainage holes.
- Avoid deep pots initially; shallow containers allow seedlings to establish roots efficiently.
Soil:
- Use a lightweight, well-draining seed-starting mix rather than garden soil.
- Seed-starting mixes are typically sterile, reducing the risk of diseases.
- You can also mix perlite or vermiculite to improve aeration and drainage.
Tips:
- Clean containers with mild soap and water to prevent contamination.
- Moisten the soil slightly before planting seeds to ensure consistent germination.
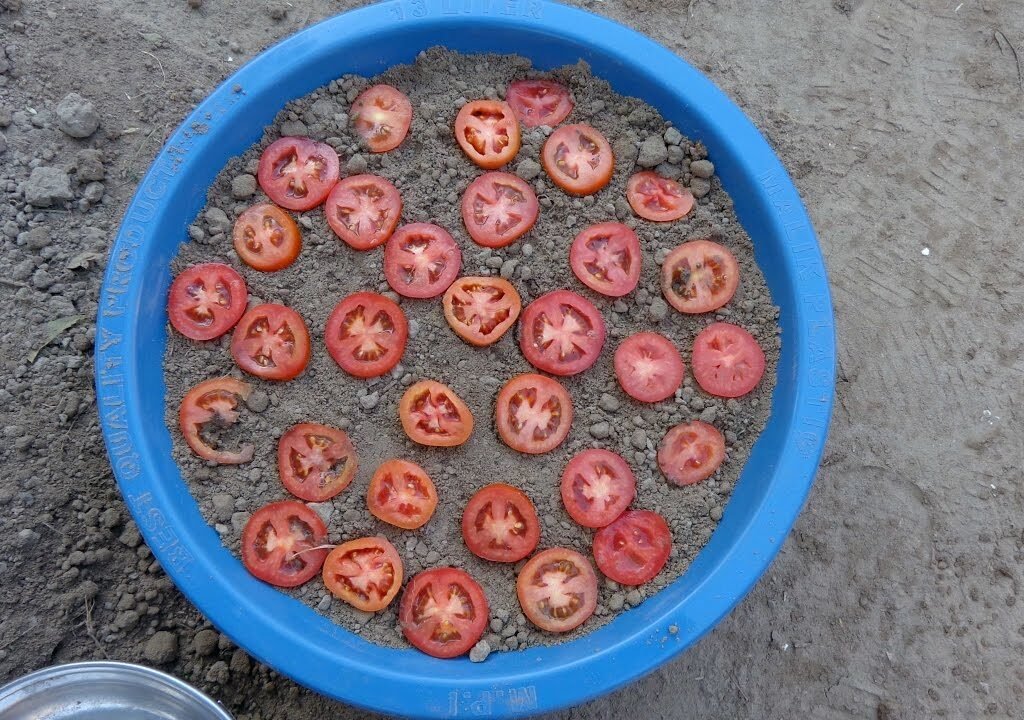
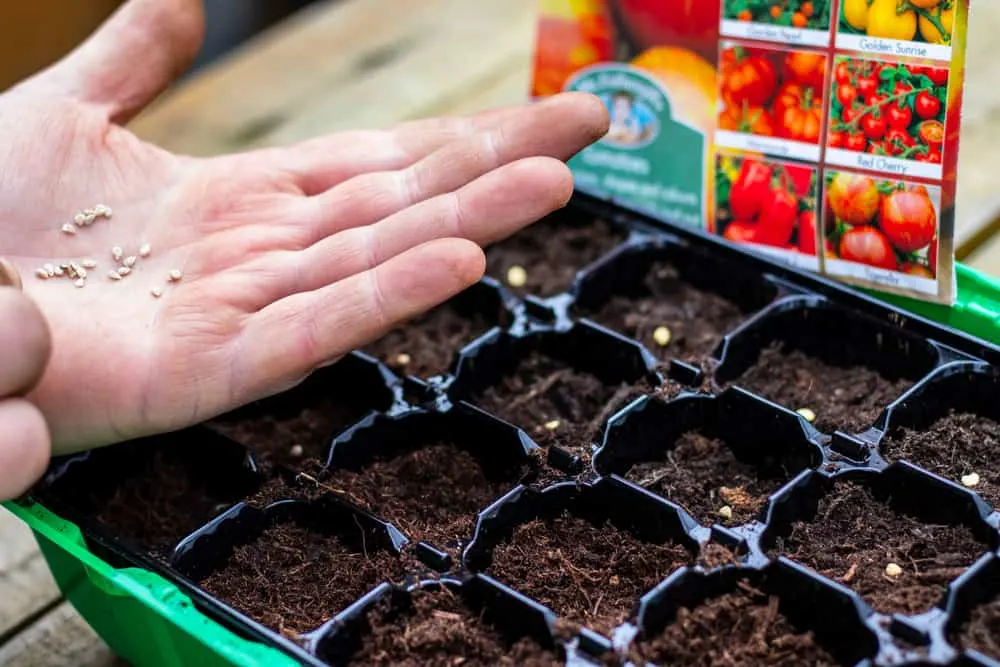
Step 3: Plant Tomato Seeds
Planting seeds correctly ensures strong, healthy seedlings.
Planting Steps:

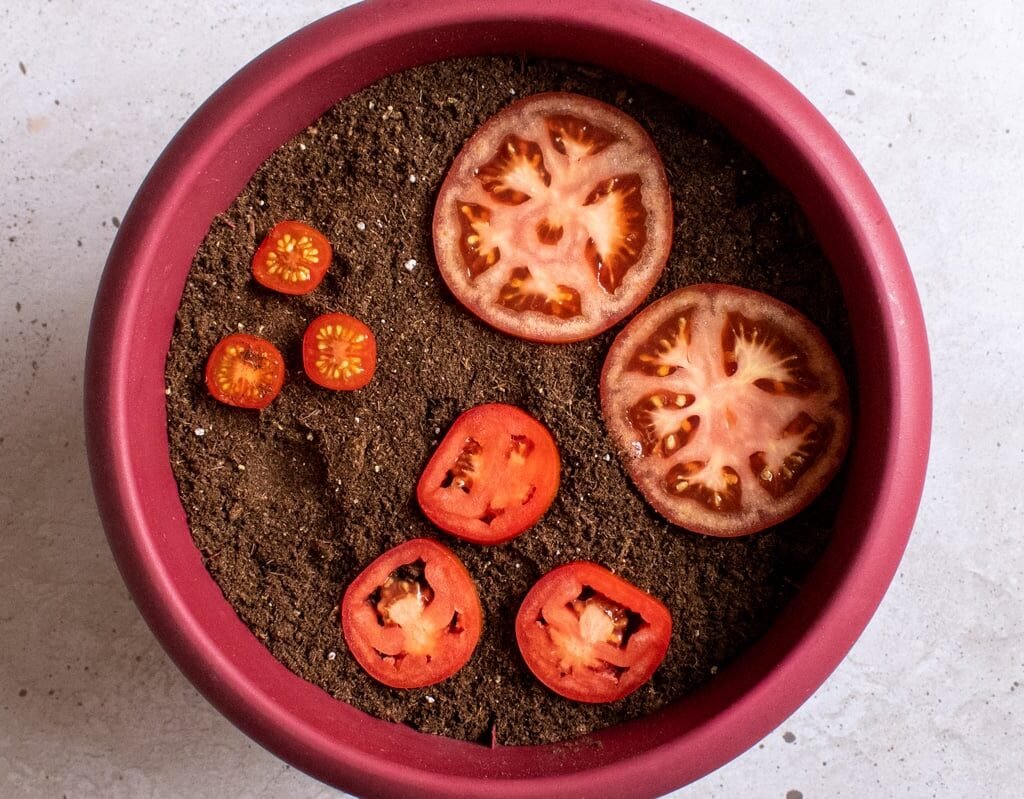
- Fill containers with the pre-moistened seed-starting mix.
- Sow seeds about ¼ inch deep into the soil.
- Cover lightly with soil and gently press down.
- Water carefully using a spray bottle or fine mist to avoid displacing seeds.
Tips:
- Plant 2–3 seeds per cell or container; thin to the strongest seedling after germination.
- Label each container with the variety and planting date for easy tracking.
Step 4: Provide Optimal Conditions for Germination
Tomato seeds germinate best under specific conditions:
- Temperature: 70–80°F (21–27°C)
- Light: Bright, indirect sunlight for 12–16 hours daily. If indoors, use grow lights 2–3 inches above seedlings.
- Moisture: Keep soil consistently moist but not soggy.
- Humidity: Cover trays with a plastic dome or cling wrap to retain moisture until seeds sprout.
Germination Time:
- Most tomato seeds sprout within 5–14 days depending on variety and temperature.
Tips:
- Remove the cover once seedlings emerge to prevent damping-off disease.
- Rotate seedlings daily to ensure even growth and prevent leaning.
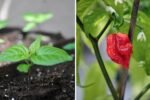
Step 5: Care for Seedlings
Once seedlings have sprouted, proper care is critical for healthy development.

Sunlight:
- Provide 12–16 hours of light per day; grow lights are ideal for indoor seedlings.
- Avoid placing seedlings in direct, harsh sunlight initially, which can scorch tender leaves.
Watering:
- Water at the soil level to avoid wetting leaves, which can promote fungal disease.
- Allow the top inch of soil to dry slightly between waterings.
Fertilizing:
- After 2–3 weeks, feed seedlings with a diluted, balanced liquid fertilizer.
- Avoid over-fertilizing, which can cause weak, leggy growth.
Thinning Seedlings:
- When seedlings have their first true leaves, thin by snipping weaker seedlings at the base.
- Maintain the strongest seedling per container.
Tips:

- Rotate seedlings to promote upright growth.
- Provide gentle airflow with a small fan to strengthen stems and prevent disease.
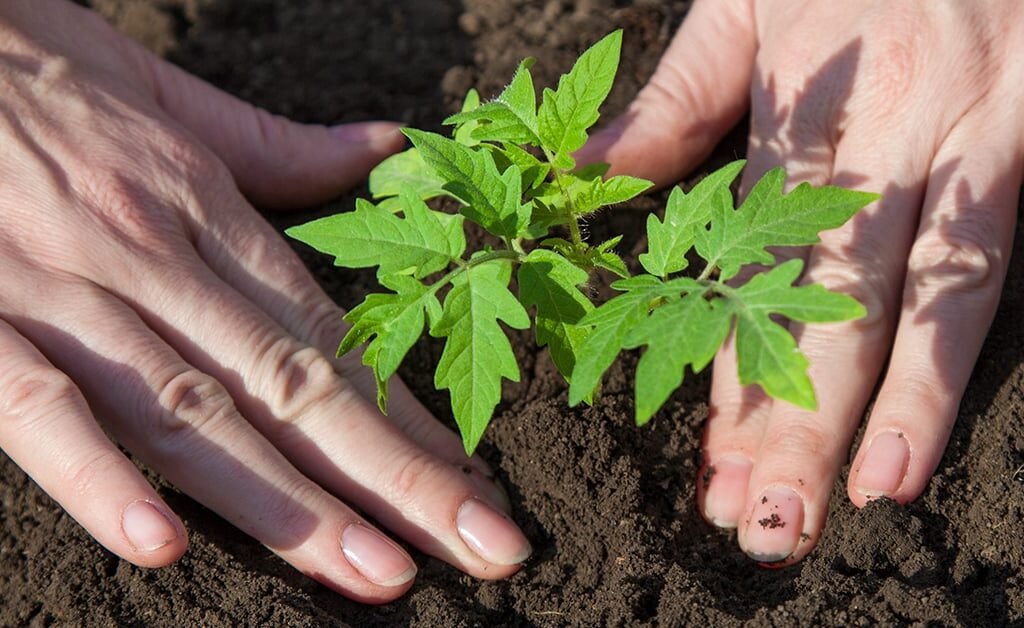
Step 6: Transplanting Seedlings
After 5–7 weeks, seedlings are usually ready for hardening off and transplanting.
Hardening Off:
- Gradually acclimate seedlings to outdoor conditions over 7–10 days.
- Start with a few hours in a shaded spot and slowly increase sunlight and outdoor exposure.
- Protect from wind, heavy rain, or frost during the transition.
Transplanting:
- Choose a sunny location with at least 6–8 hours of direct sunlight.
- Space plants 18–36 inches apart depending on variety.
- Plant seedlings deeper than in their container, burying part of the stem; this encourages strong root development.
- Water thoroughly after planting to reduce transplant shock.
Tips:
- Mix compost or aged manure into the planting hole for extra nutrients.
- Consider staking or caging plants at the time of transplant to support growth.
Step 7: Ongoing Care for Tomato Plants
Watering
- Tomatoes require consistent moisture, especially during flowering and fruiting.
- Water deeply at the base to encourage strong root development.
- Avoid overhead watering to reduce disease risk.
Mulching
- Apply organic mulch (straw, grass clippings, or shredded leaves) around the base.
- Mulch helps retain soil moisture, suppress weeds, and regulate soil temperature.
Fertilizing
- Use a balanced, slow-release fertilizer or compost tea every 2–3 weeks.
- Reduce nitrogen once flowers appear to promote fruiting rather than excessive leafy growth.
Pruning and Support
- For indeterminate varieties, remove suckers (side shoots) to focus energy on main stems and fruit production.
- Use stakes, cages, or trellises to support heavy fruit-laden vines.
Pest and Disease Management
- Monitor regularly for pests like aphids, tomato hornworms, or whiteflies.
- Inspect leaves for signs of fungal or bacterial disease.
- Use organic methods like neem oil, insecticidal soap, or companion planting to manage pests.
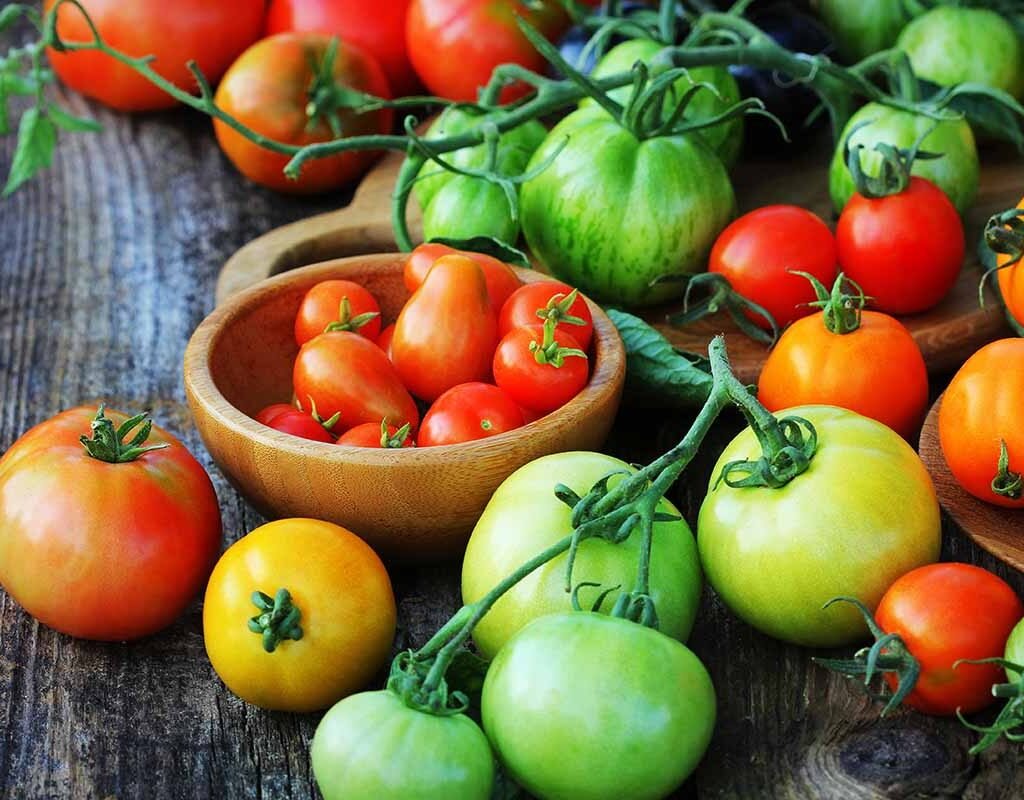
Step 8: Harvesting Tomatoes
Knowing when and how to harvest ensures maximum flavor and yield.
- Color: Harvest when fruits reach full color, whether red, yellow, or orange, depending on the variety.
- Firmness: Slightly firm tomatoes have the best shelf life; avoid picking overly soft fruit.
- Timing: Harvest in the morning for the best flavor, after the dew has dried.
Tips:
- Twist or gently cut fruit from the stem to avoid damaging the plant.
- Regular harvesting encourages continuous fruit production for indeterminate varieties.
Common Mistakes to Avoid
- Starting Seeds Too Early or Late: Check your region’s last frost date to optimize timing.
- Overwatering or Underwatering: Both can harm seedlings and reduce fruit yield.
- Crowding Seedlings: Overcrowded seedlings become leggy and weak.
- Neglecting Sunlight: Tomatoes need at least 6–8 hours of direct sun daily.
- Ignoring Support Needs: Heavy fruits can break untrained vines.
Bonus Tips for Growing Like a Pro
- Rotate tomato varieties each year to reduce soil-borne diseases.
- Companion plant with basil, marigolds, or onions to repel pests naturally.
- Save seeds from heirloom varieties for future planting and genetic diversity.
- Mulch heavily to conserve moisture and reduce temperature fluctuations.
- Keep a gardening journal to track planting dates, growth patterns, and yields.
Final Thoughts
Growing tomatoes from seeds is not only gratifying but also gives you full control over plant health, variety selection, and flavor. By carefully selecting seeds, providing optimal growing conditions, transplanting properly, and maintaining your plants, you can produce bountiful, flavorful tomatoes throughout the season.
From seed to harvest, every step matters: a little planning, patience, and consistent care can turn a tiny seed into a thriving tomato plant, producing juicy fruits for salads, sauces, and fresh eating. With these expert tips, you can confidently grow tomatoes from seeds like a pro, ensuring a garden that’s both productive and satisfying.