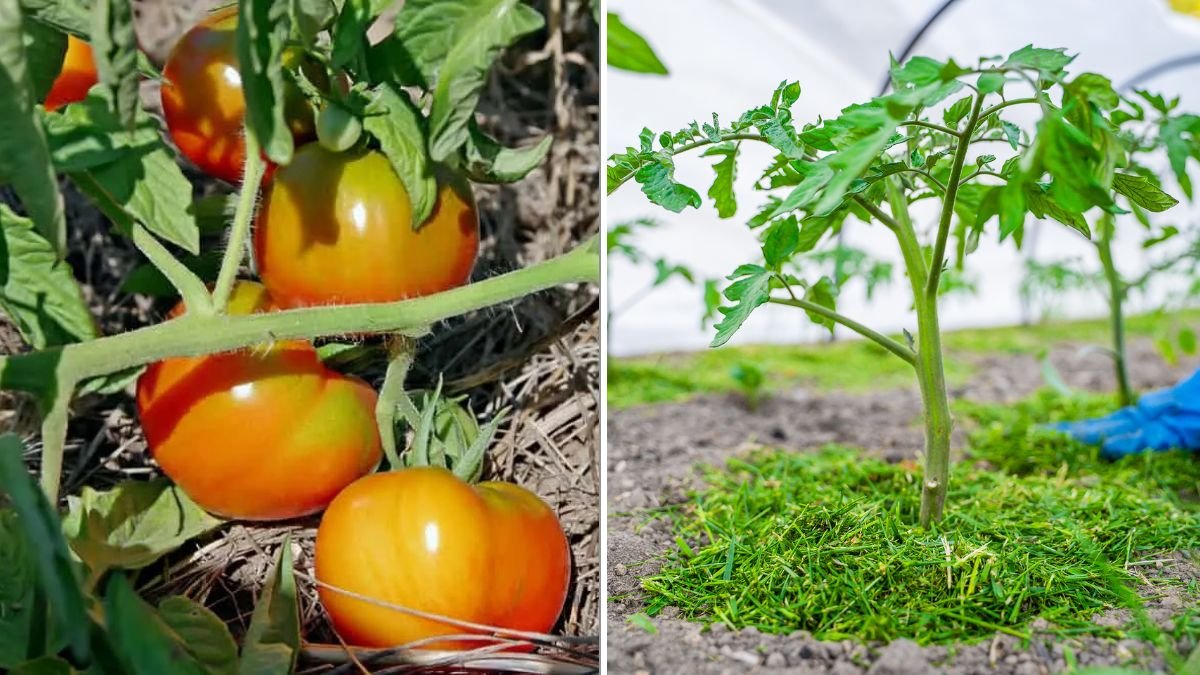
If there’s one secret that separates an average tomato grower from a great one, it’s mulching. This simple gardening practice—spreading organic or inorganic material over the soil—can make a dramatic difference in the health, productivity, and flavor of your tomato crop.
Mulch does far more than make your garden look tidy. It helps retain moisture, regulate soil temperature, suppress weeds, and prevent diseases that spread from soil to leaves. But with so many types of mulch available, how do you know which one is best for your tomatoes?
Let’s explore why mulch matters, the different types available, and the best mulch options for juicy, healthy tomatoes all season long.
Why Mulch Matters for Tomato Plants
Before diving into the materials, it’s worth understanding exactly why mulch is so beneficial for tomato plants.
- Moisture Retention:
Tomatoes need consistent soil moisture to thrive. Mulch acts like a protective blanket, reducing evaporation so your plants stay hydrated longer between waterings. - Temperature Regulation:
Extreme heat or cold stresses tomato roots. Mulch insulates the soil—keeping it cool in summer and warm in early spring or fall. - Weed Suppression:
Weeds compete with your tomatoes for nutrients and water. A thick layer of mulch blocks sunlight from reaching weed seeds, stopping them from sprouting. - Disease Prevention:
Splashing water can spread fungal spores from soil to tomato leaves. Mulch creates a barrier that prevents this, reducing problems like blight. - Improved Soil Health:
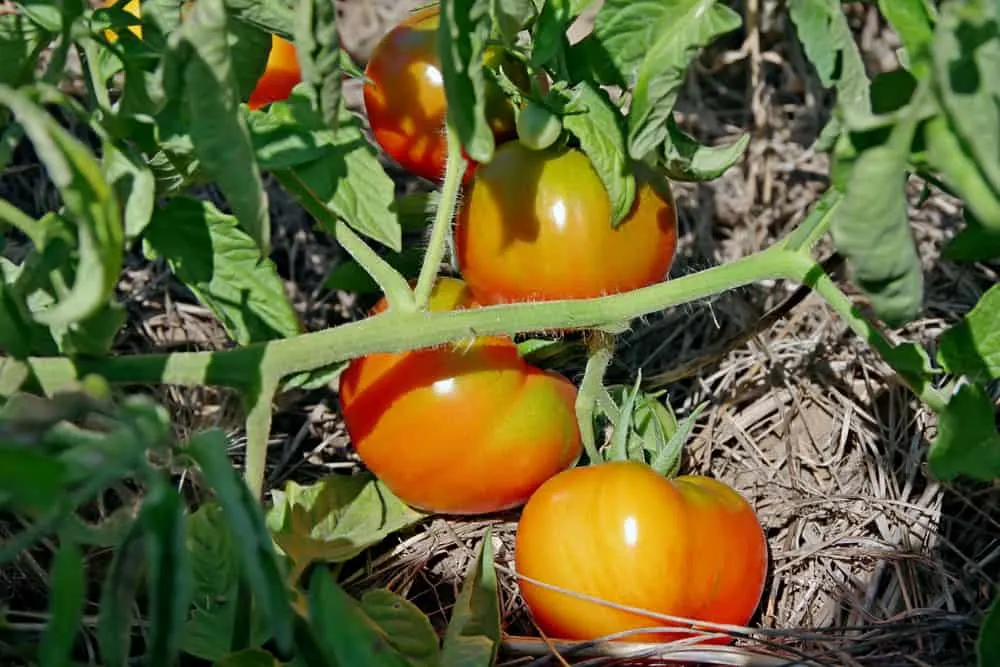
Organic mulches decompose over time, adding nutrients and improving soil structure. This means healthier plants year after year. - Cleaner Fruit:
Mulch prevents rain or irrigation from splashing soil onto developing tomatoes—keeping your harvest cleaner and less prone to rot.
Simply put: if you’re growing tomatoes, mulch isn’t optional—it’s essential.
When To Apply Mulch Around Tomatoes
Timing matters. If you mulch too early, you may trap cold, wet soil around the roots. Wait until:
- The soil has warmed to at least 60°F (15°C) in late spring.
- Your tomato seedlings are established and growing strong.
- There’s no longer a risk of frost.
Then apply a 2–3 inch layer of mulch around the base of each plant, keeping about 2 inches of space around the stem to prevent rot and pest problems.

The Best Mulches for Tomato Plants
Let’s compare the top mulching materials, their pros and cons, and how to use them effectively.
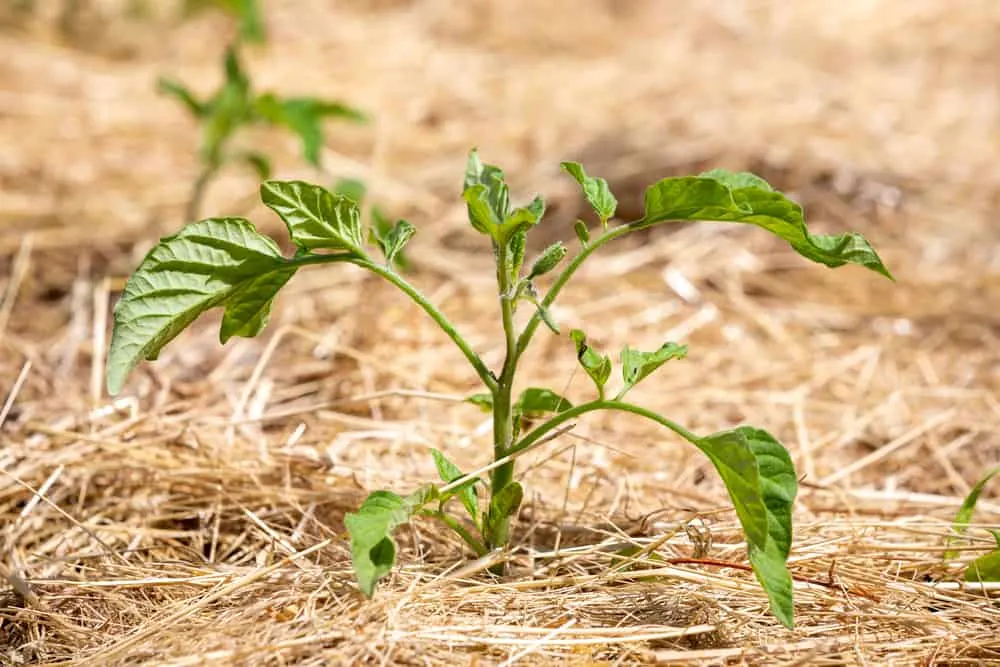
1. Straw: The Classic Tomato Mulch
Straw (not hay!) is one of the most popular mulches for tomatoes—and for good reason.
Pros:
- Keeps soil cool and moist.
- Excellent weed control.
- Decomposes slowly, enriching the soil.
- Easy to spread and lightweight.
Cons:
- Can blow away in wind if too dry.
- Must be replaced each season.
How to Use:
Spread 2–3 inches of clean, seed-free straw around your tomato plants. Avoid hay, which contains weed seeds. You can dampen straw slightly after spreading to help it settle.
Pro tip: Use chopped straw (sold as mulch straw) for a neater look and better moisture retention.
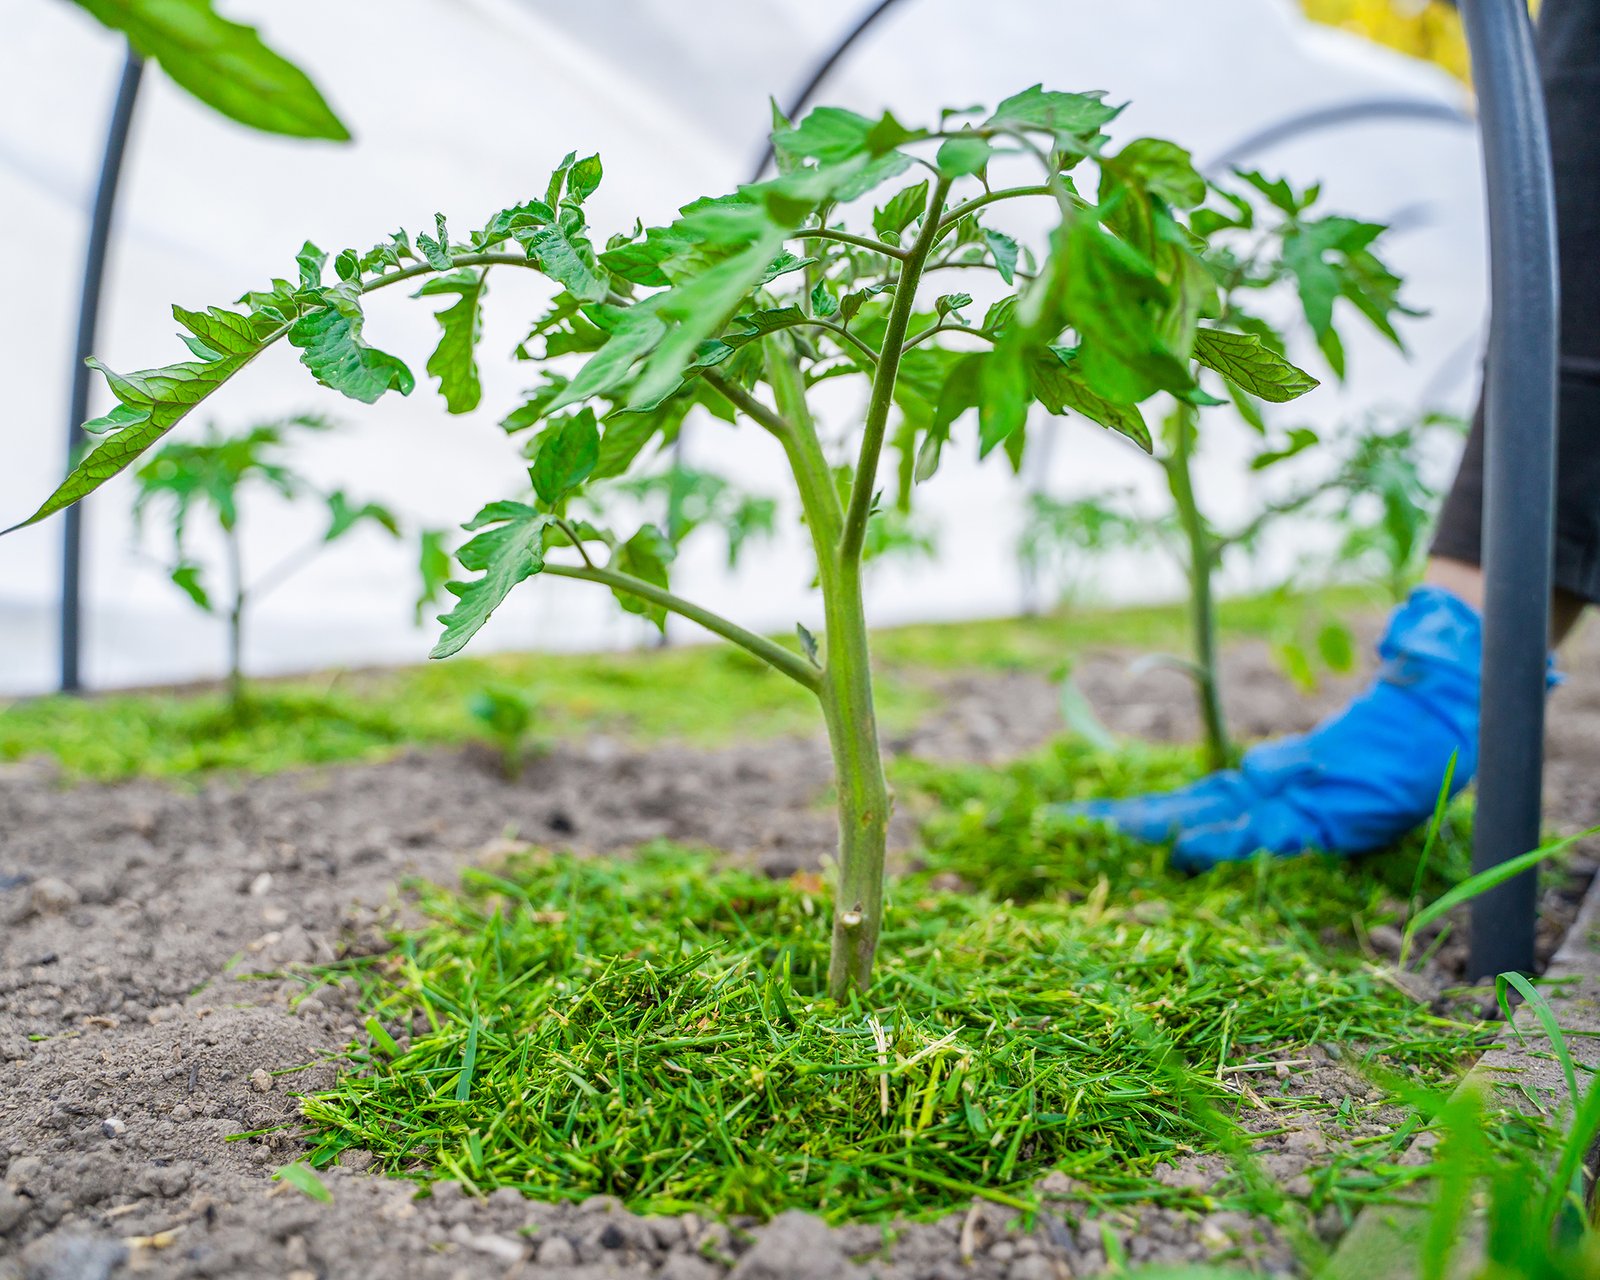
2. Grass Clippings: A Free, Eco-Friendly Option

Fresh or dried grass clippings from your lawn make an excellent tomato mulch—if used correctly.
Pros:
- Readily available and free.
- Adds nitrogen to the soil as it breaks down.
- Retains moisture well.
Cons:
- Fresh clippings can mat and create odor or mold.
- May contain herbicides or weed seeds if lawn was treated.
How to Use:
Apply a thin layer (1 inch) of dry clippings at first. Once that dries, add another layer. This prevents matting and allows air circulation. Never use clippings from chemically treated lawns.
Pro tip: Grass clippings are best mixed with straw or leaves for a balanced, long-lasting mulch.

3. Compost: The Nutrient Powerhouse
Compost acts as both mulch and fertilizer—feeding your tomatoes as it protects the soil.
Pros:
- Adds nutrients like nitrogen, phosphorus, and potassium.
- Improves soil structure and water retention.
- Encourages beneficial microbes.
Cons:
- Weeds can sprout if compost isn’t fully mature.
- May need topping up mid-season.
How to Use:
Spread a 1–2 inch layer of compost around the base of each plant. It can be used alone or beneath another mulch (like straw) to hold in moisture longer.
Pro tip: Combine compost with shredded leaves or straw for the ultimate organic mulch mix.
4. Shredded Leaves or Leaf Mold
Autumn leaves are a gift from nature—turn them into nutrient-rich mulch for your tomatoes.
Pros:
- Readily available and free.
- Retains moisture and enriches soil as it decomposes.
- Encourages earthworms and beneficial fungi.
Cons:
- Can compact and reduce airflow if applied too thick.
- May attract insects if not shredded first.
How to Use:
Run leaves through a shredder or mower before spreading a 2-inch layer around your tomato plants. For best results, mix with compost or grass clippings to balance nitrogen and carbon.
Pro tip: Partially decomposed “leaf mold” is even better—dark, crumbly, and moisture-holding.
5. Pine Needles (Pine Straw)
Pine needles are light, airy, and long-lasting—an excellent mulch for tomato gardens, especially in the South.

Pros:
- Great airflow and moisture retention.
- Doesn’t compact easily.
- Naturally discourages slugs and snails.
Cons:
- Slightly acidic—may not be ideal for already acidic soil.
- Doesn’t add as many nutrients as compost or straw.
How to Use:
Spread a 2–3 inch layer around tomato plants. Pine straw interlocks well, making it wind-resistant and tidy.
Pro tip: Mix pine needles with compost or leaves to balance pH and nutrient levels.
6. Newspaper or Cardboard: The Weed Barrier
Simple and effective, newspaper and cardboard are fantastic for keeping weeds away and conserving moisture.
Pros:
- Inexpensive and biodegradable.
- Excellent weed suppression.
- Easy to layer under organic mulch.
Cons:
- Doesn’t add nutrients.
- Can dry out or blow away if not weighted down.
How to Use:
Lay down 2–3 layers of newspaper or one sheet of cardboard around plants, then cover with straw, compost, or leaves to hold it in place. Avoid glossy or colored paper.
Pro tip: Use this as a base layer beneath organic mulch for superior weed control.
7. Black Plastic or Landscape Fabric
If you’re growing tomatoes in cooler climates, black plastic mulch can warm the soil early in the season—jumpstarting growth.
Pros:
- Heats soil in spring.
- Prevents almost all weeds.
- Conserves moisture efficiently.
Cons:
- Doesn’t allow rainwater through.
- Can overheat soil in hot climates.
- Non-biodegradable (unless you use eco-friendly film).
How to Use:
Lay the plastic before planting, cutting holes for each tomato. In hotter regions, consider switching to reflective or woven fabric to prevent overheating.

Pro tip: Remove plastic mulch at season’s end and replace it with organic mulch for soil health.
Best Mulch Combinations for Tomatoes
For optimal results, try layering or combining materials:
- Compost + Straw: Nutrient-rich and moisture-retaining.
- Newspaper + Grass Clippings: Excellent weed control with a natural look.
- Leaf Mold + Pine Needles: Great airflow and long-lasting coverage.
Experiment to see which blend performs best in your region’s climate and soil type.
What Mulches To Avoid Around Tomatoes
Not all mulch materials are tomato-friendly. Avoid:
- Fresh wood chips: Can tie up nitrogen while decomposing.
- Hay: Often full of weed seeds.
- Thick fresh grass: Can suffocate soil and cause mold.
- Colored or rubber mulch: Adds no nutrients and can leach chemicals.
How Much Mulch To Use
Apply 2–3 inches of organic mulch around each plant, spreading it in a circle about 12–18 inches wide. Keep the mulch 2 inches away from the stem to avoid rot and insect problems.
Replenish or fluff the mulch mid-season to maintain depth and airflow.
Final Thoughts
Mulching tomatoes isn’t just about looks—it’s about creating the best possible environment for growth. The right mulch stabilizes moisture, feeds the soil, suppresses weeds, and protects plants from disease and stress.

For most gardeners, a mix of straw and compost or leaf mold and grass clippings offers the perfect balance of moisture control, nutrients, and soil health.
So next time you’re planting tomatoes, don’t stop at the soil—top it off with the perfect layer of mulch. Your plants will reward you with stronger roots, cleaner fruit, and a more abundant harvest.