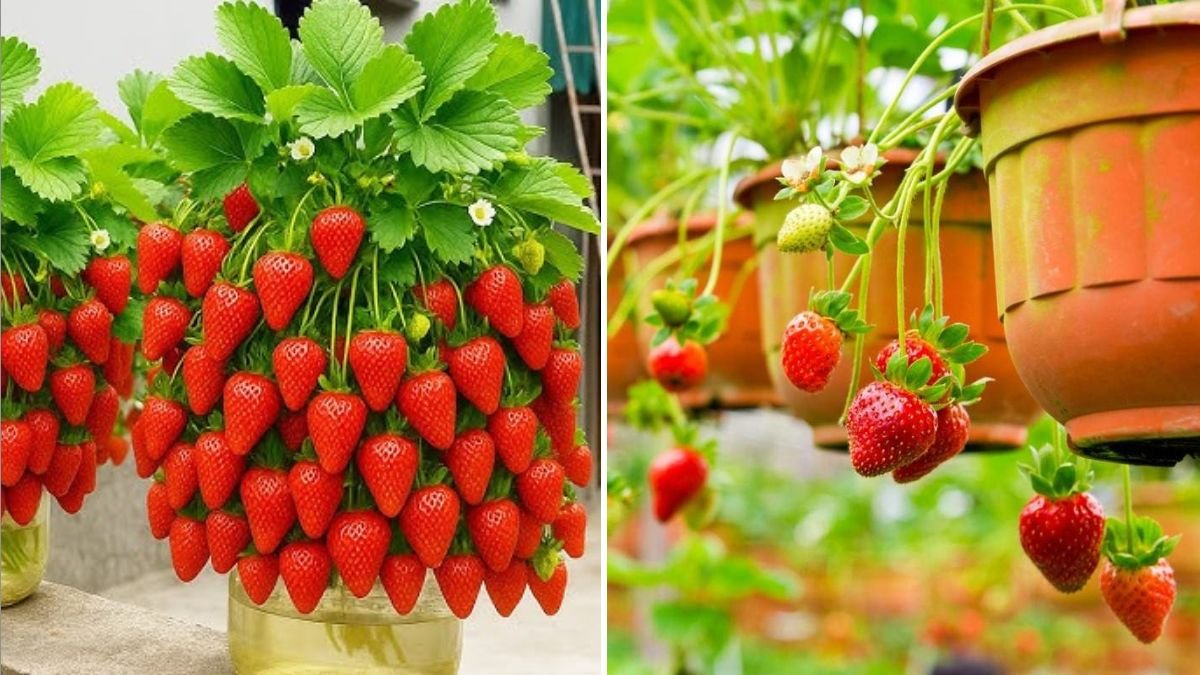
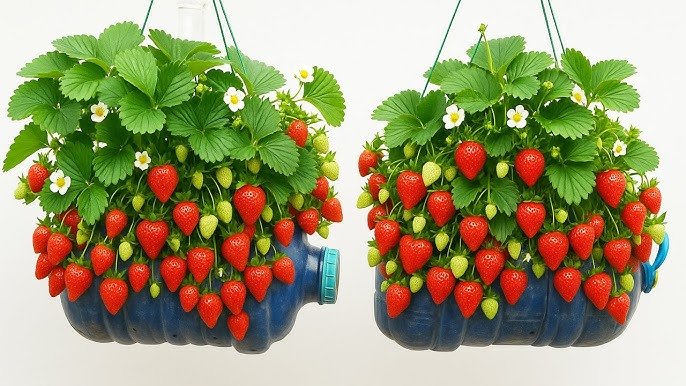
Imagine stepping out onto your porch or balcony and plucking sun-ripened strawberries straight from a cascading vertical garden—no fancy tools, no expensive planters, and no backyard required. Sounds like a dream? With a few plastic bottles and some clever DIY know-how, you can create a 3-story hanging strawberry garden that looks stunning and produces fresh fruit all season long.
In today’s world, where sustainability and self-reliance matter more than ever, this project combines eco-friendly recycling with homegrown deliciousness. Whether you live in a suburban house or a city apartment, this vertical garden idea helps you save space, reduce plastic waste, and enjoy the sweet rewards of your own strawberry patch—all year long.
Let’s walk through how to turn everyday plastic bottles into a beautiful, functional strawberry tower that will make your garden the talk of the neighborhood.
1. Why Choose a Hanging Bottle Garden?
Before diving into the DIY steps, let’s understand why this project is a game-changer for home gardeners across America.
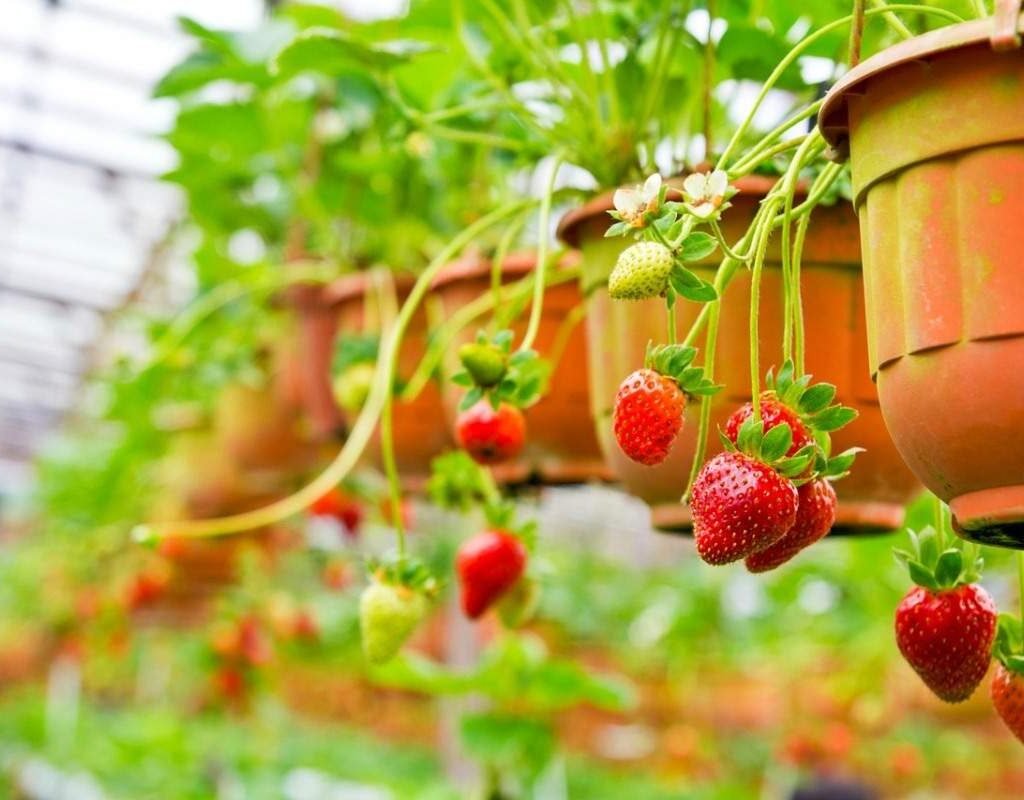
Space-Saving Design:
Perfect for small patios, balconies, or even indoor setups with sunlight access. Vertical gardening allows you to grow more in less space.
Eco-Friendly Solution:
You’ll be recycling plastic bottles that might otherwise end up in landfills. It’s sustainable, smart, and planet-friendly.
Low Maintenance:
Strawberries thrive in well-drained containers, and hanging bottles provide exactly that. Plus, watering is easy and efficient.
Affordable & Accessible:
Forget expensive planters or hydroponic systems. Everything you need is likely already at home or easy to find locally.

Year-Round Freshness:
With proper sunlight or grow lights, you can harvest juicy strawberries even during off-season months.
This simple yet effective method aligns with the American DIY spirit—creative, practical, and rewarding.
2. What You’ll Need
Before you start crafting your strawberry tower, gather these basic supplies:
Materials:
- 9 large plastic bottles (2-liter soda bottles work best)
- Twine, rope, or sturdy wire
- A sharp utility knife or scissors
- A hand drill or heated metal skewer (for drainage holes)
- Potting mix (preferably rich in organic matter)
- Strawberry seedlings (everbearing or day-neutral varieties work best)
- Watering can or spray bottle
- Optional: decorative paint or labels
Tools:
- Measuring tape
- Marker pen
- Funnel for adding soil
- Hooks or a rod for hanging
Pro Tip:
If you’re setting this up indoors or on an apartment balcony, consider using self-watering bottles or placing a small tray underneath to catch excess water.
3. Step-by-Step: How to Build Your 3-Story Strawberry Tower
This DIY is simple, fun, and takes less than two hours to assemble. Follow these steps to create your own vertical hanging strawberry garden:
Step 1: Cut and Prepare the Bottles
- Clean each plastic bottle thoroughly.
- Using your knife or scissors, cut a large rectangular opening along one side—this will be where your strawberry plants grow.
- Near the bottom, drill or puncture 3–5 small holes for drainage.
You can leave the bottle caps on, but drill a tiny hole in each cap to allow slow water flow between layers.

Step 2: Create Hanging Points
- Drill two small holes on opposite sides near the top of each bottle.
- Thread rope or wire through these holes and knot them securely.
- Make sure the length of rope between bottles is equal so your garden hangs evenly.
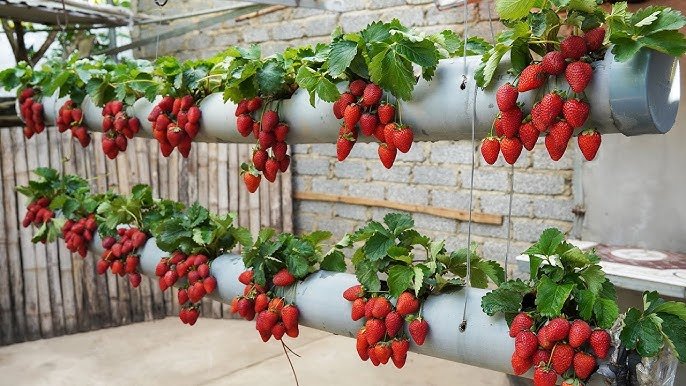
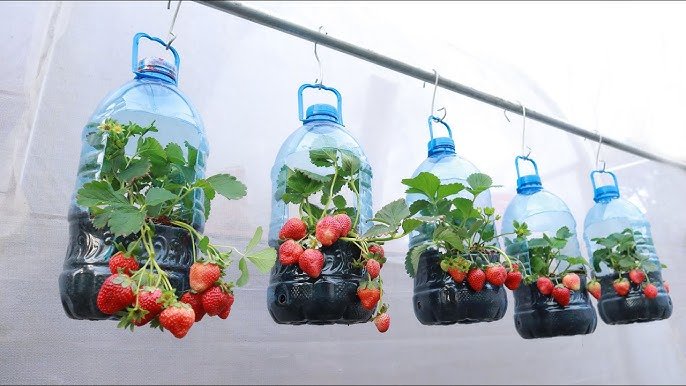
Step 3: Assemble the Layers
Now it’s time to create your 3-story tower:
- Start by hanging the first bottle from a sturdy hook or beam.
- Tie the next bottle directly below it, about 10–12 inches apart.
- Repeat until you have three layers.
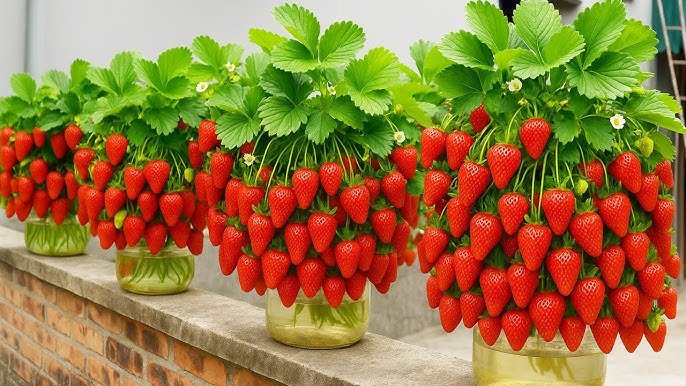
You can hang multiple towers side-by-side for a fuller look—each with three or more levels.
Step 4: Fill with Soil and Plant
- Add a thin layer of pebbles or coarse sand to the bottom of each bottle for better drainage.
- Fill the rest with a nutrient-rich potting mix (ideally one that’s slightly acidic, around pH 5.5–6.5).
- Using your fingers, create small holes in the soil and insert your strawberry seedlings gently.
Make sure the leaves are above the soil surface and the crown (the plant’s base) isn’t buried too deep.
Step 5: Water and Maintain
Water thoroughly until you see water dripping from the drainage holes. The moisture will naturally trickle down to the lower bottles—an efficient, gravity-fed irrigation system.
Maintenance Tips:
- Water lightly every 1–2 days in warm weather.
- Fertilize every two weeks with organic compost tea or diluted fish emulsion.
- Remove any yellowing leaves or runners to promote healthy growth.
4. Choosing the Right Strawberry Varieties
For best results, choose everbearing or day-neutral strawberries. These varieties produce fruit continuously, making them perfect for hanging gardens.
Top U.S.-recommended types include:
- Albion – Sweet, firm, and tolerant of heat.
- Seascape – Ideal for containers and indoor growing.
- Ozark Beauty – Reliable performer for beginners.
- Tristar – Compact and heavy-yielding.
These cultivars adapt well to vertical setups and perform beautifully in most American climates.

5. Maximizing Sunlight and Temperature
Strawberries love 6–8 hours of sunlight daily. If you’re in a colder northern state, hang your bottles near a sunny window or use grow lights.
For southern regions, ensure your plants get morning sunlight and partial shade in the afternoon to prevent heat stress.
Ideal Temperature:
- Between 60°F and 80°F for healthy growth.
- Protect plants from frost with plastic sheeting or bring them indoors during winter.
6. Feeding and Pollination Tips
Even in containers, strawberries are hungry plants. Keep them thriving with consistent feeding.
Fertilizer Schedule:
- Every 2–3 weeks: Apply a balanced liquid fertilizer (10-10-10).
- Mid-season: Add a handful of compost to each bottle for a nutrient boost.
Pollination Tip:
If you’re growing indoors, gently shake or brush the flowers using a small paintbrush to mimic bee pollination. This ensures bigger, juicier berries!
7. Decorating and Personalizing Your Hanging Garden
Your vertical strawberry garden doesn’t just produce fruit—it can also be a stunning outdoor feature.
Here are a few design ideas:

- Paint your bottles with pastel or metallic colors for a stylish, modern look.
- Add plant labels using popsicle sticks or chalk tags.
- Mix in companion plants like basil, mint, or marigolds to deter pests and attract pollinators.
- Hang fairy lights around the tower for an enchanting evening display.
It’s not only functional—it’s decorative too, bringing color and life to any space.
8. Troubleshooting Common Issues
Even the best DIY gardeners encounter a few hiccups. Here’s how to handle them:
Yellow Leaves?
Likely caused by overwatering or poor drainage. Make sure your bottle holes aren’t clogged.
Pests like Aphids or Spider Mites?
Spray with a mild neem oil or soap-water solution weekly.
Small or Sour Berries?
Increase sunlight exposure and add potassium-rich fertilizer like banana peel compost.
Mold on Soil Surface?
Allow better air circulation and reduce watering frequency.
9. Harvesting Your Homegrown Strawberries
You’ll typically see your first harvest about 8–10 weeks after planting. Strawberries are ready to pick when:
- They’re deep red in color.
- The fruit feels slightly soft to touch.
- The caps are green and fresh-looking.
Use scissors to snip berries gently, leaving a small stem attached. This helps them stay fresh longer.
Fresh-picked strawberries can last up to 5 days in the fridge—if you can resist eating them right away!
Conclusion: From Waste to Wonder—Your Sustainable Strawberry Tower
Turning plastic bottles into a 3-story hanging strawberry garden isn’t just a fun weekend project—it’s a small step toward sustainable living and homegrown abundance. You’re recycling waste, saving space, and cultivating food you can proudly serve to your family.
Whether you’re an urban gardener in New York or a homesteader in Texas, this clever DIY proves that anyone can grow delicious strawberries—anywhere.
So grab those empty bottles, gather your seedlings, and get started today. In just a few weeks, you’ll be enjoying the sweet, juicy taste of success—straight from your own eco-friendly strawberry tower.